I've been slowing making progress on the build.
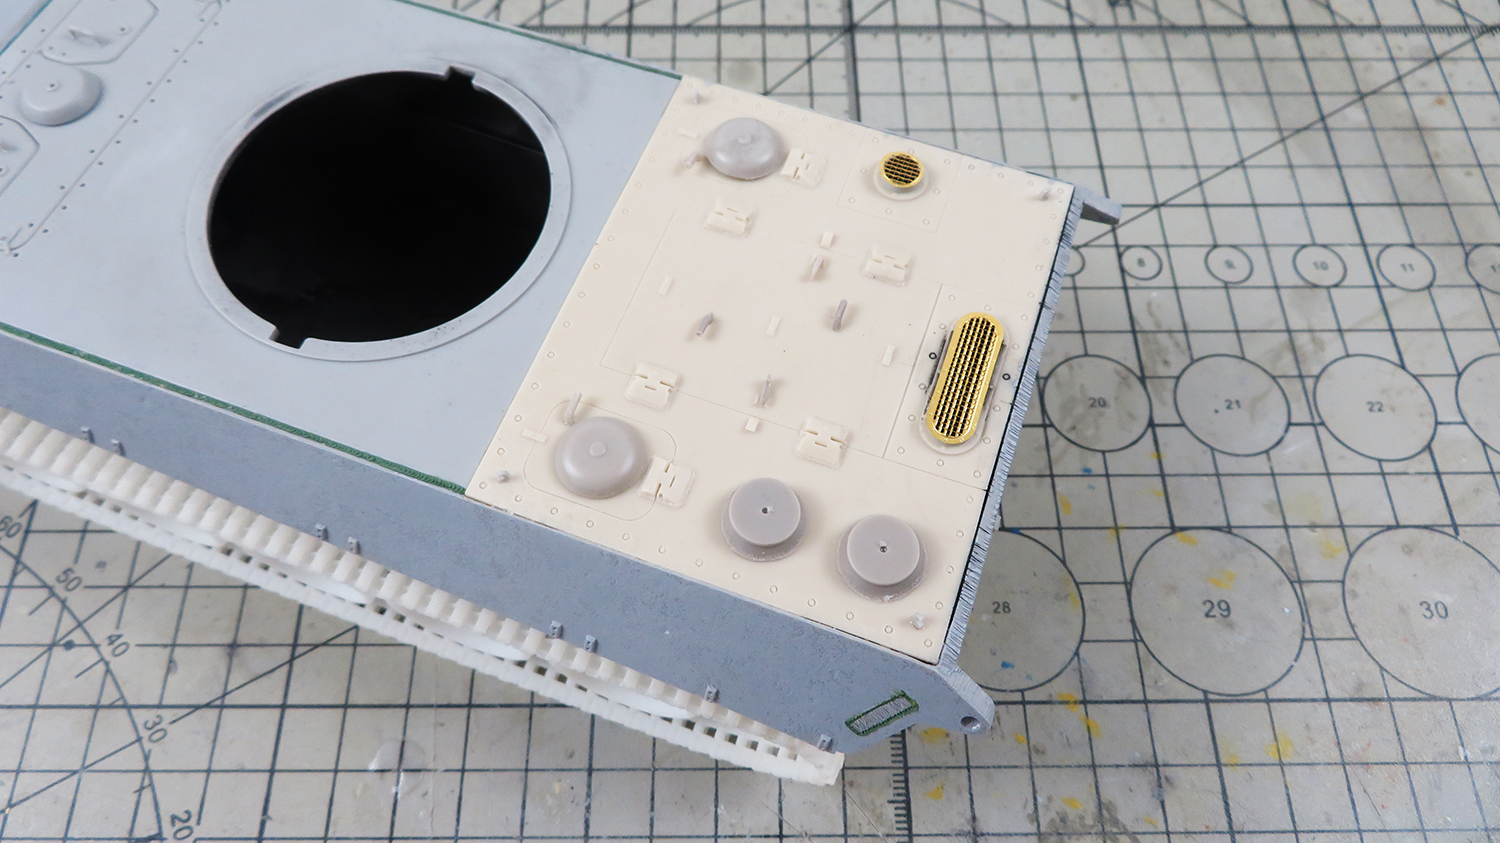
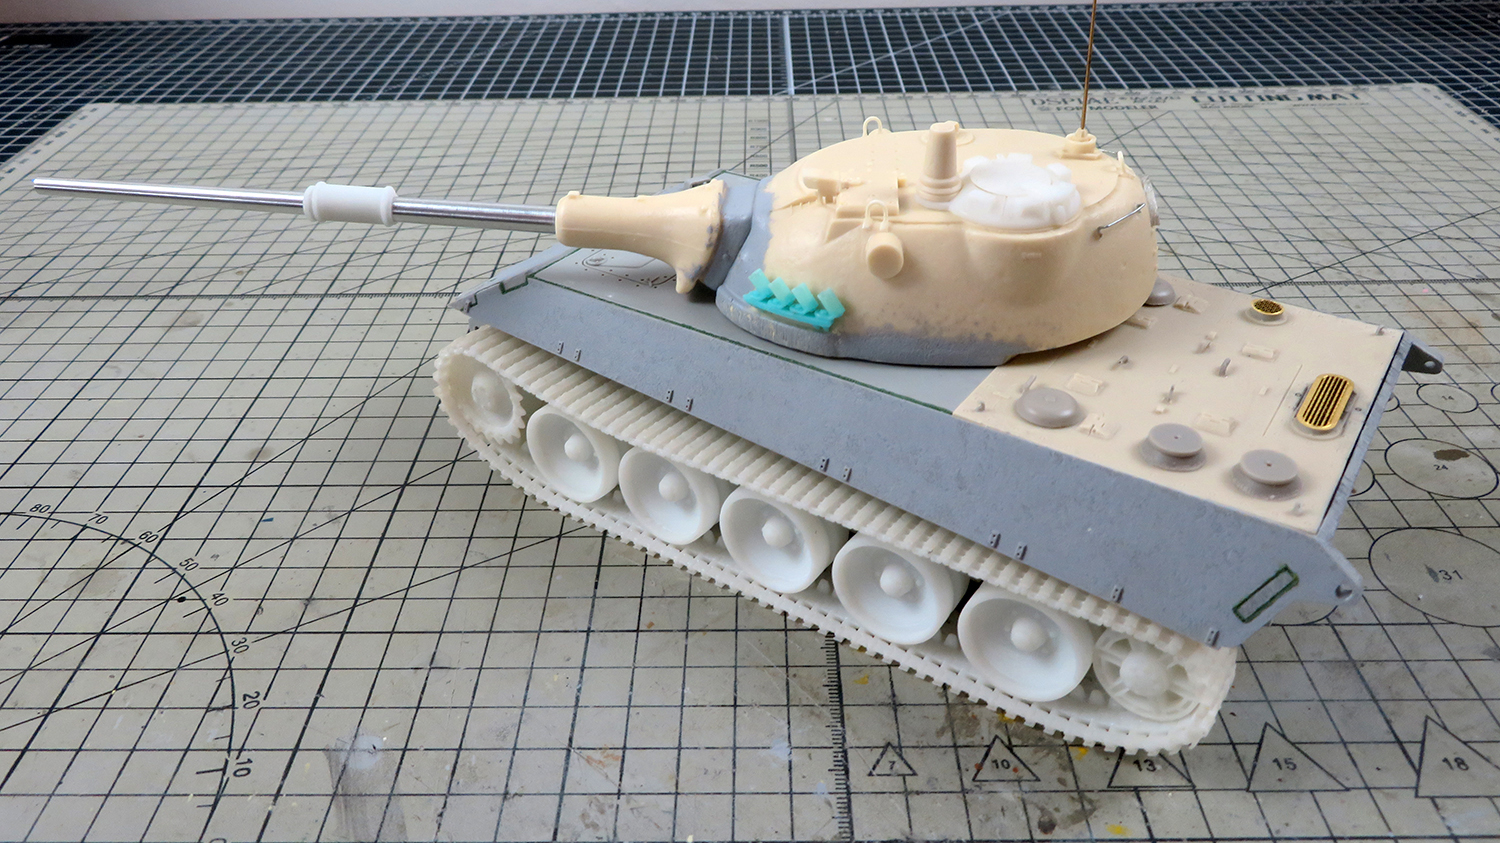
The rest of the resin parts were added to the engine deck and unusually for a garage kit photo-etch exhaust grills too.
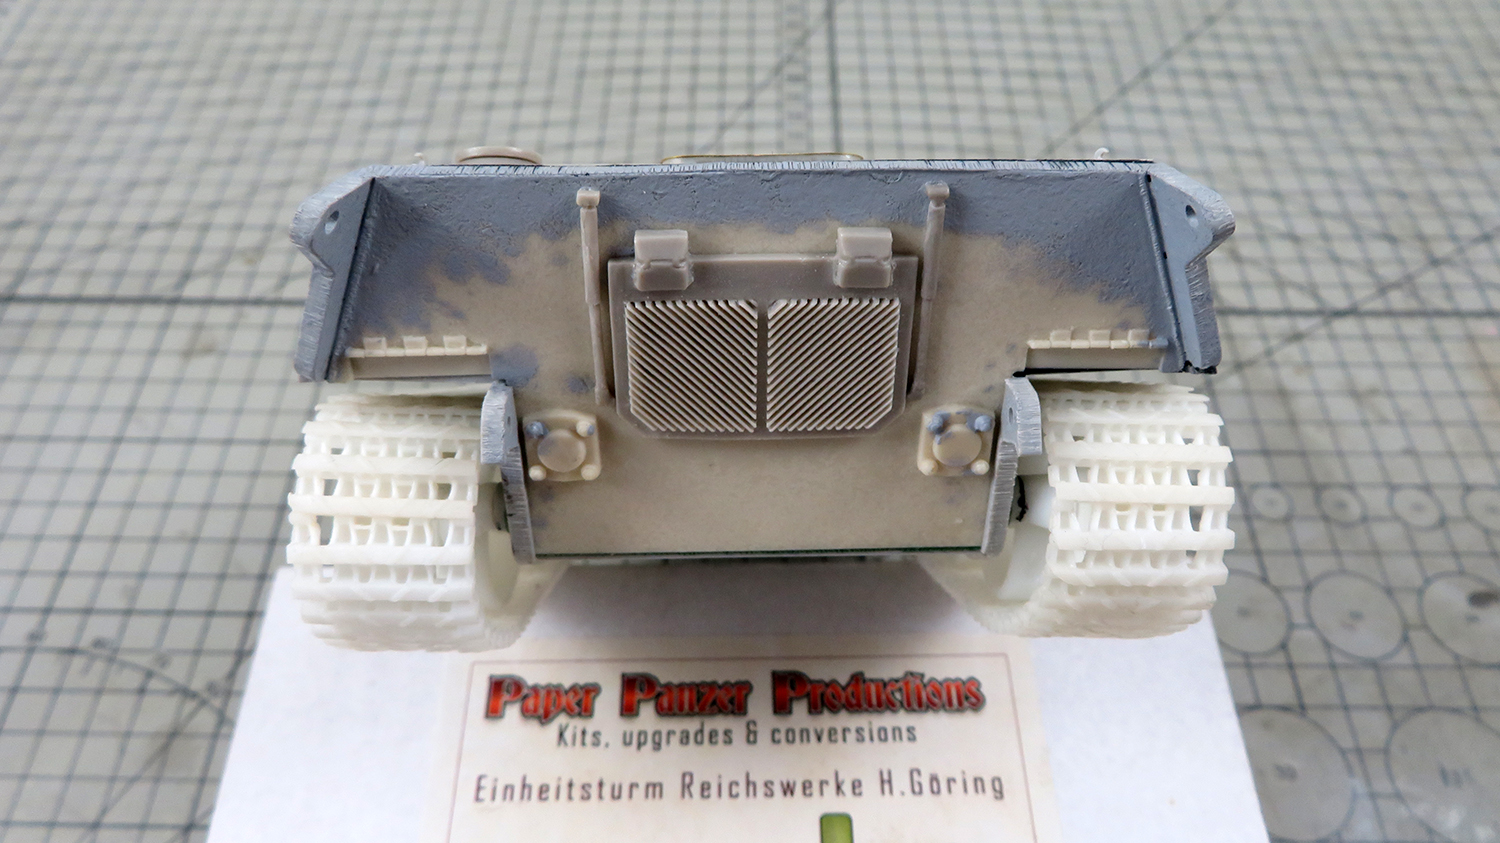
There is also an engine access hatch on the rear plate that features cooling fins. Probably a good idea considering the exhaust gas on these early German turbine engines was purportedly 800°

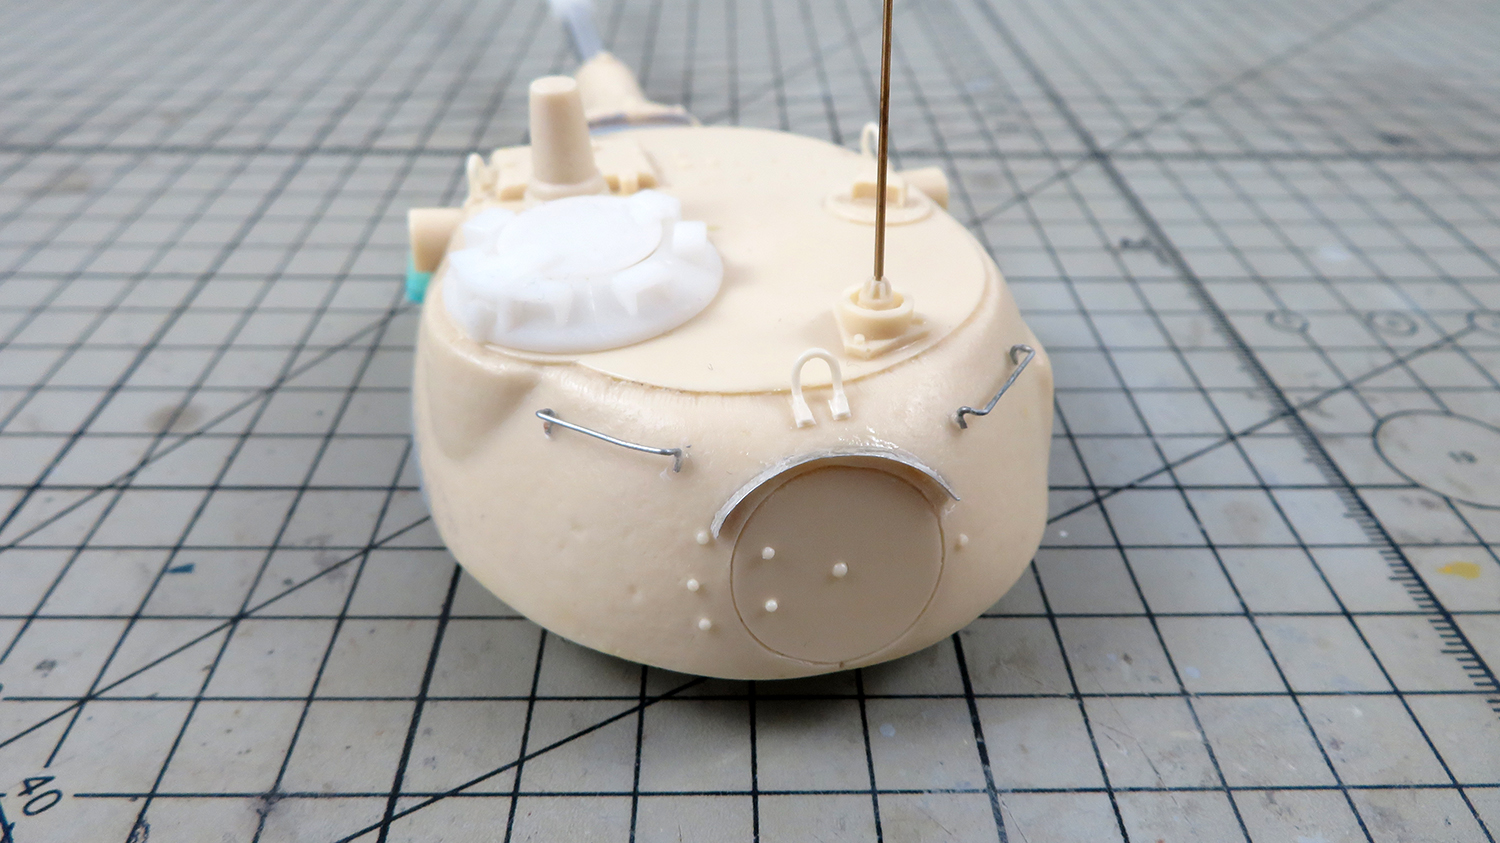
The turret comes with a really nice fictional variant of the Panther Schmalturm cupola that features a rotating periscope. I "borrowed" the cupola for a different build a decade ago with the intention of fitting a spare Schmalturm cupola to this turret instead. With the power of 3D printing tho I can recreate the original cupola and print a replacement.
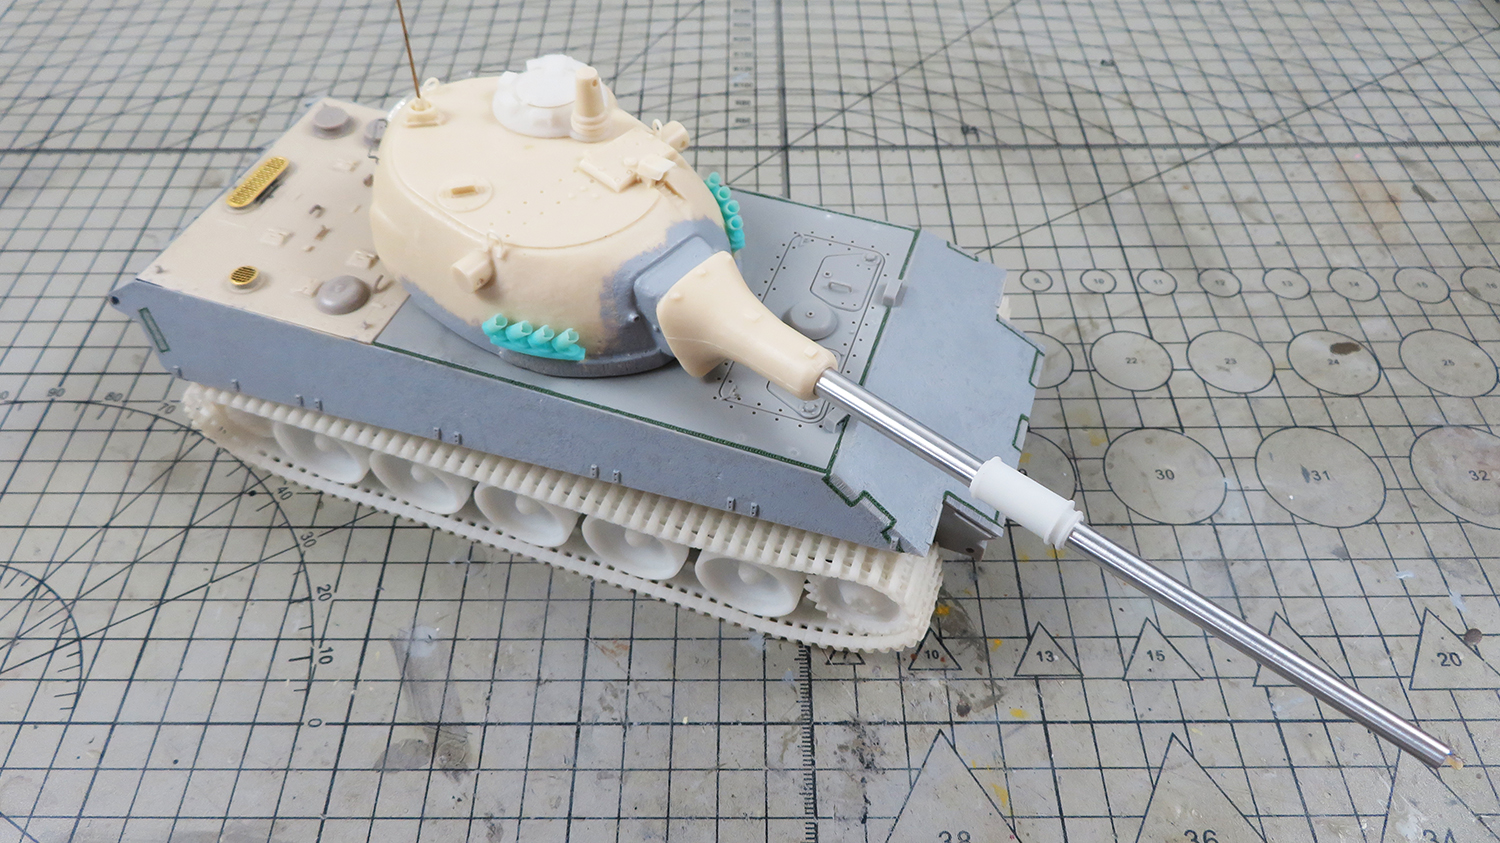
The blue smoke grenade launchers were originally 3D printed for a different build several years ago but they ended up on the spare parts box. I noticed that they perfectly match the curvature of this turret tho, its like they were destined for this build

Lastly I designed and 3D printed a bore evacuator for the middle of the gun barrel. German WW2 tanks used compressed air to clear the barrel after firing, negating the need for a bore evacuator but I like how it give the tank a more modern look.

The turret came with a rain guard over the rear hatch but the resin was paper thin and broke off while handling it, so I replaced it with a strip of aluminum. I also added some grab handles to the rear of the turret for some extra detail and somewhere to hang some stowage later too.
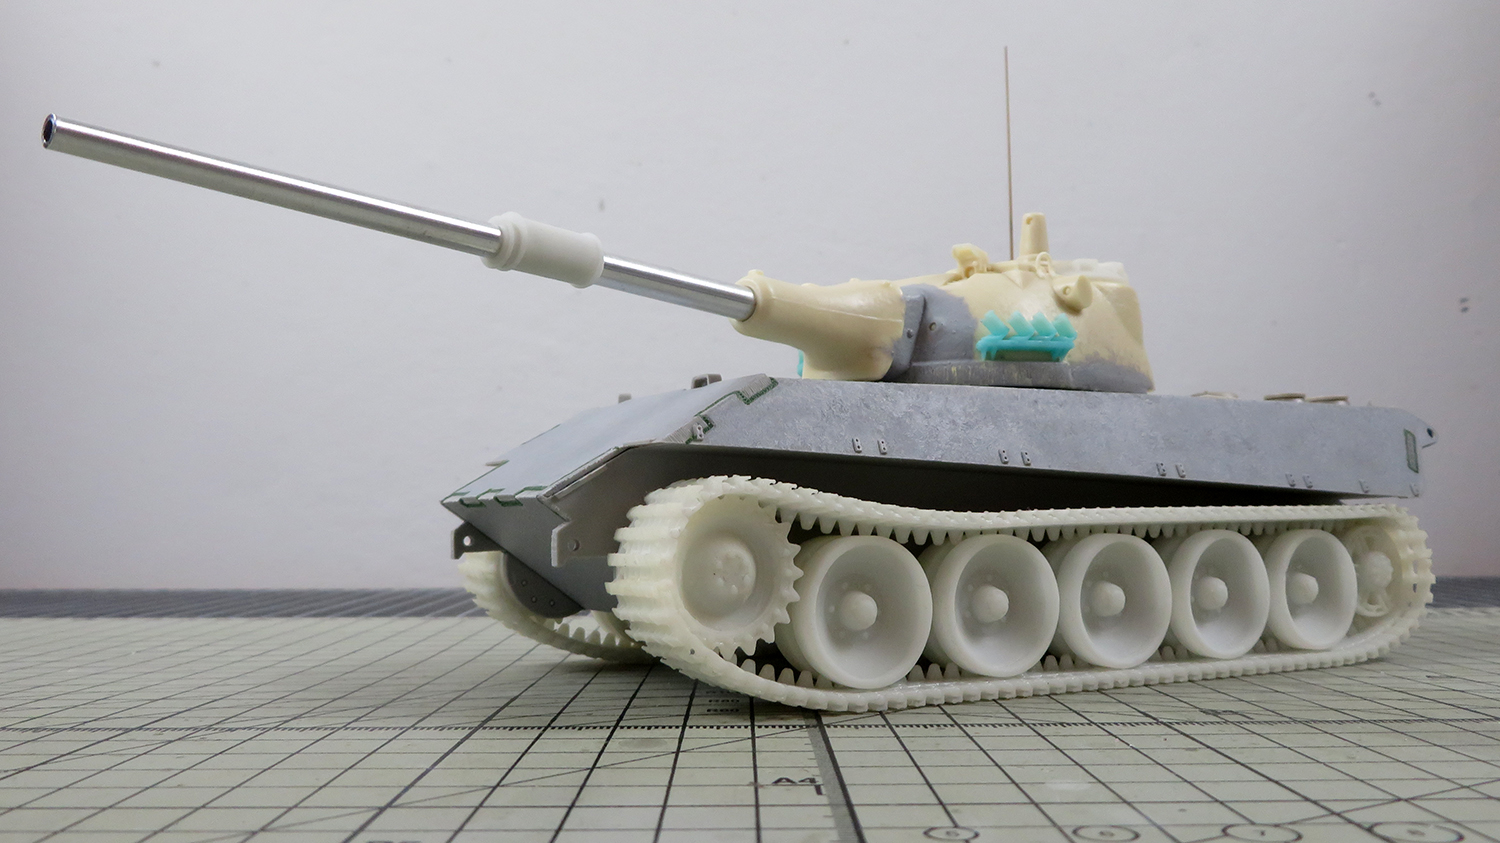
One of the last things left on the build is the question of side skirts. I can't decide if I should add some skirts of leave them off and If I do add them then what style should I go for, I could reuse the Tiger II skirts, make new ones based on the Leopard 1 or maybe something completely different...
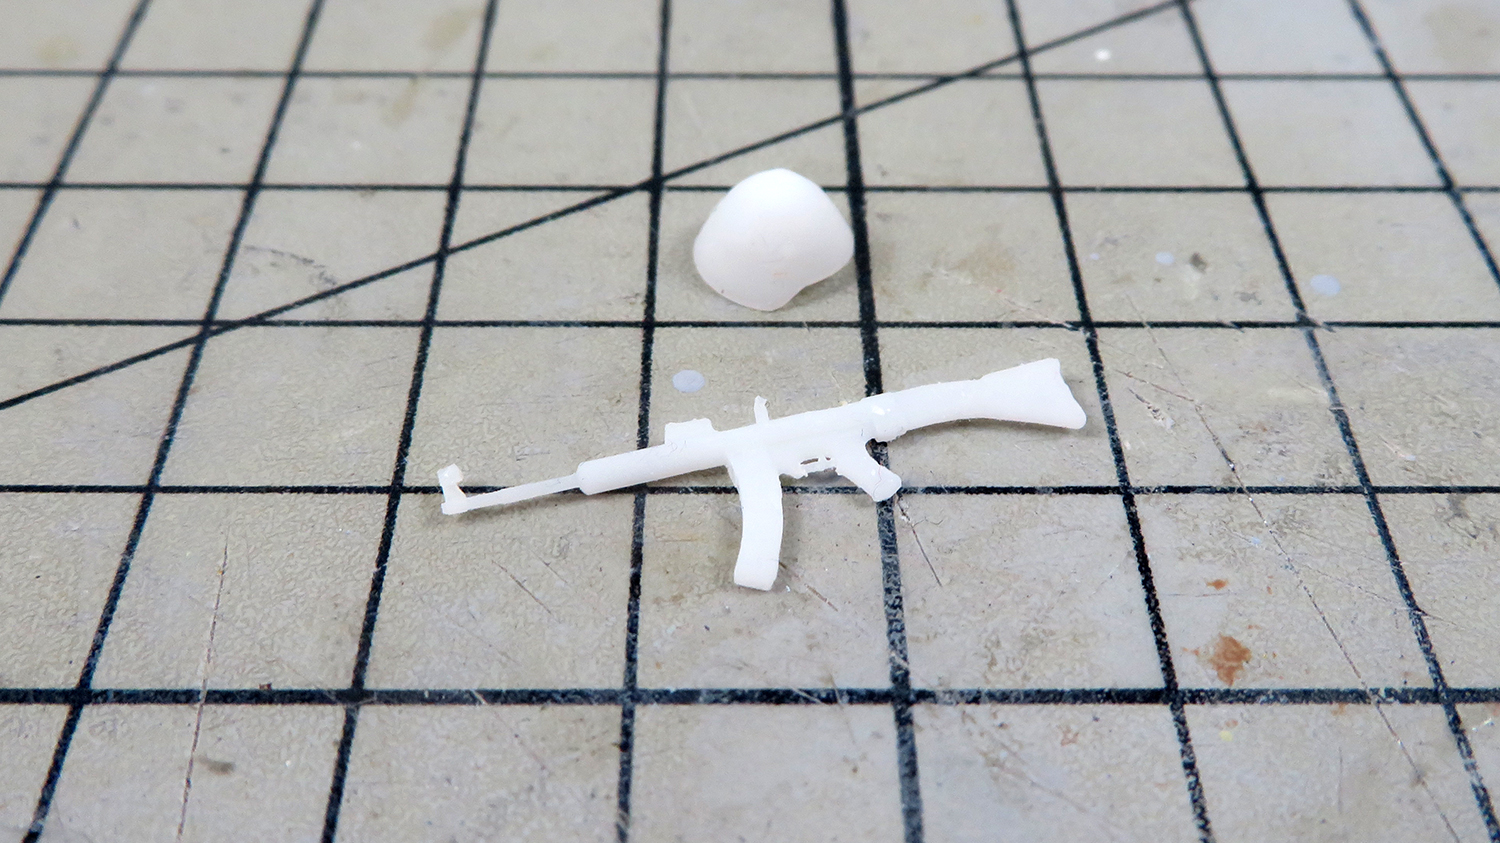
I plan to add some stowage to the tank and in keeping with the what-if theme I design and printed a StG45 assault rifle and a M44 helmet. The StG45 was a cheaper and lighter version of the StG44 assault rifle, only a few prototypes were built before WW2 ended but work on the design continued post-war and eventually led to the Heckler & Koch G3. The M44 was a prototype helmet that was undergoing tests when WW2 ended. Post-war the design was modified slightly and used by the East Germans as the M56.