I am
not receiving anything from AK in exchange for using their products, although it feels like that's all I've been building or using recently... That said, here's my build of
their Honda 1/35 GC125 motorcycle.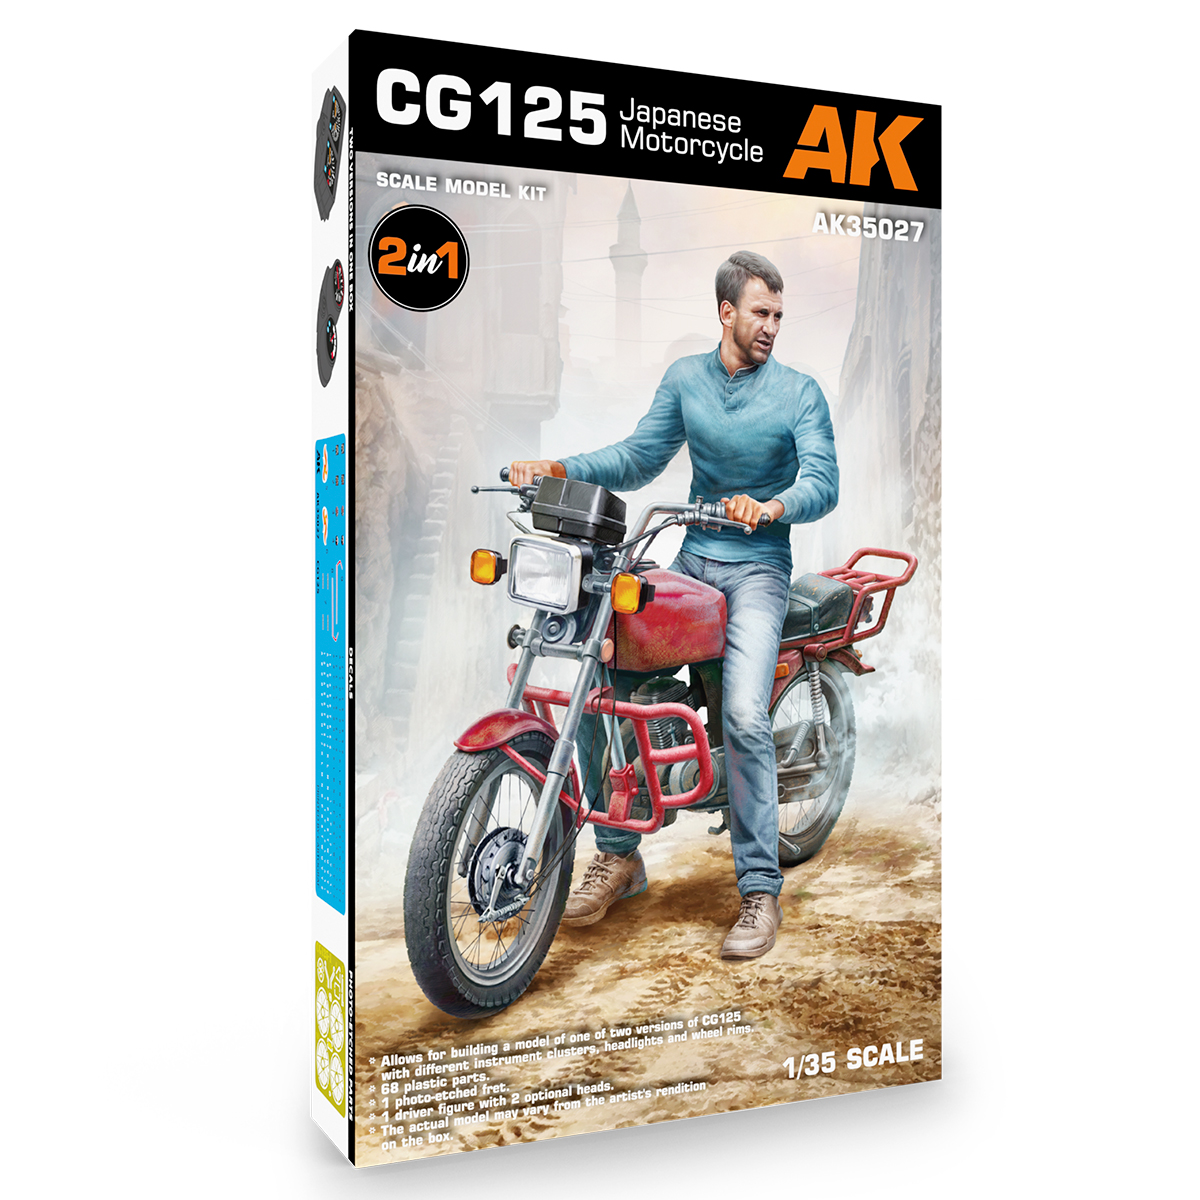
The motorcycle comes with two options; wire spoke wheels and solid 5 spoke wheels, plus differences in headlights and instrument panel. I've built enough ICM kits to recognize their molding and attachment point methods. This looks like a simple build, but it isn't - not hard, just not a shake and bake Tamiya.
The first issue I came across was with the wheels. I was going to use the wire spoke wheels, since I'd had great results with the Thunder Indian motorcycle kit. Thunder provides a tool to bend the PE spokes into shape and it works well.
In this kit, the instructions show the wheel hub glued to each PE spoke part, then squeezed to shape between the tire halves. The PE spokes compress and should result in a nice wire spoked wheel. I completely forgot to anneal the PE, so there was enough spring in the PE parts to make gluing the tire halves together difficult. I took the tires apart the next day and just used the five spoke wheels.
The front fork is a surprisingly complicated assembly, and connection between the fork assembly and the body looked very weak (just small dimples in a couple of the plastic parts) so I drilled out the connection areas and used a brass rod for strength. The front wheel and fork now turns easily, which is a plus.
I'm not a motorcycle guy and have next to zero experience with them, but looking at pictures of the GC125, I found few images of the Honda version (vs cheap clones) with the solid disc brake plate on the front wheel. I also think the brake pad connections suggested on the instructions (on the disc break itself) don't make sense, so I'm deciding what to do with the fight wheel, pending further research:

The rest of the build - even the PE - has been straightforward. Some very small parts and hard to reach places that need sanding/trimming but not bad. The fuel tank in these pictures is just pressed on; it and the seat need some careful trimming before they fit properly:


I painted the body in a mix of NATO black and steel (Mig ATOM paint, not AK for a change...) although I painted the fuel tank and fenders with the AK red pen (you can see the remnants of the first paint tests with red and blue). I'll see how it looks tomorrow before I decided on the final color. There are still a handful of parts that need to be added, but it's easier to paint them first.