This all began with a classic Airfix blister pack 1/72 Hawker Typhoon a good friend sent me (thanks a million, hamsterman!).
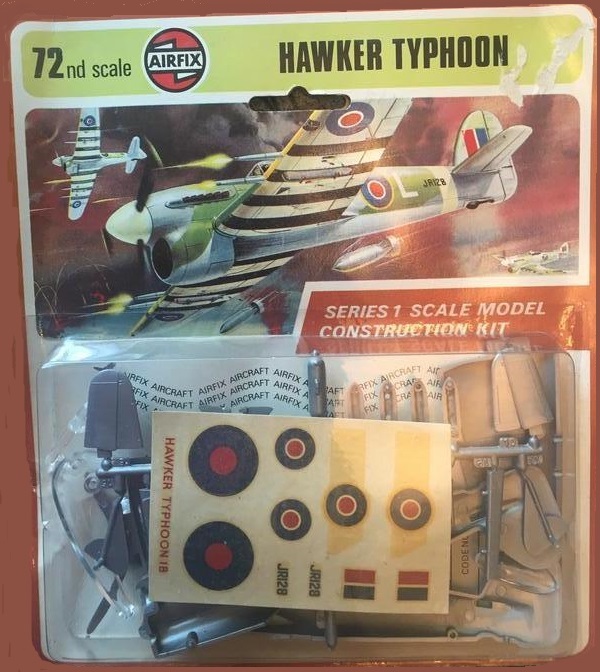
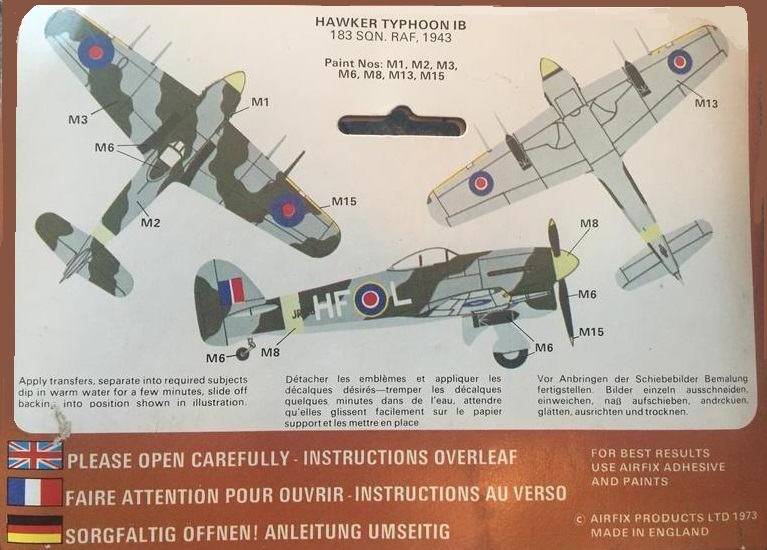
You've got to admit, the art on that header card really captures the essence of this iconic aircraft. I felt a little guilty building such a great styrene time capsule. That card is pretty sweet and includes a nice paint guide on the back which I customarily ignored.
When you fold the card out, Airfix has very cleverly and thoughtfully provided instructions which were also customarily ignored.
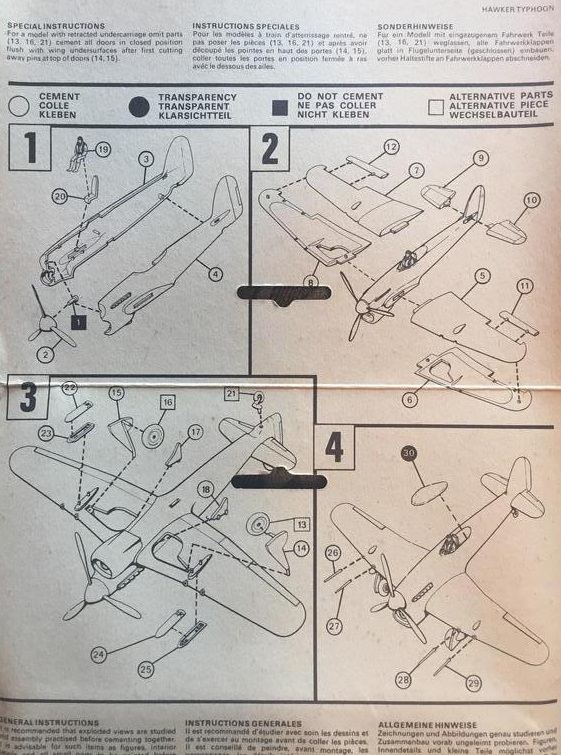
A kit like this almost makes me feel sorry for those youngsters that can't appreciate a model of this vintage. While there aren't a lot of bells and whistles, it sure looks like a Typhoon when built and one would be hard pressed to find a Typhoon with simpler assembly.
Of course, mine was going to be a little bit different.
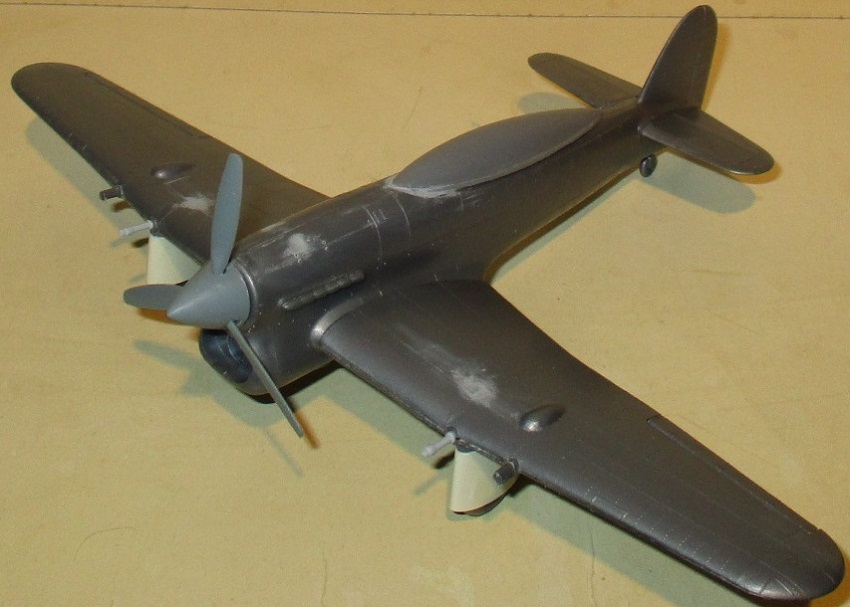
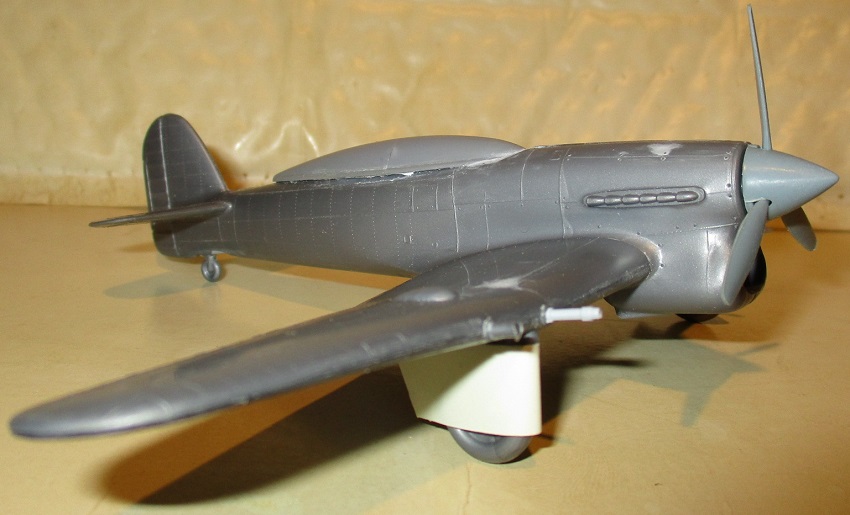
While this kit is pretty basic, I didn't see a lot of room to move given the way it's engineered unless I wanted to perform a lot of surgery and invite the Putty Monster to spend the weekend with me. However, I soon discovered a spare drop-tank half fit so well as a replacement canopy it'd be almost a crime not to use it.
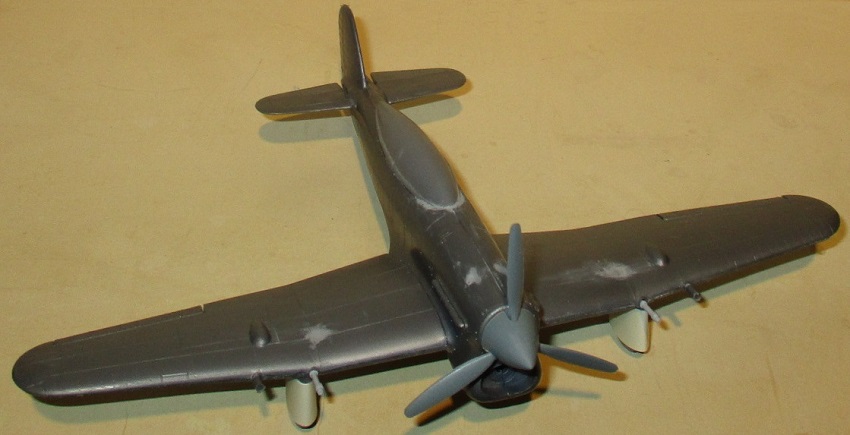
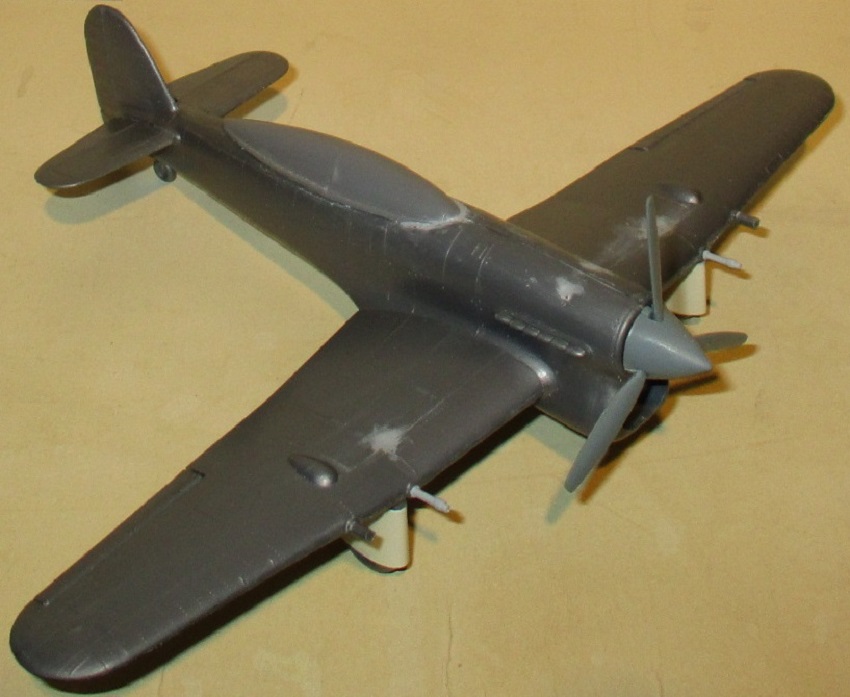
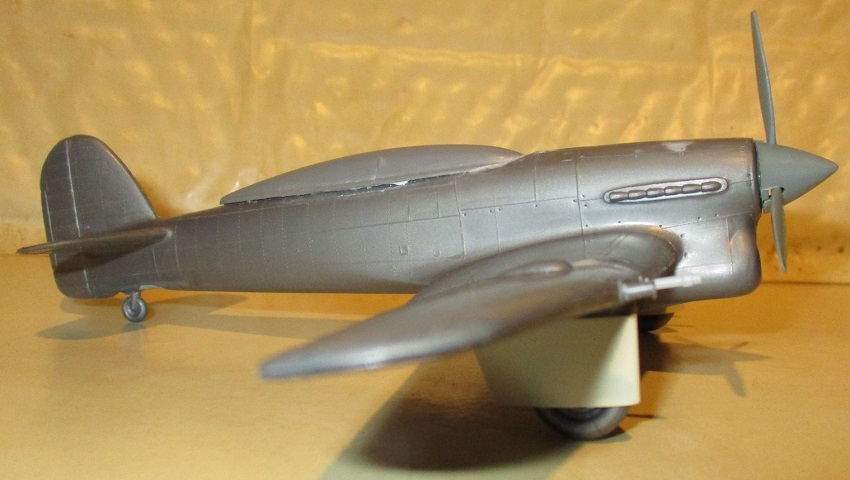
I swapped out the kit prop for a more pointy one from a P-40K and added that incredibly intimidating, streamlined landing gear which was made by wrapping card around the bomb shackle fairings and sticking a wheel in the bottom.
That sounded far racier than I meant it to.
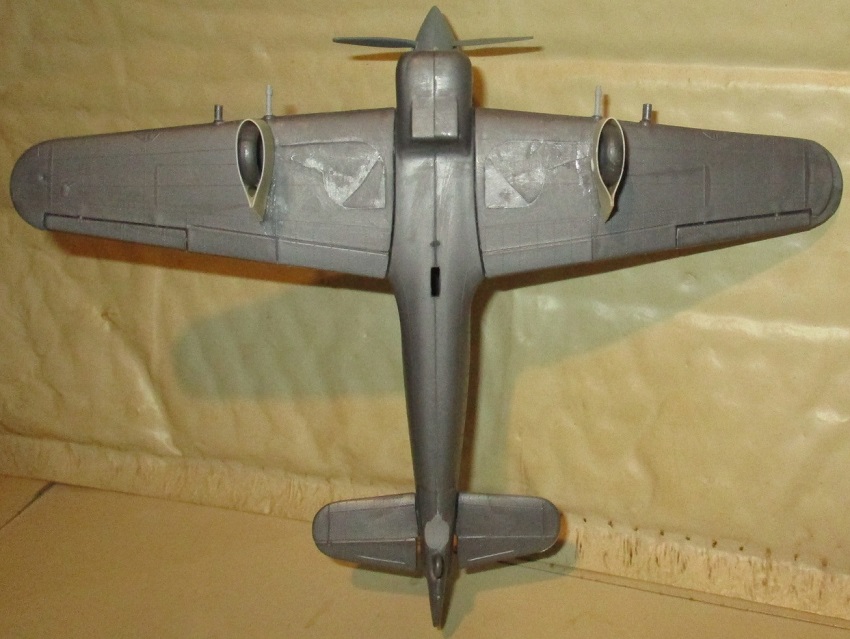
I also replaced the kit wing cannon which will be hoarded for future use. Landing gear struts and sprue nibs were used instead.
In a rare fit of conscientiousness, I puttied over the landing gear door seams.
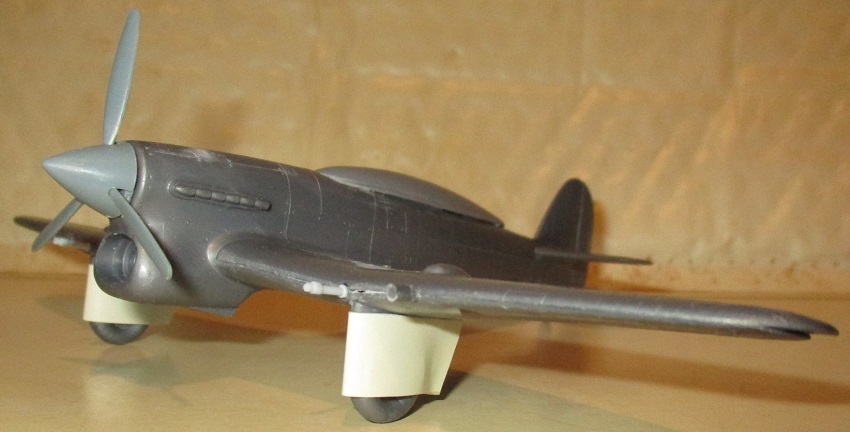
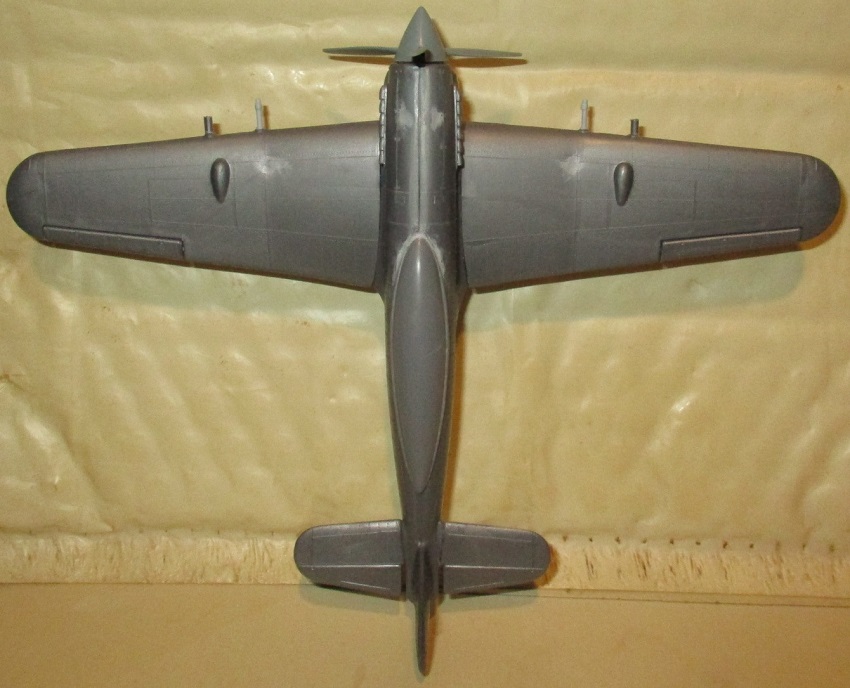
Here's how it all looked before paint.
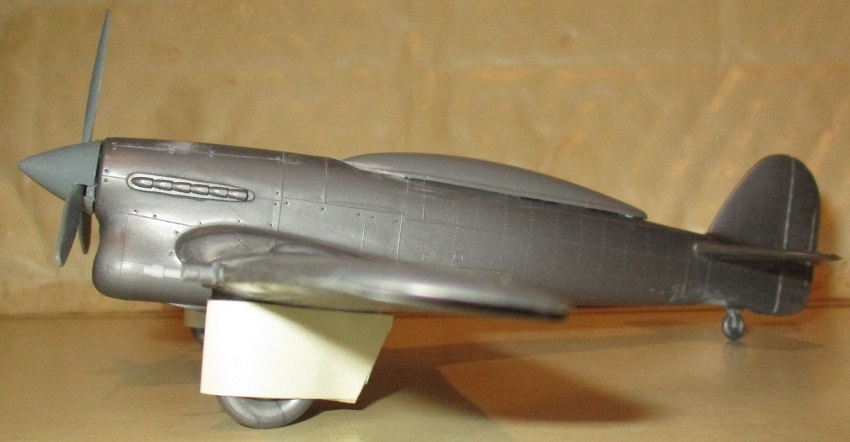
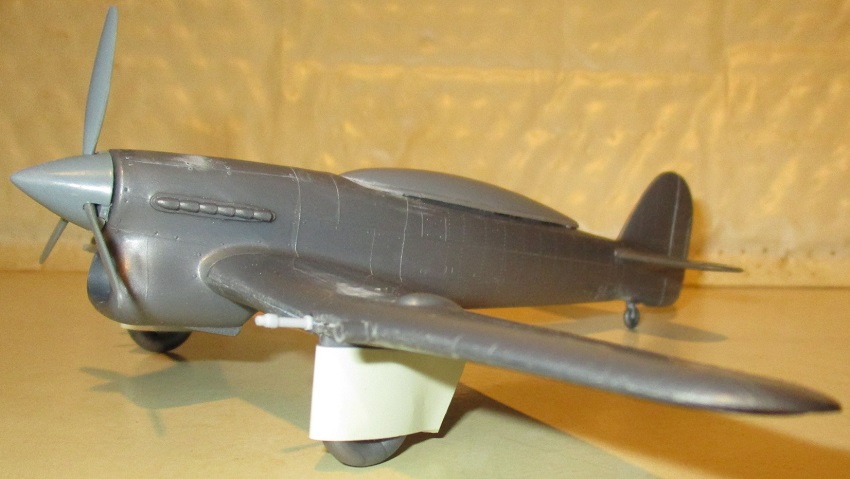
Speaking of paint, the old hairy stick made yet another appearance, loaded down with a lot of Model Masters Flat Black acrylic.
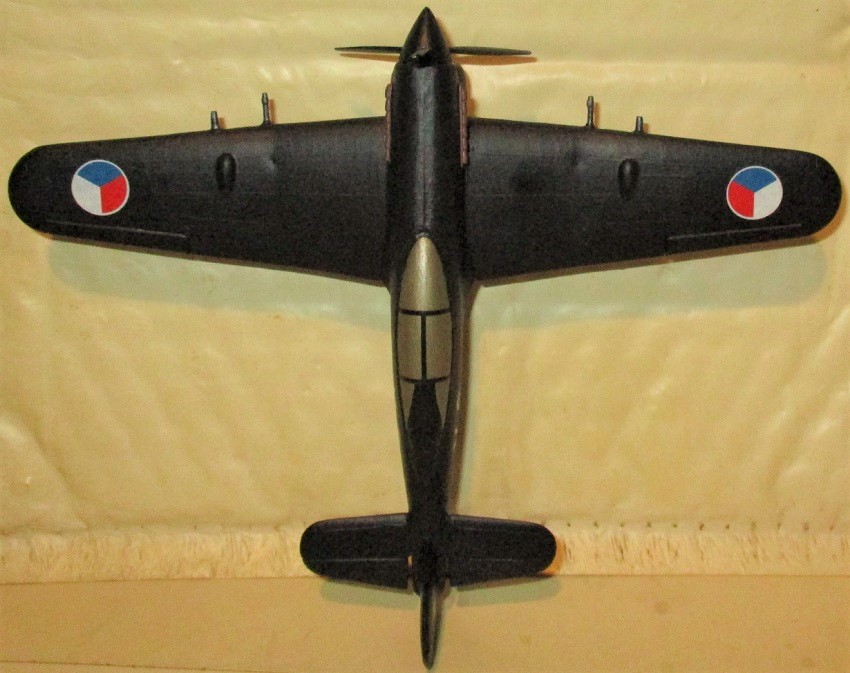
The canopy was painted Model Masters Jet Exhaust. I used a dab of cheap, craft-store metallic on the intake and the guns & exhausts were done with custom mixes.
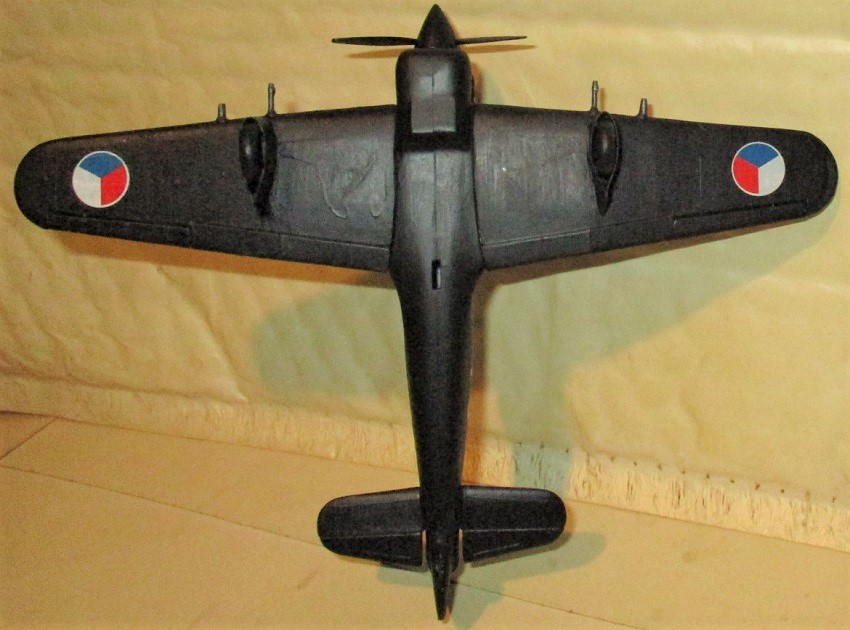
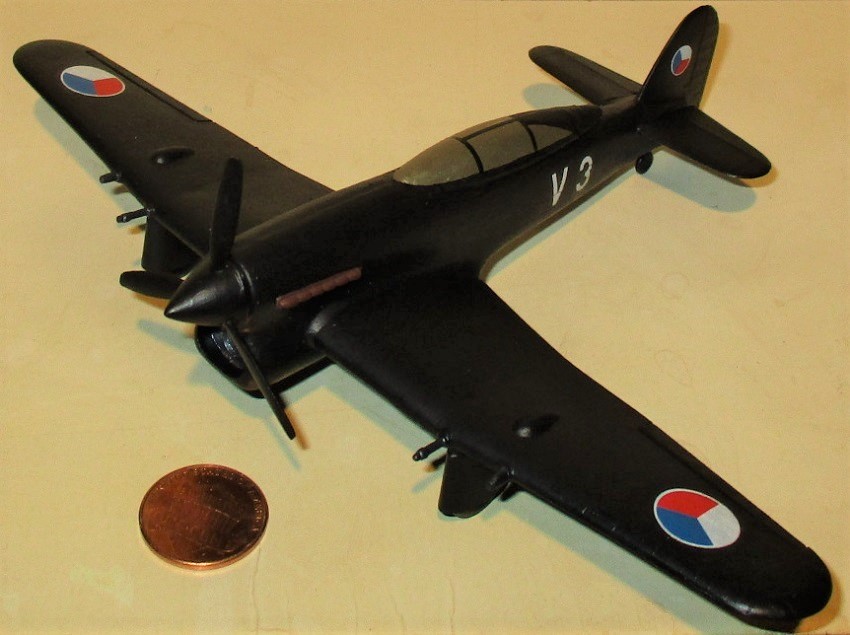
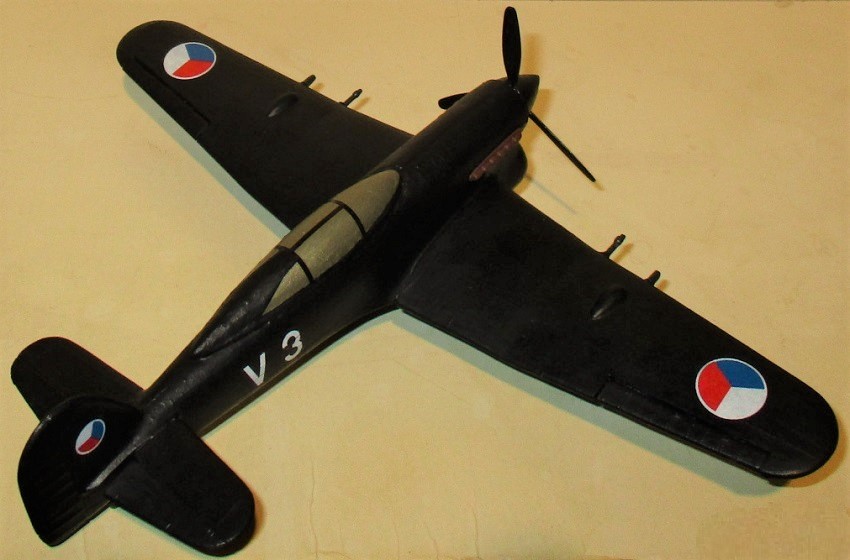
Decals were easy and all came from a sheet for an actual Avia but I can't remember if it's the B-35 or B-534. Before I forget, here's a couple of "money shots" (U.S. currency for scale).
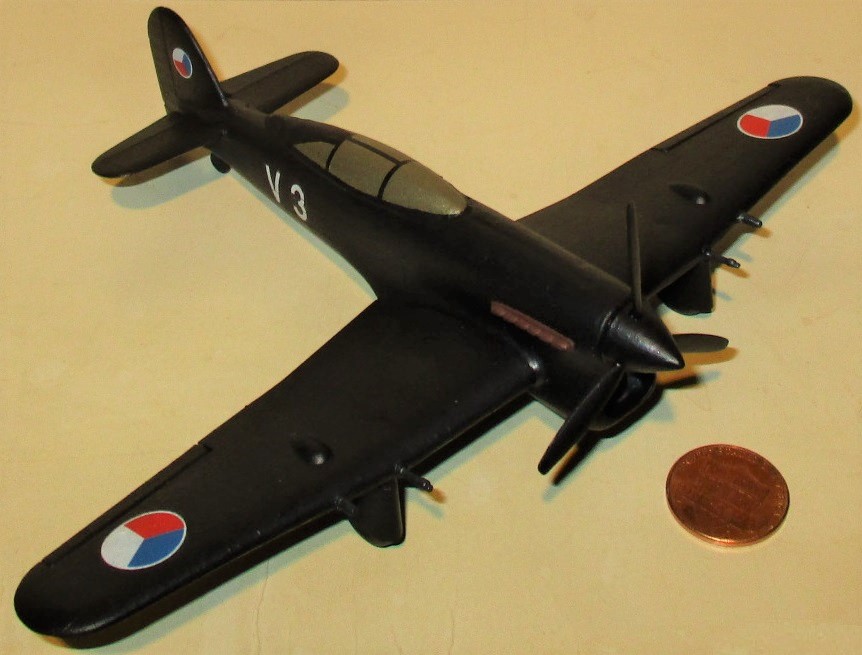
The model took me about a week or so to put together and it all went very smoothly. I'd like to thank Bill for his generosity in sending me the kit. I couldn't have done it without you!
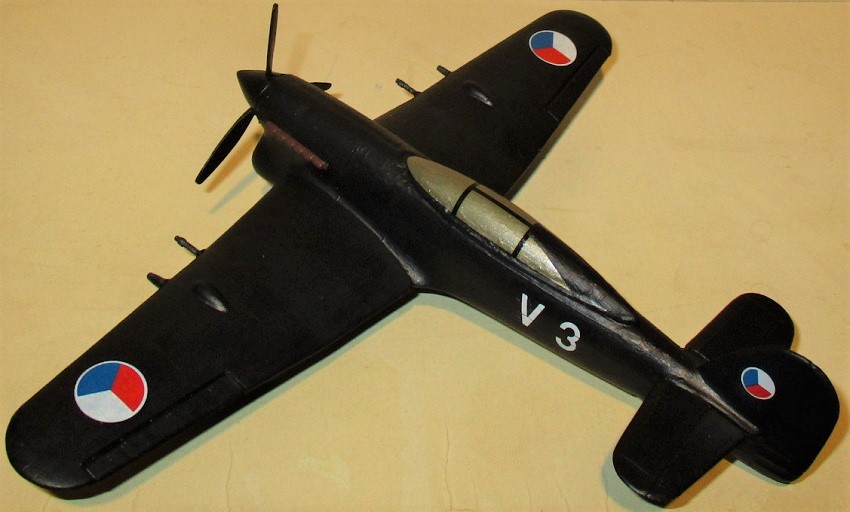
I hope you enjoyed the Avia B-355 and reading a little more forgotten aircraft history even if some of it may not seem to Czech out.
Brian da Basher


