Sorry Gents, but I'm keeping this one simple, the high wing version it is . . .

I also want it to contrast with my low wing O/400 . . .
Okay . . .
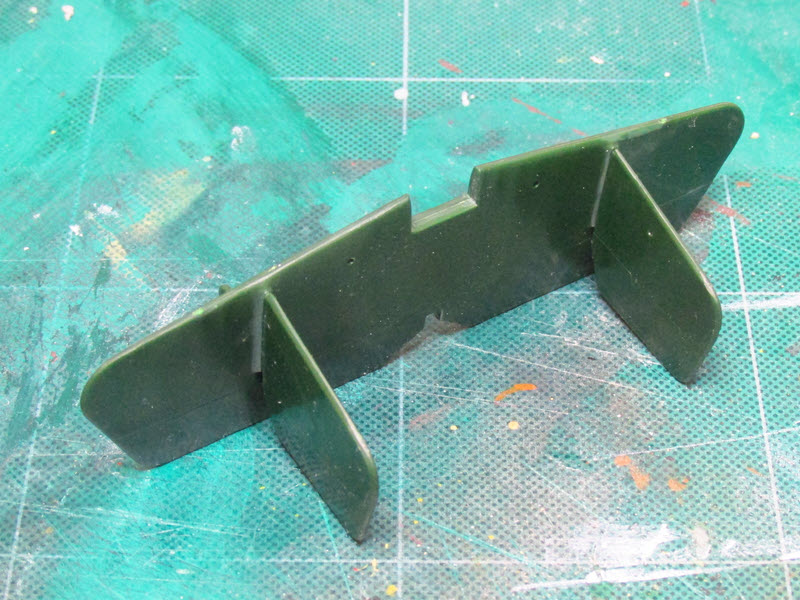
Here's the progress so far. Don't know why, bit I started building this model in a strange order. First up, the tail surfaces complete and assembled,
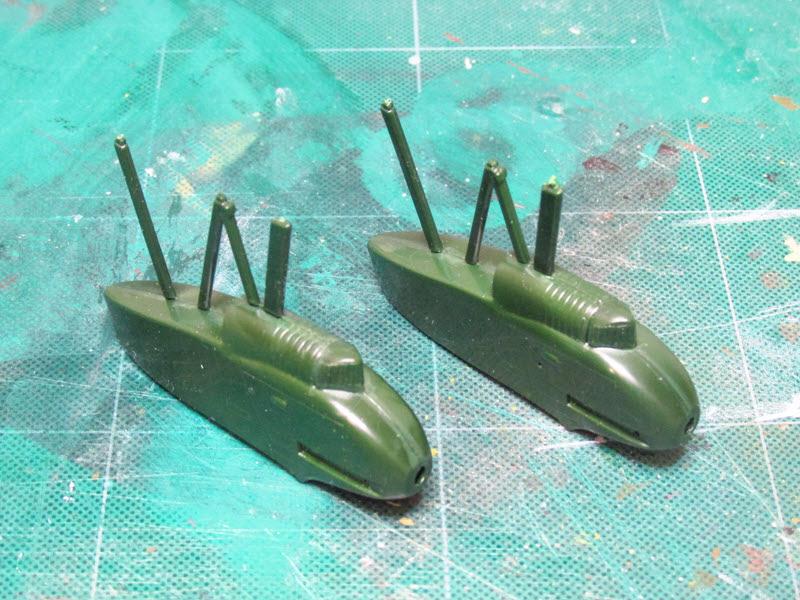
then the engine nacelles. The struts are moulded integrally with the nacelle halves, I've left them on for now, once I have the basic airframe assembled, I can work out how to arrange the undercarriage . . .
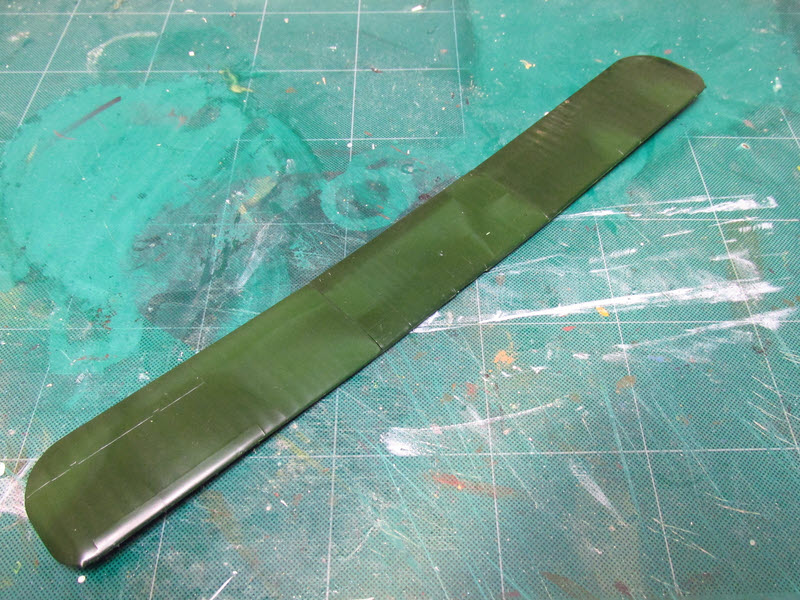
Regarding te wings, I'm only using the top wing on this build, for a change. There are five parts to assemble, two Lower Outers, from tip to fuselage side, two Upper Outers, from tip to dihedral break, and finally one Upper Inner, continuous across the fuselage. I assembled the outers first,
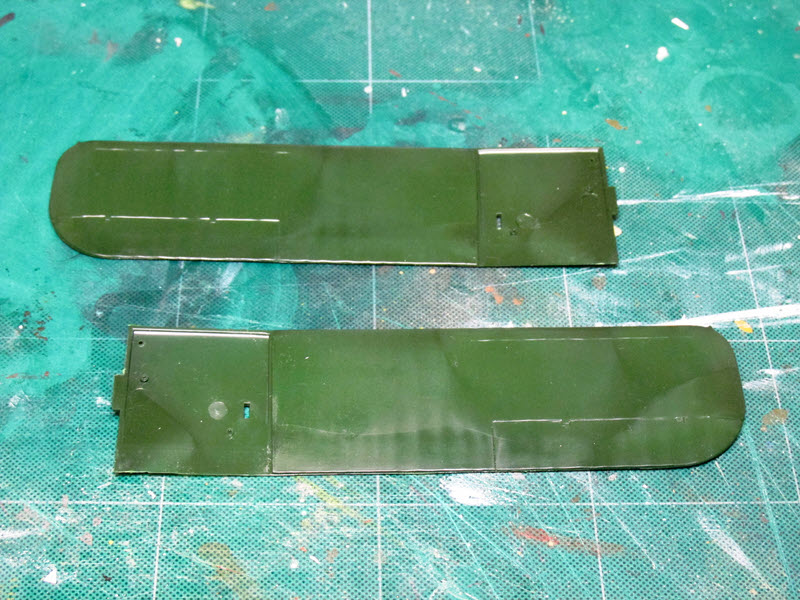
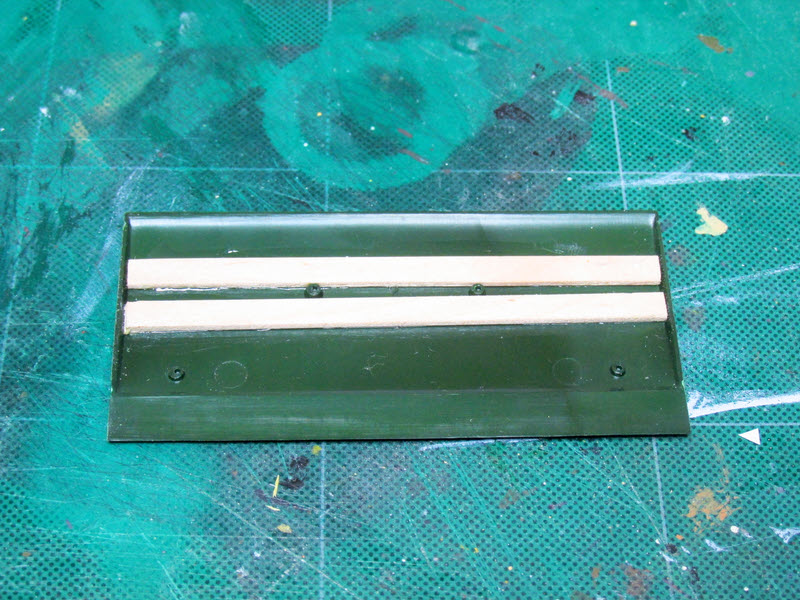
but before adding the inner section, I reinforced it with some stiffeners, coffee stirrers in this case.
Finally, the assembled wing.

But what, I hear you ask, of the fuselage ? Well, 'tis a long and complicated story . . . There are no less than five pieces to the fuselage, lower nose in left and right halves, a lower rear portion, a one piece top decking, from nose to tail, and a tail end cap. I glued the nose halves together, let them dry, then joined them to the lower rear portion. Dry fitting the top decking, there was a gap along the sides. To fill this gap, I've added strips of plastic card to the sides of the decking, these will act as a backing for the filler I will put into the gap after fuselage assembly, but before then everything inside the fuselage must be painted dark grey, as it can be seen through the cockpit and gun position openings . . .
That's All For Now, Stay Tuned . . .
cheers,
Robin.


