Greeting guys (and girls)
Well, the carrier is done and ready to photograph this weekend. But in the mean time I have made a start on my newest and most likely longest term project: The rather large and work intense 1/35 BR-52 Steam loco from Trumpeter

- Yes I know - a steam engine! WTF?!?!?
However, I have been itching like a rash to start this kit after seeing Mic Bradshaw's one at Melbourne Expo in 2012. I have stalled starting this for quite a while now as I have always been a bit nervous because of all the reviews and other build logs I have read about this kit indicated exactly how much work is really needed to make this look awesome and accurate.
Now, I am not a rivet counter by any stretch - I like to build kits for me and my tastes, but on this occasion, I want to at least have an accurate depiction of an actual real life subject. This means I will have to do away with my normal style of detailing and try it differently. It'll be a challenge alright, but I think I'll manage. At the very least, I'll give it a good honest go.
But it will have a not-proven-to-exist-and-not-proven-to-not-exist paint job..... a very long winded way of saying a WIF job. I'm thinking maybe a Forest Splinter type scheme.
Well, there were over 6000 of these made - so who knows what happened to ALL of them?? And maybe somewhere at some point back in time, an 'out-there' German thought he'd experiment with different types of camo? I thought like the grey and yellow scheme that's on the box, but not - more 3 colored and broader splinters might look OK.
I'm also thinking a Frankenstein kind of look as well - cobbled up bits and bobs from other engines to make this one go again. It's as about as WIF as I intend to go though
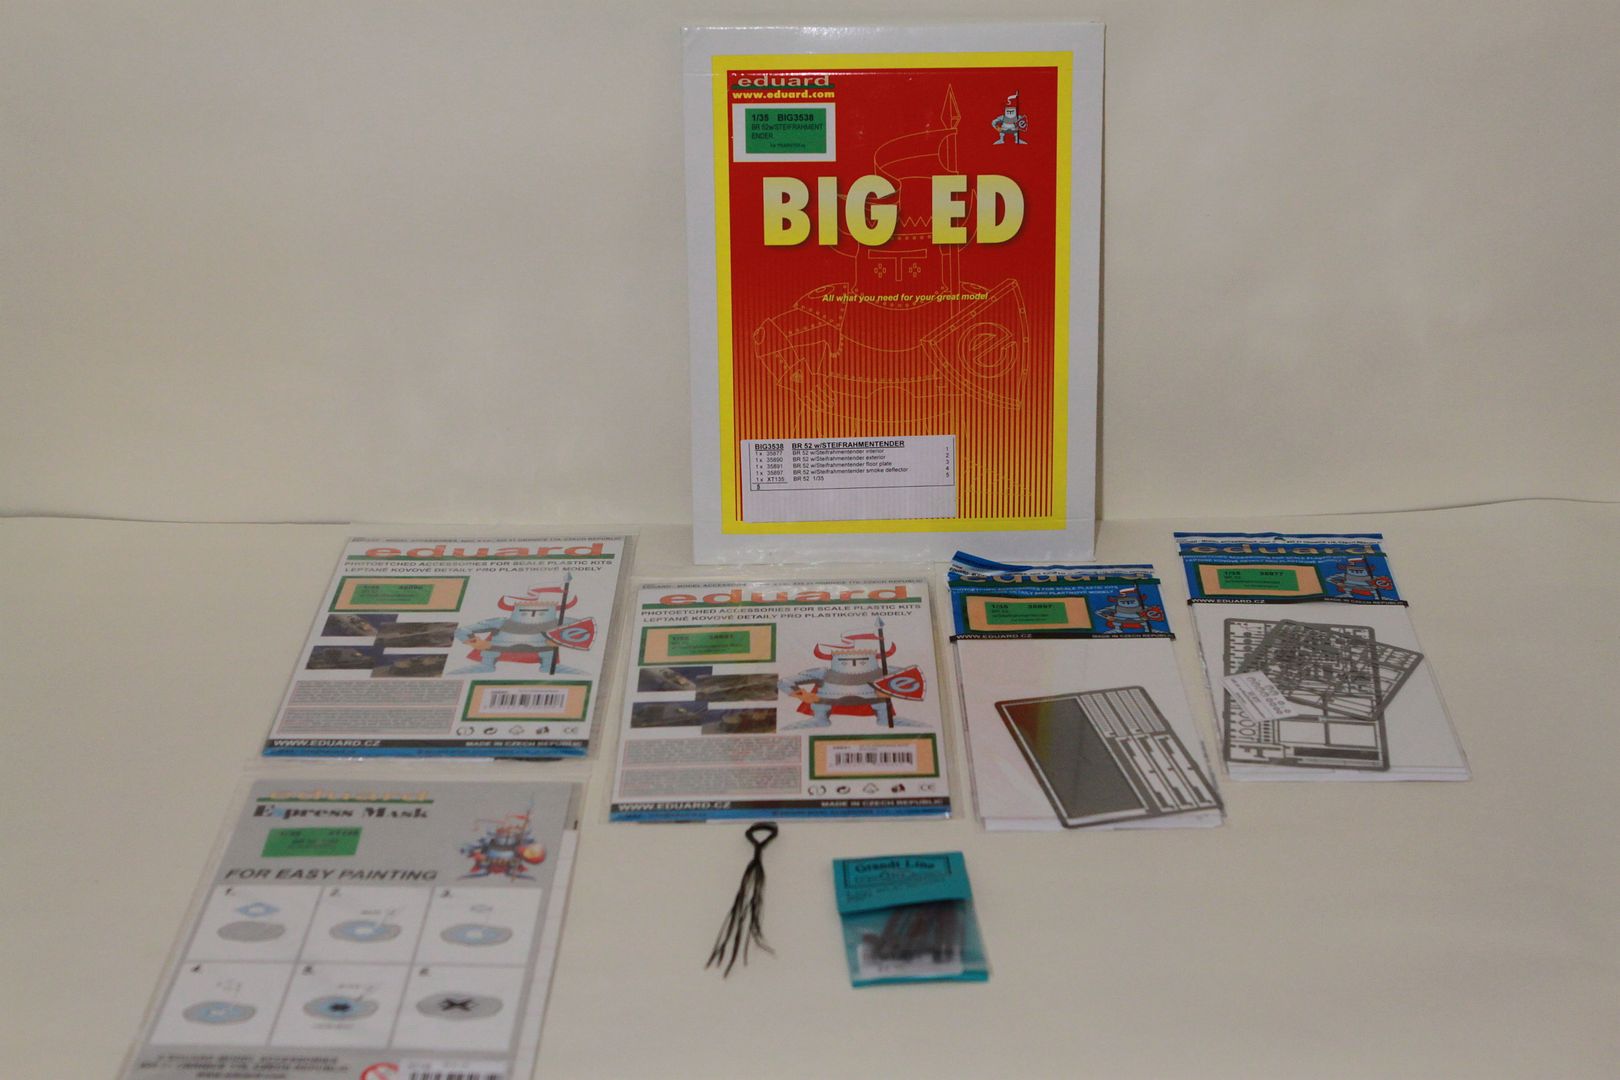
To help me achieve this, I have bought the following bits and bobs:
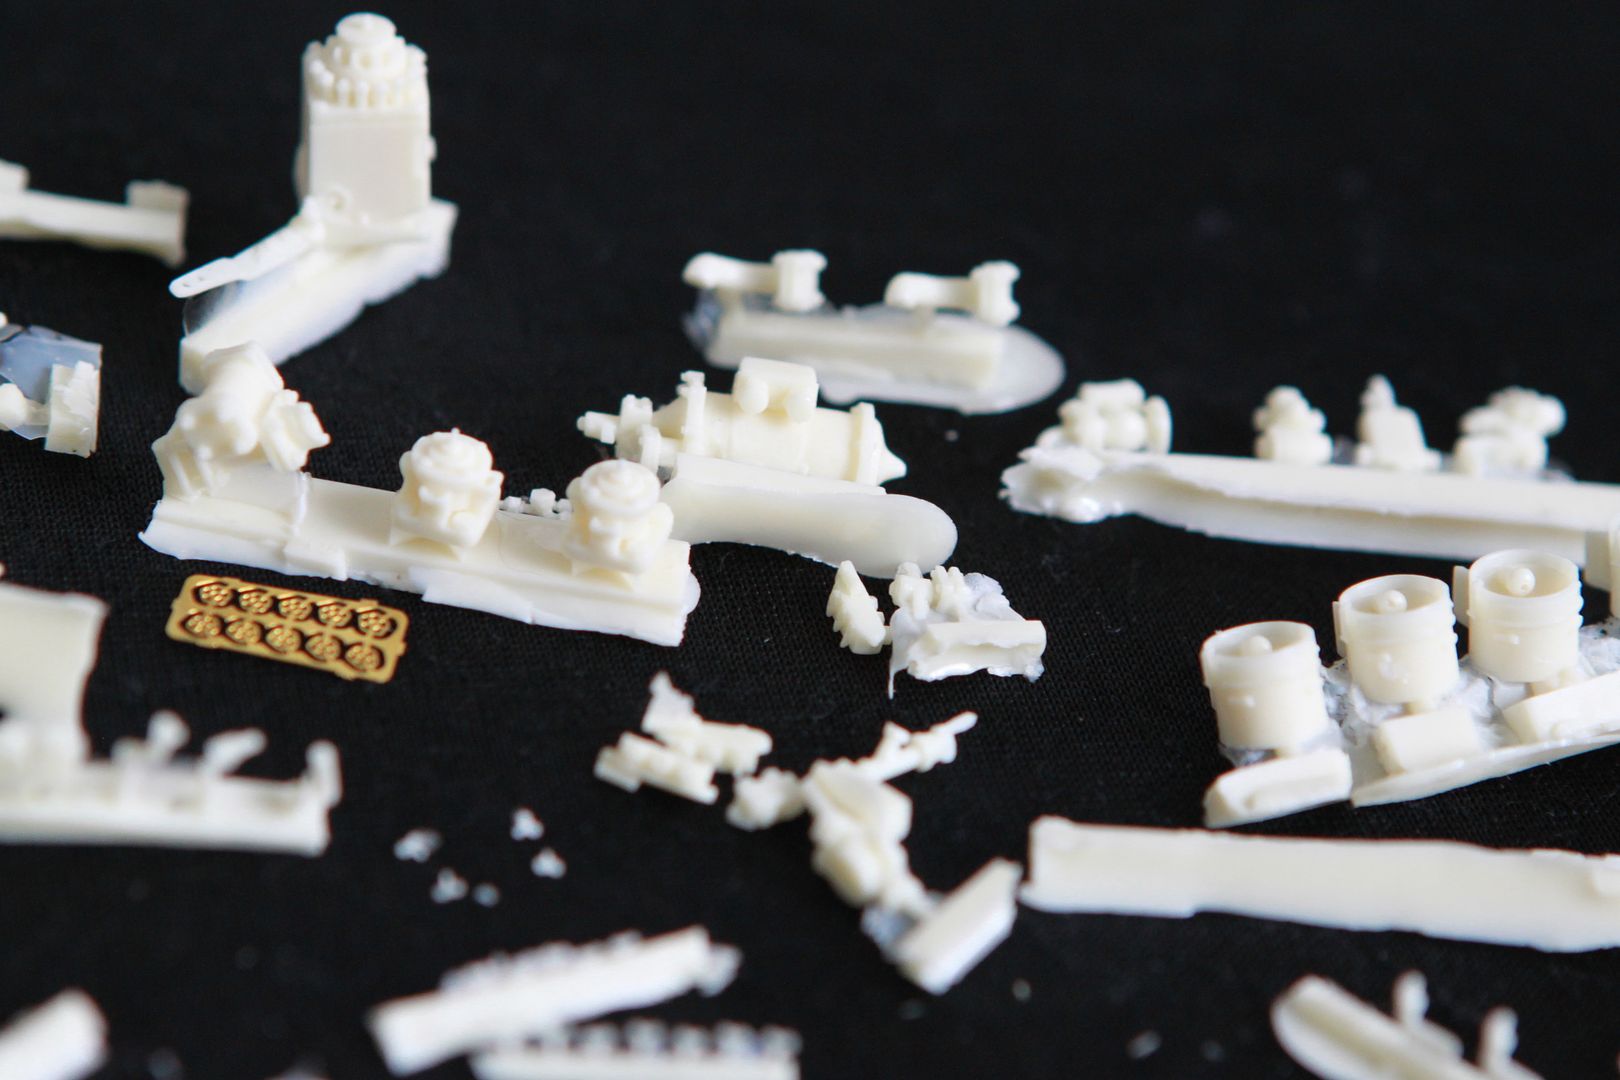
LZ Models Resin AM set
Armour35's 1/35 scaled coal (yes, you can actually buy scaled coal!

)
Eduard "Big Ed" PE set
3x 1mm GOW bulbs (in case I feel the need to light something)
1MM Styrene Hex Rods
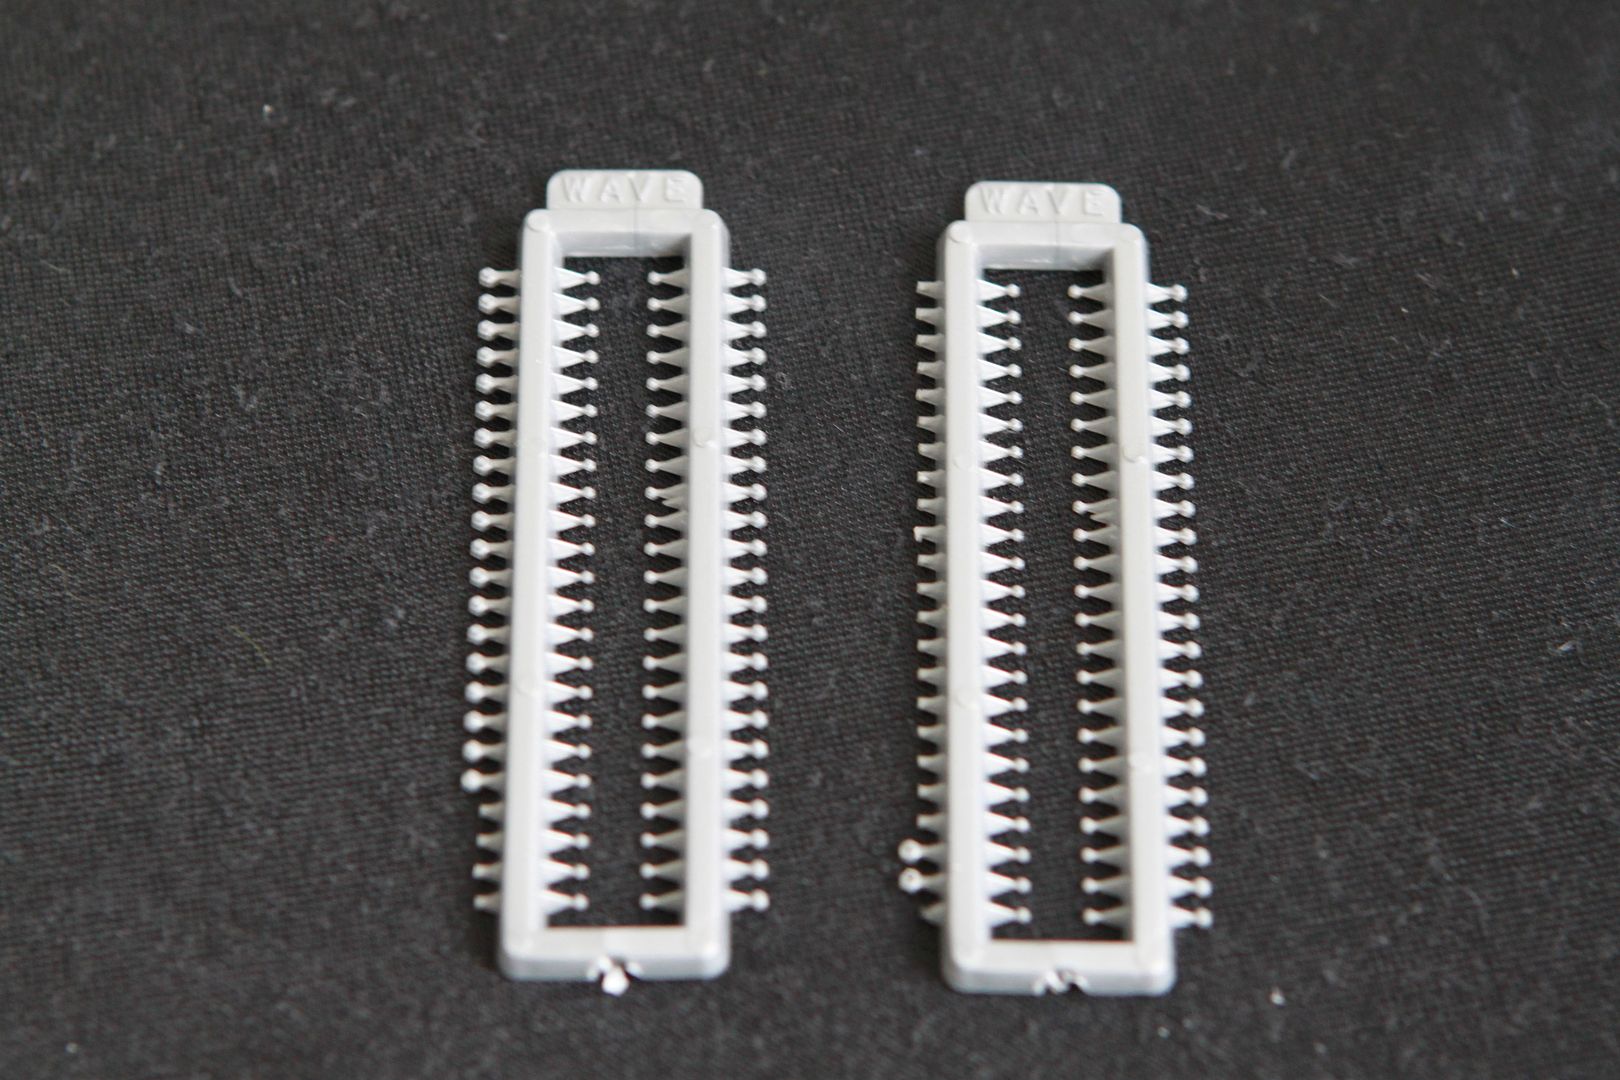
I also had my mate cast a number of frames of WAVE's mixed sized nuts and bolts that I had left over from using them on the Venator as Turbo Cannon muzzles. Very handy things these nuts....
A large range of various sized lead wires for extra detailing (which I intend to do a lot of - willingly or necessarily)
And finally, I bought a set of 4 RB Models Metal buffers for the just engine - not the tender as well. Or maybe I'll use one set one the front of the engine and the rear set on the tender - just the exposed ones. The kits ones will do fine for the join between the engine and tender.
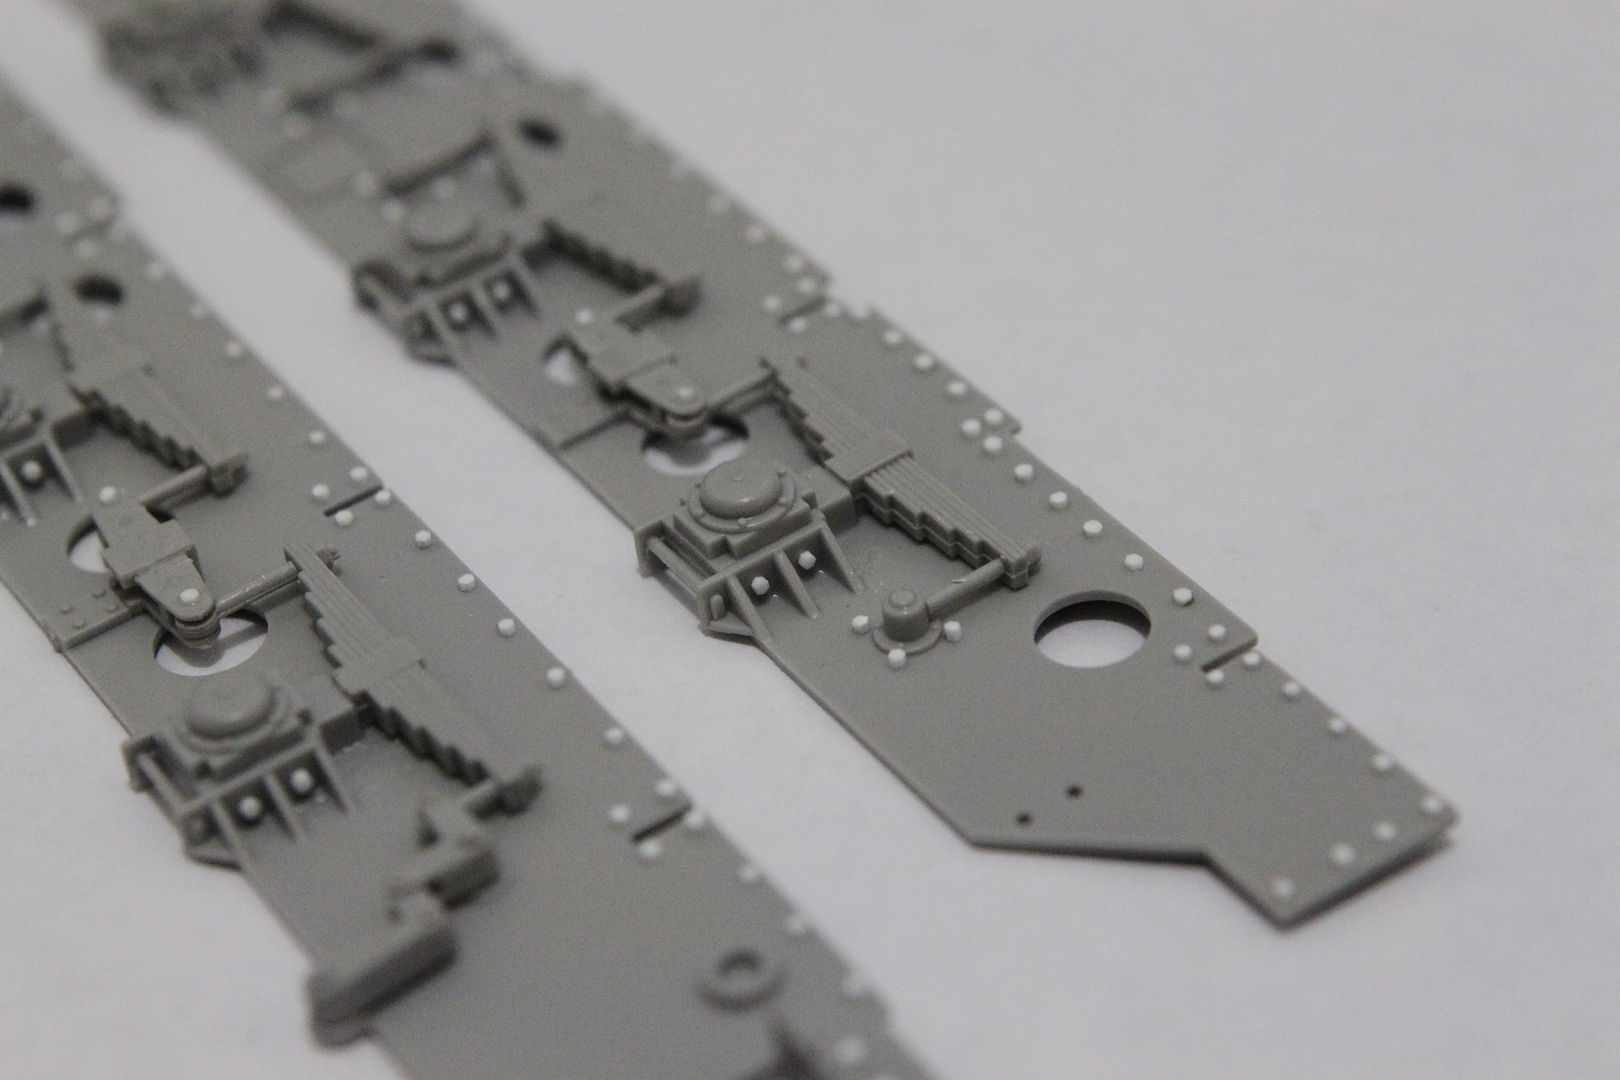
So armed with my small selection of AM parts and large amount of reference materials, I have made a start!
I have gone a bit weird and have actually started making the tender first. I did this for a couple of reasons - well, mostly one:
practice.....practicing weathering using pigments and paints, and using PE parts for the Engine.
I have never used pigments before and I have
extremely limited experience of PE sets. So instead of screwing up the main engine set and kit itself first, I thought I would start with something that no one really looks at that closely and something that is replaceable if an absolute dog's dinner is made of the it (the CMK Resin tender is available as an option if things go horribly wrong - excellent quality but
VERY pricey - like $200.00AU pricey
)
First pics - the extras!:
the WAVE frames I was talking about earlier:
There is the other stuff, but I haven't photographed them.
And the following pics pretty much constitute all I have done so far - which is not a lot:
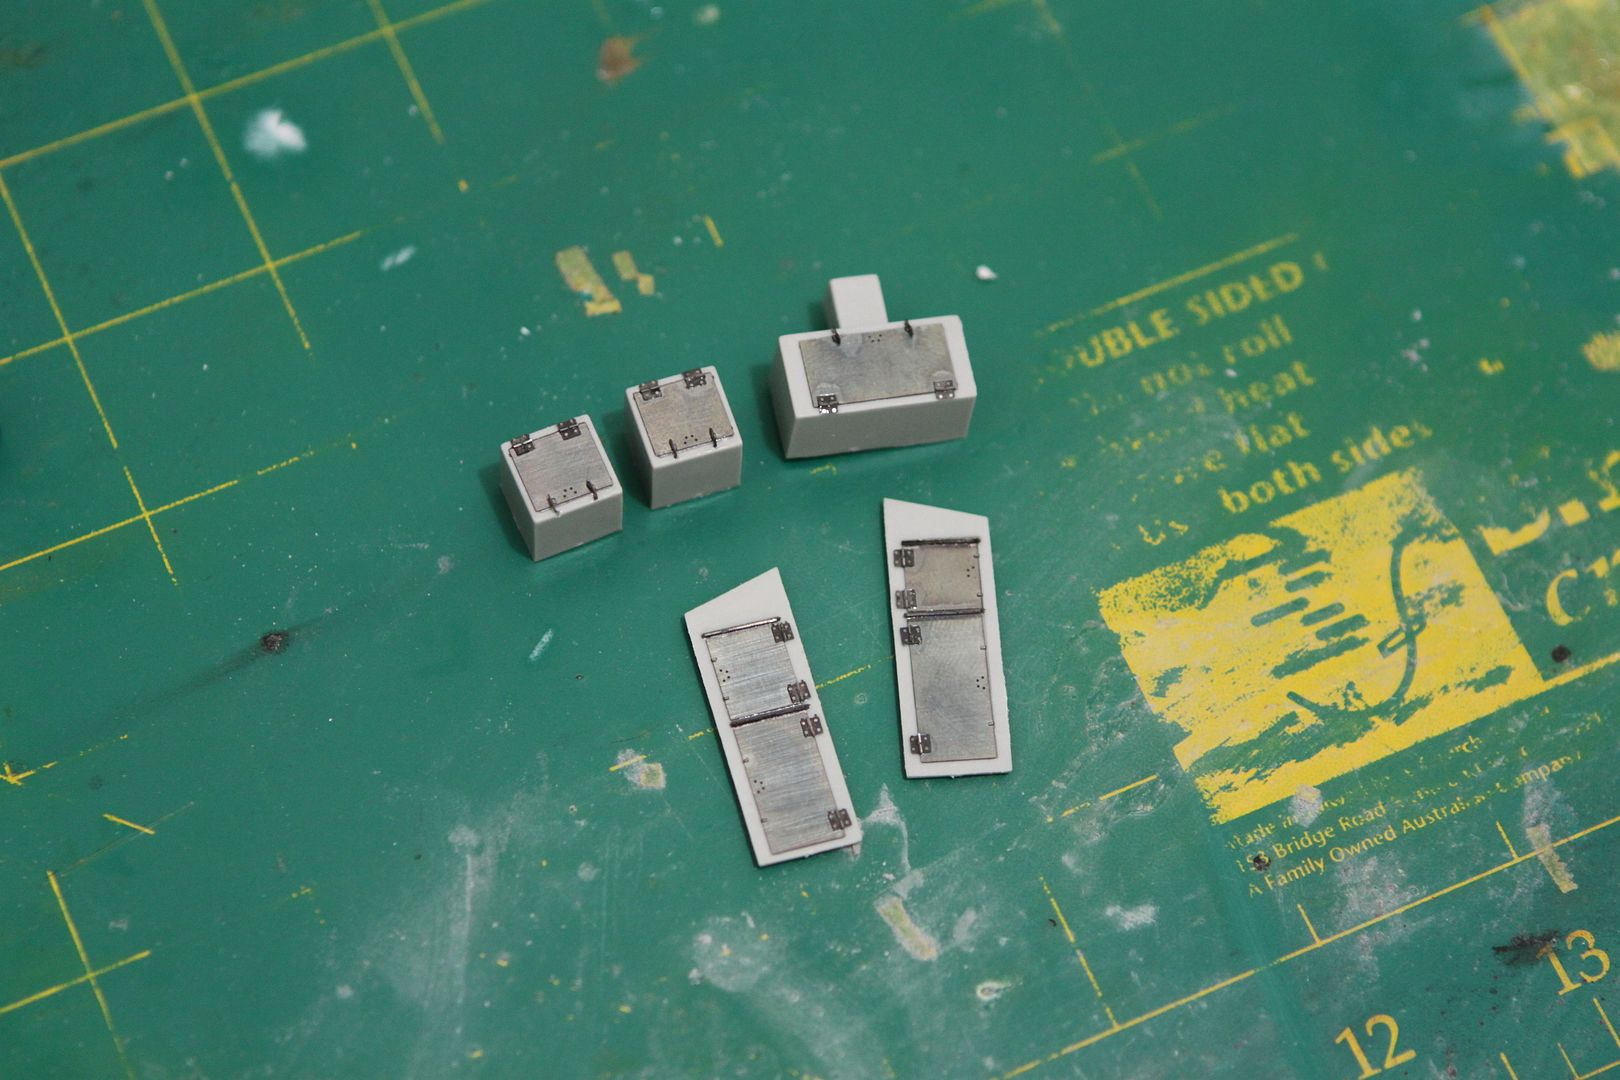
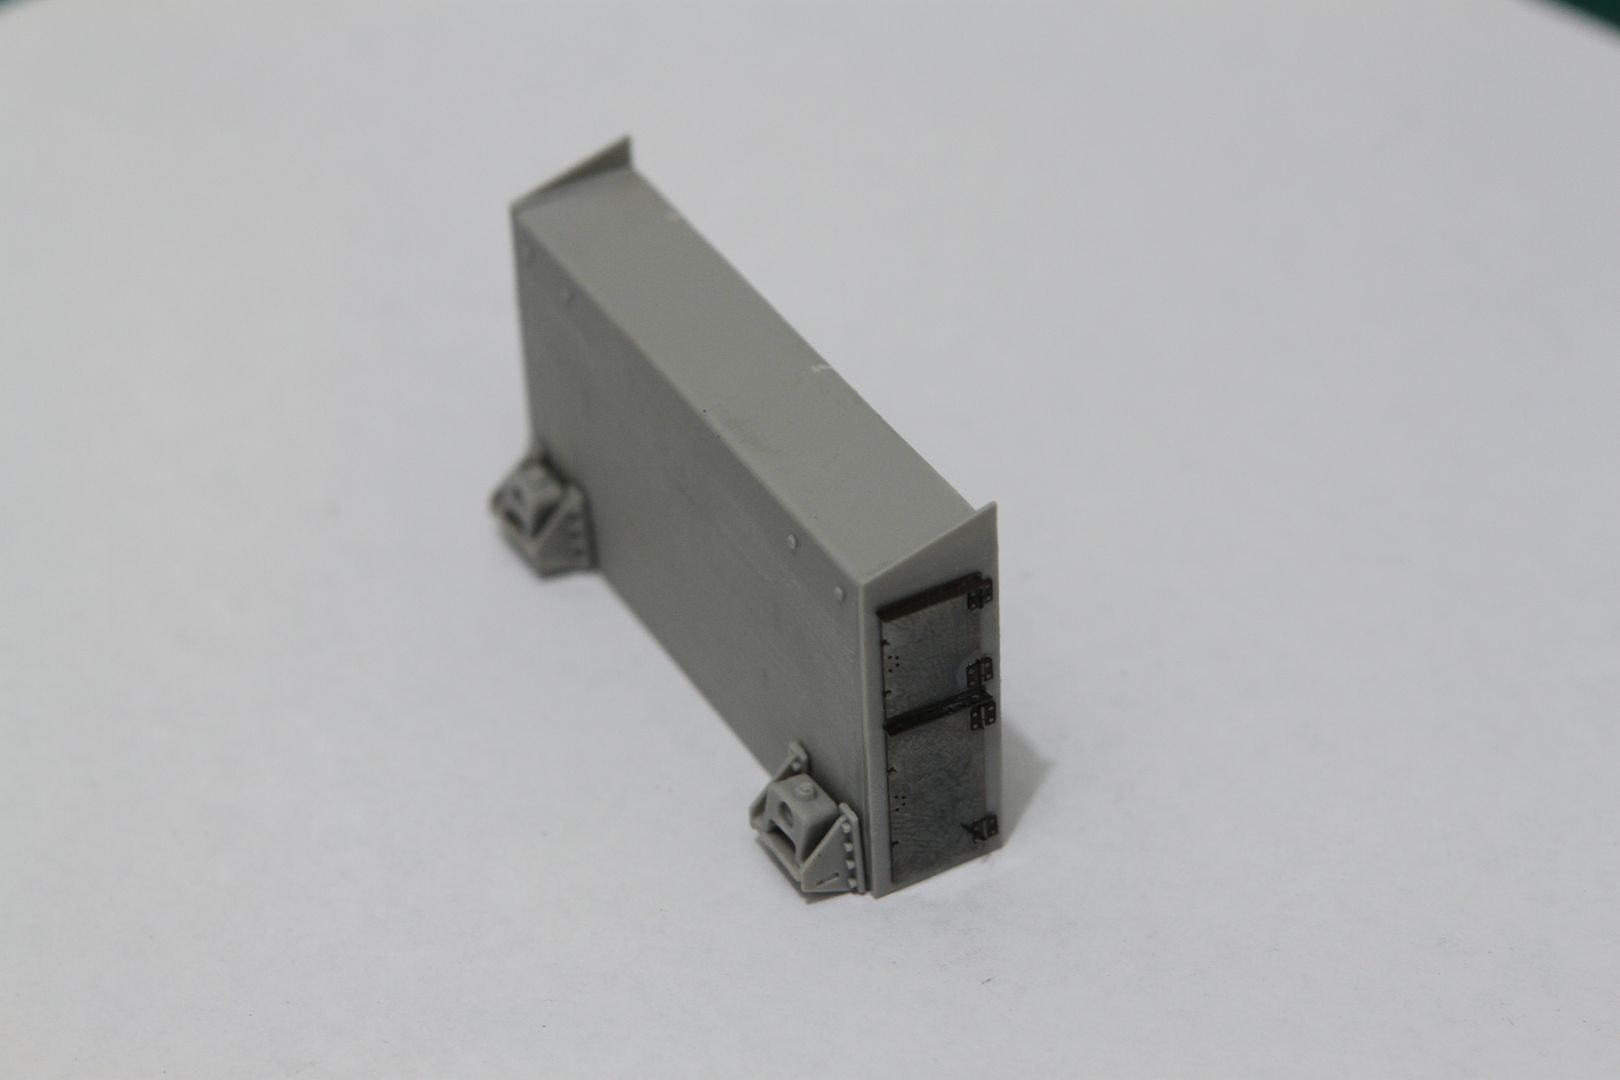
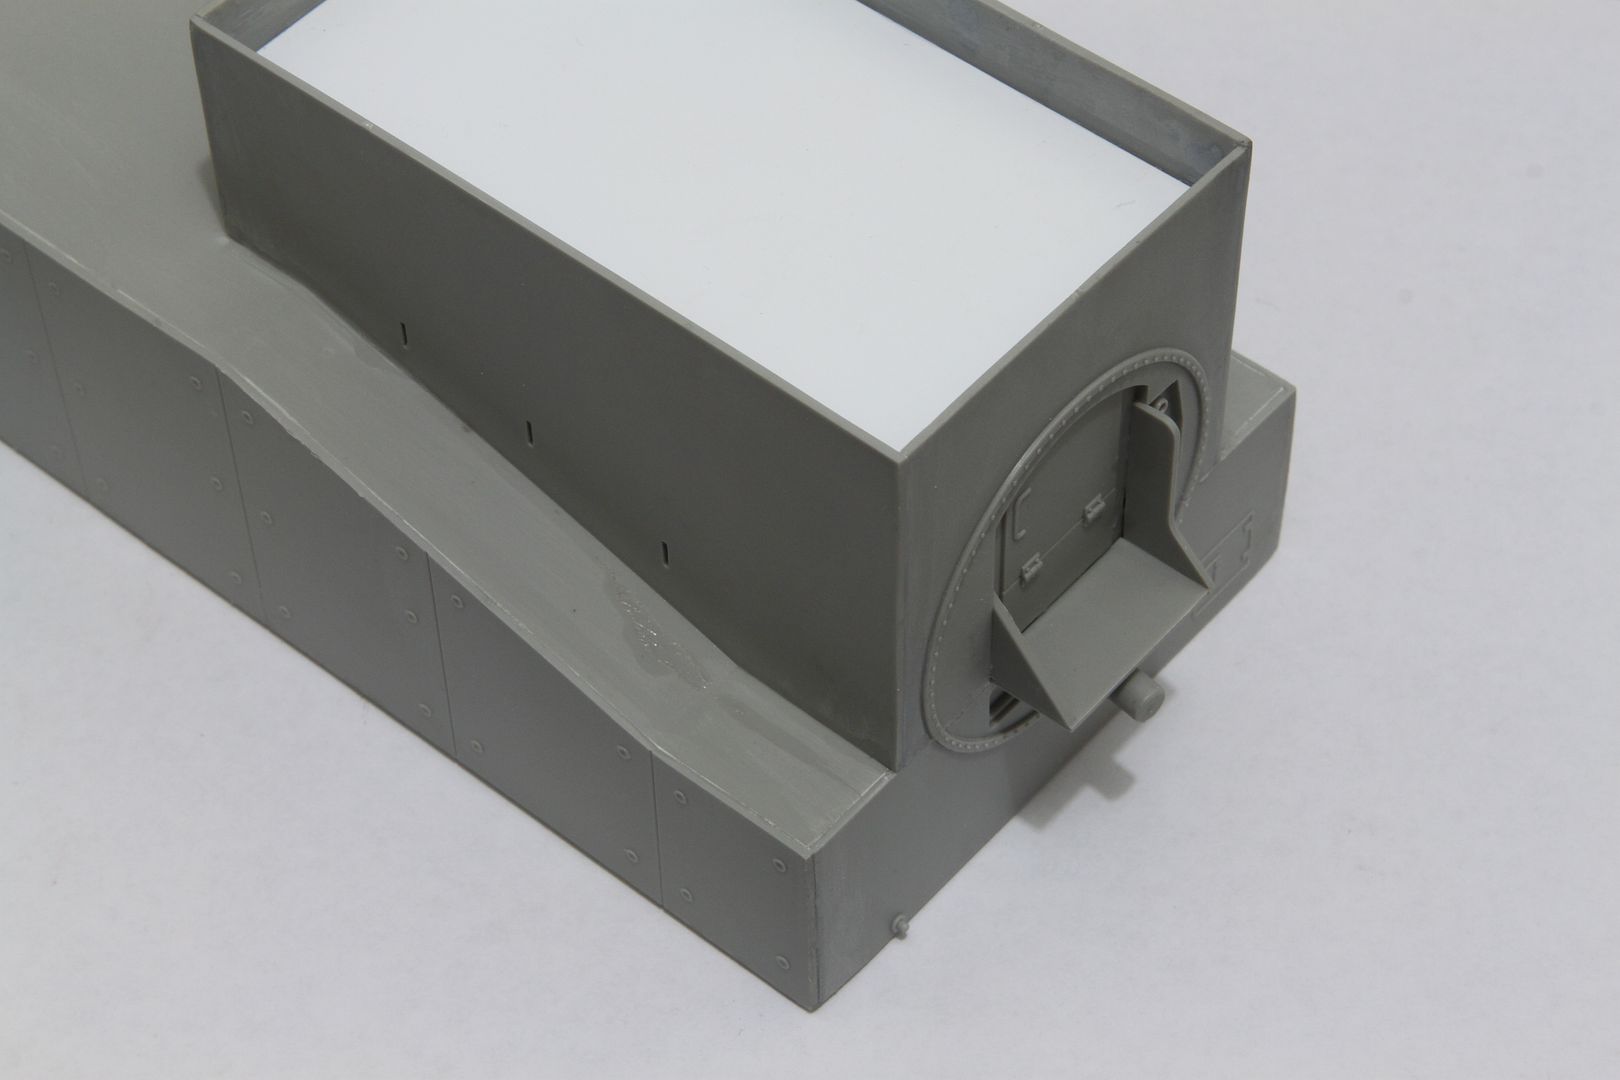
Finally, the following pics are the result of my very first time using not only pigments, but also the "hairspray" chipping technique . I've always wanted to give it a bash, so this was the perfect subject to try it on.
I have
tried to make it look rusted and well worn. The way I figure it, these trains were often painted on the outside, but not so much on the inside. In fact, probably never. So it (the inside) is going to see a lot more damage from water, track crap and other such variables which are often covered up or treated quickly on the outside. I hope that made sense....
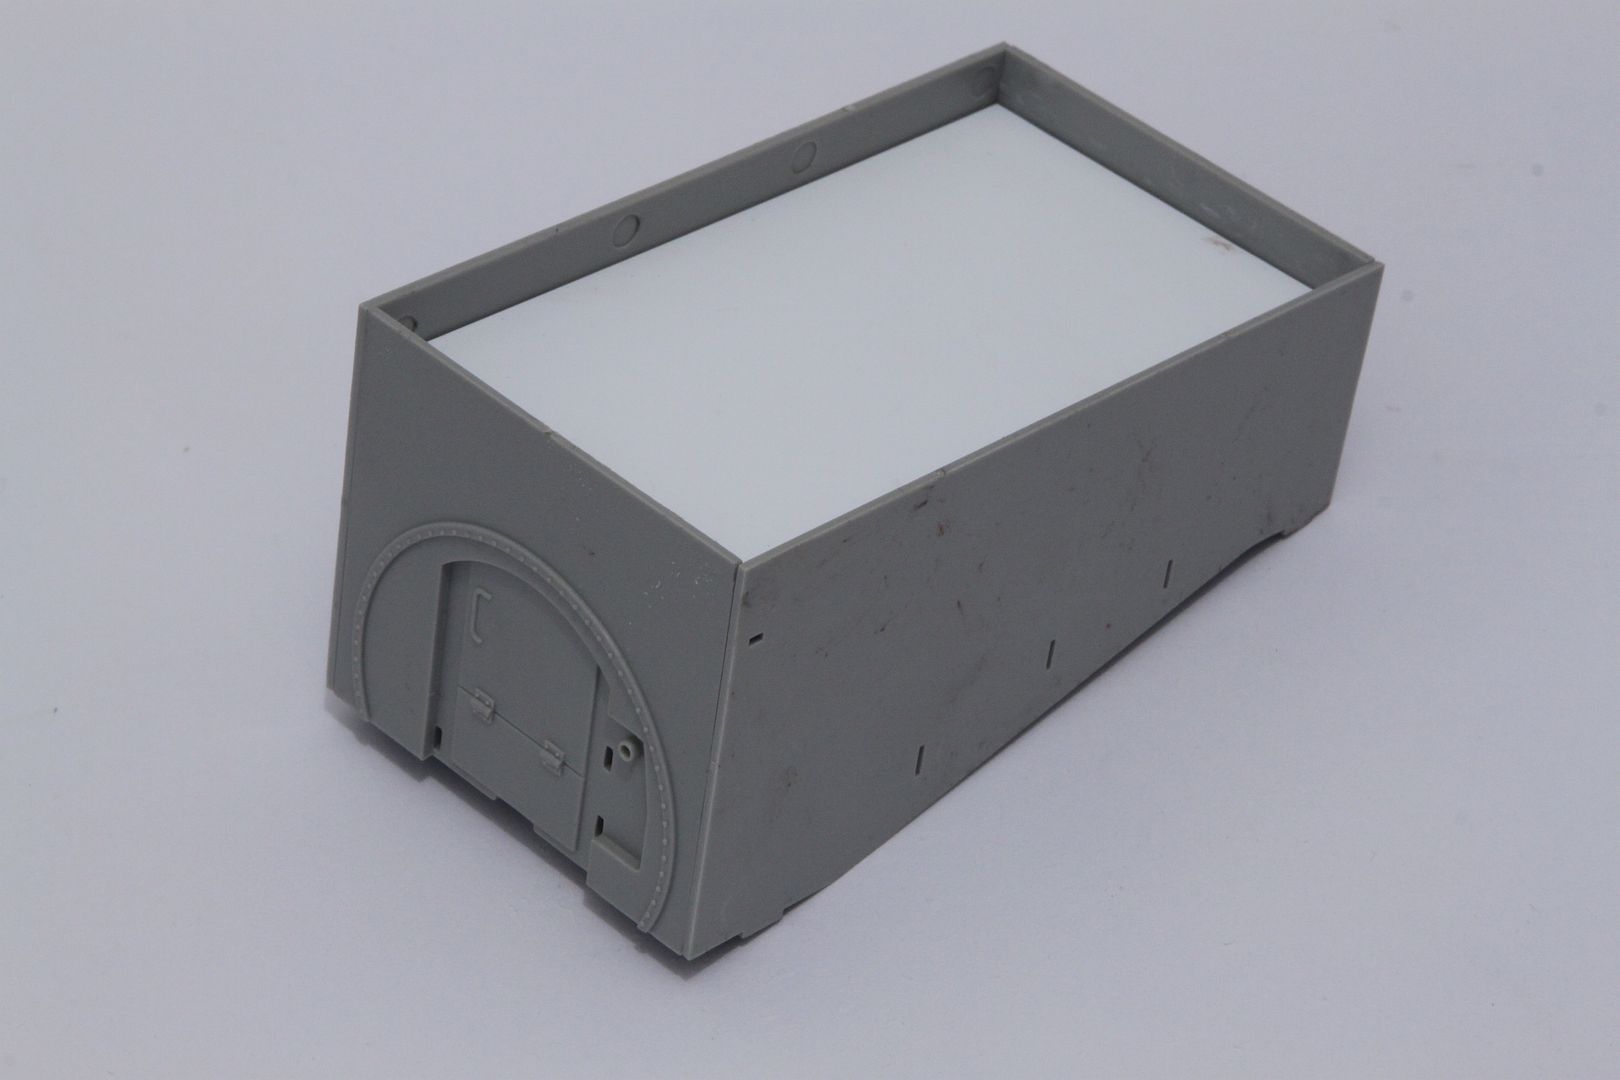
I am seeking your honest feedback here. If it looks really obviously wrong for what ever reason, tell me now so I can repaint it before it's too late, or where it could be done better/differently.


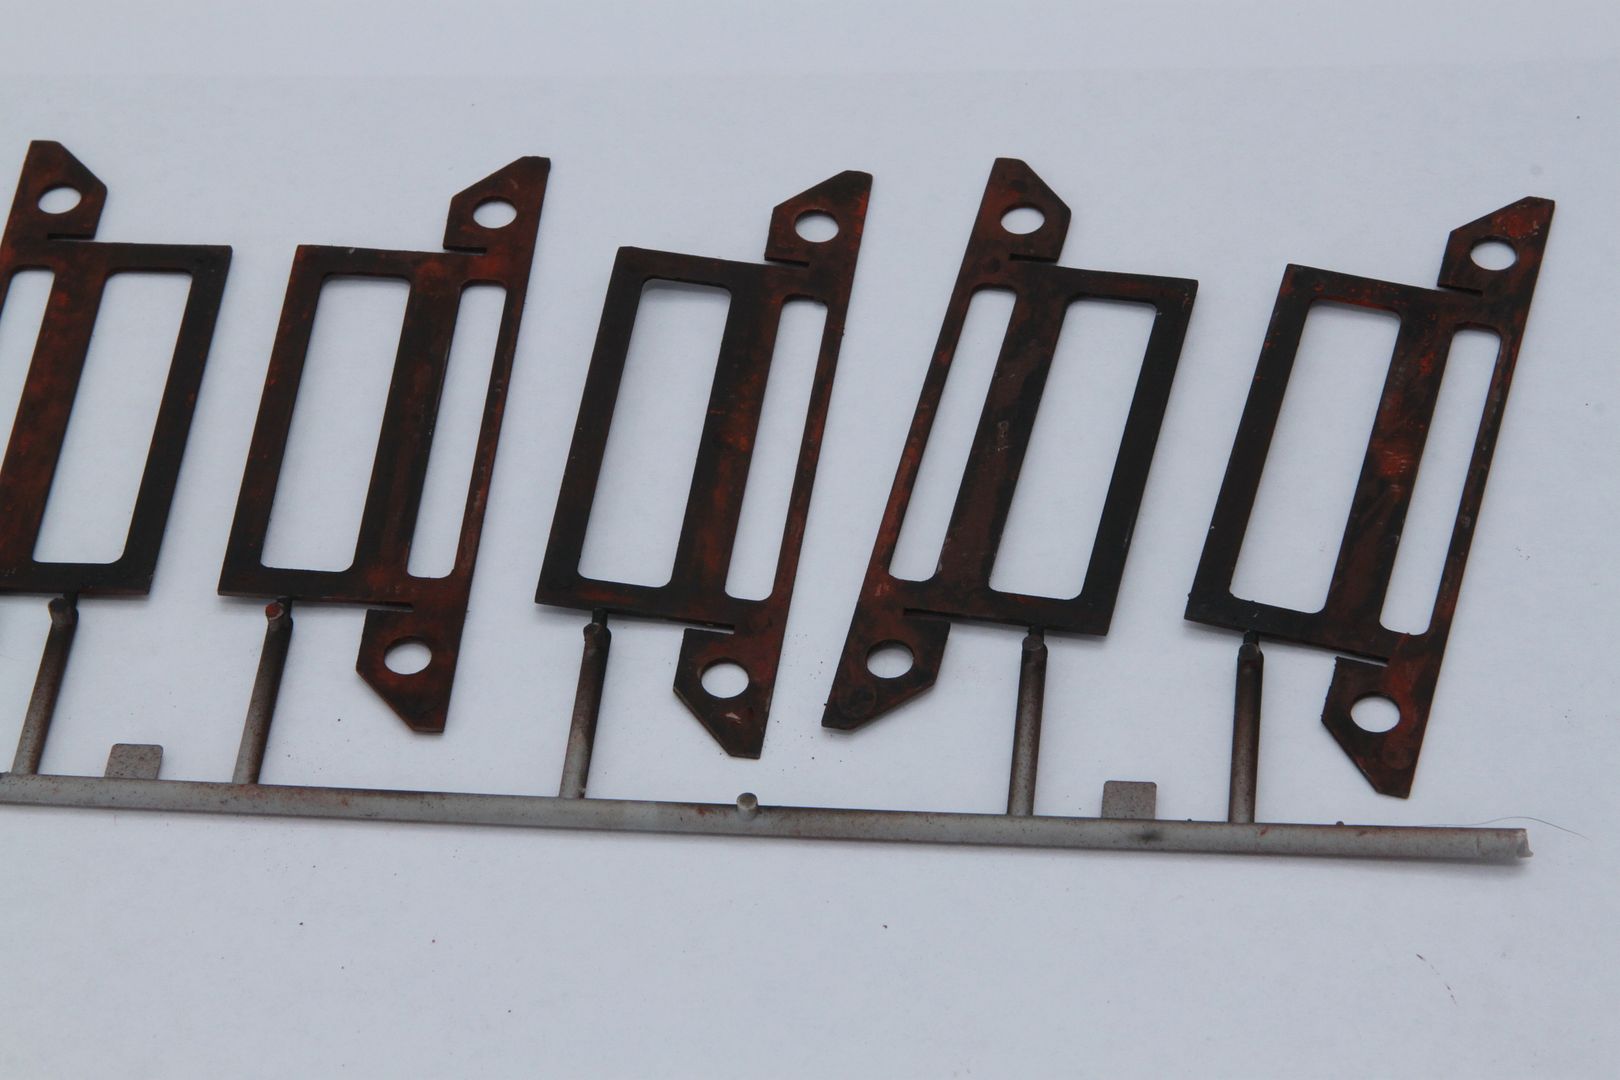
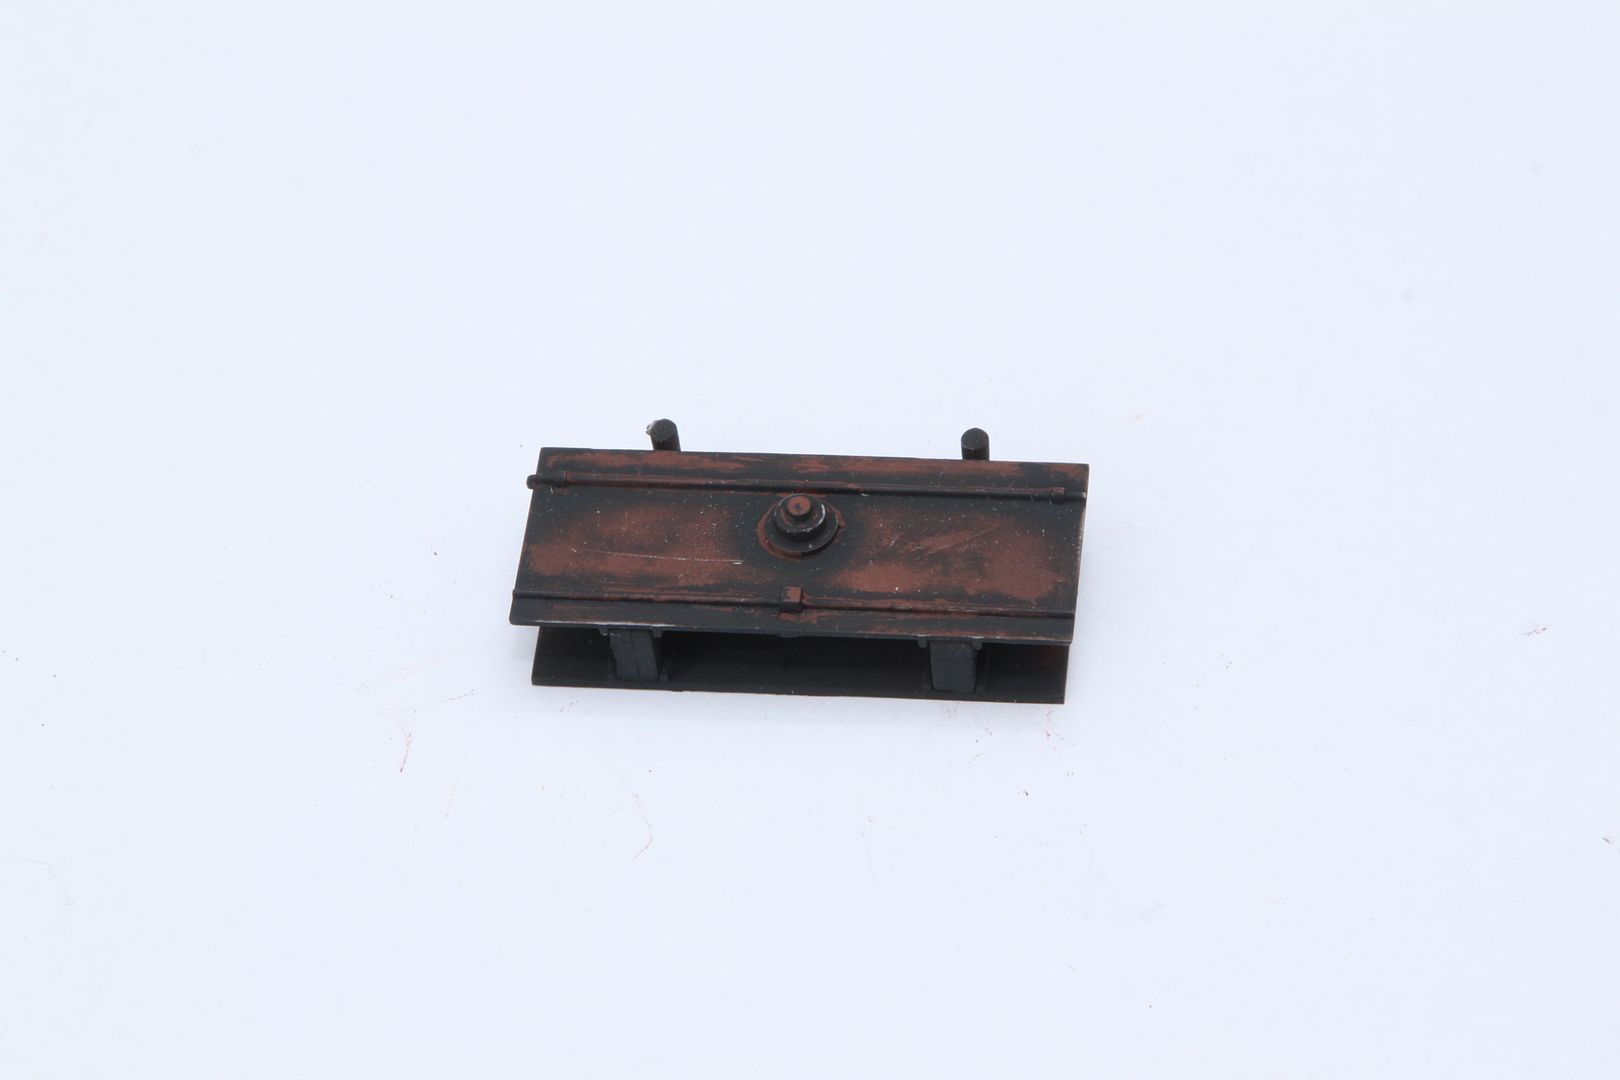
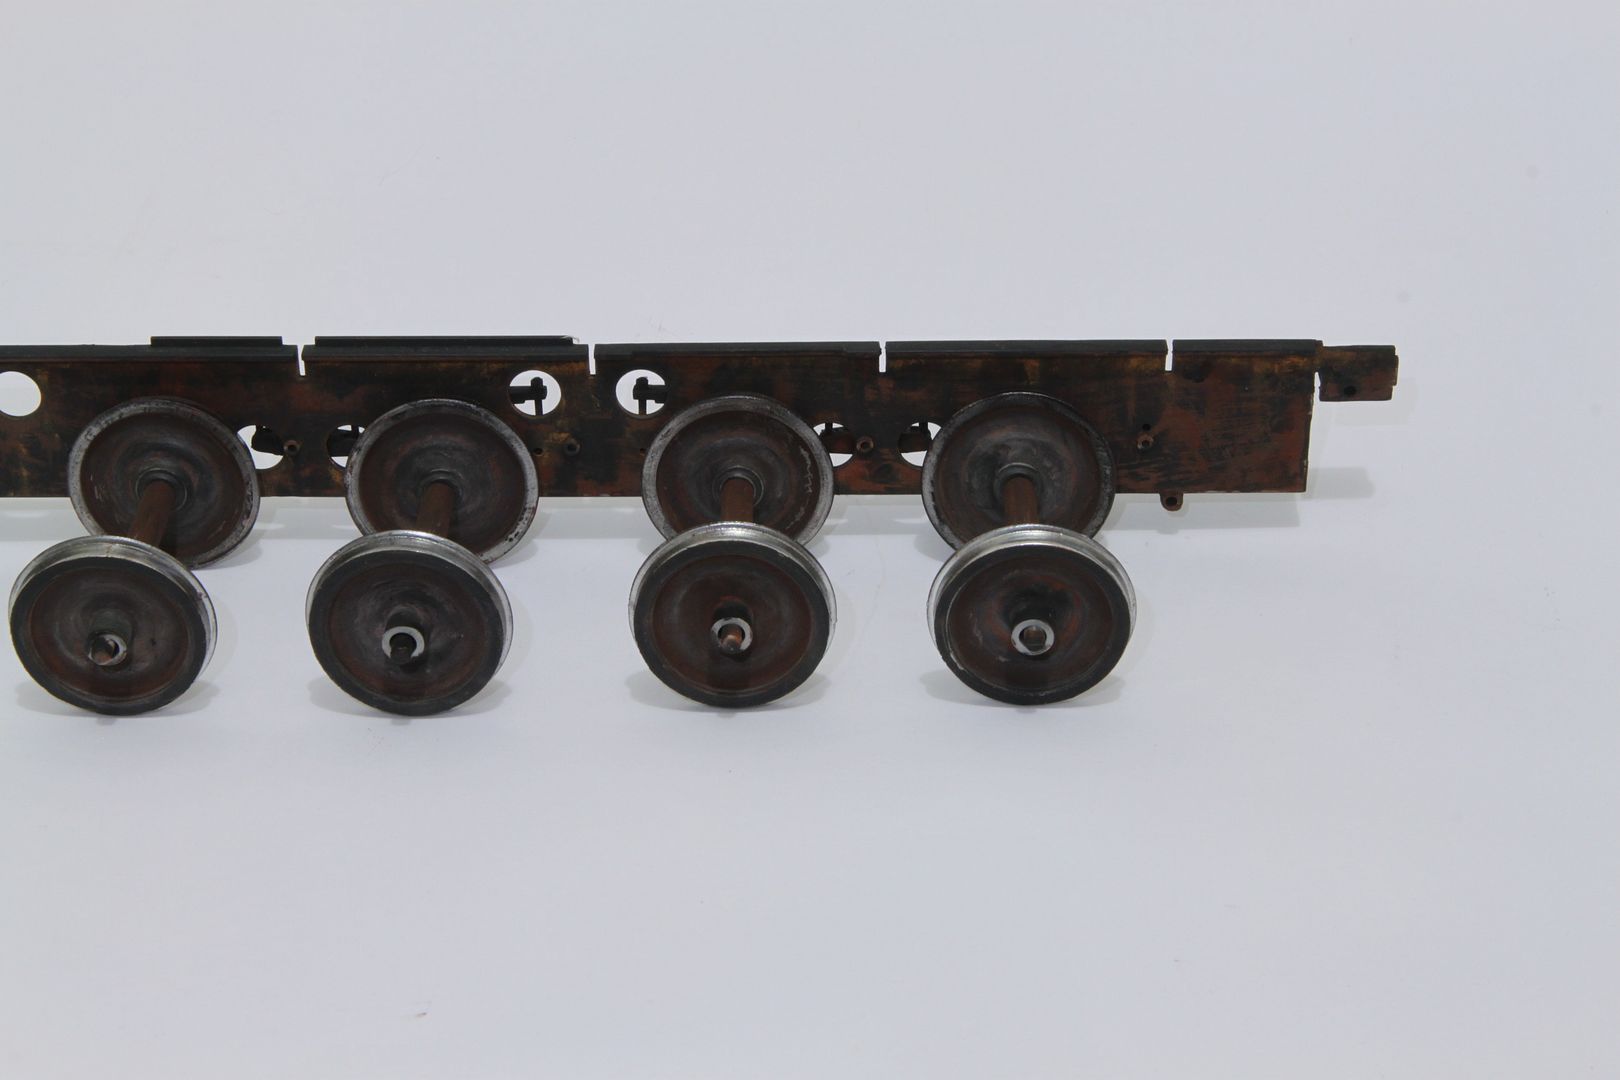
the photos really make some of the rust seem overly bright, but in natural light, they actually blend in quite well and will blend in more once I spray a light mist of earthen color from underneath to give it a more used look
Let me know what you honestly think - don't be shy - I have pretty thick skin and I have man sized tissues if I need to cry....

Till next time!
MH