Hello once again!
With no sign of my Zacto intakes for the SU-27 - despite the tracking saying it was delivered 08/07, I've made a start to the big "Y". Hmmm - I am hoping someone at work has the intakes and has forgotten to tell me they have it - otherwise that's $100.00 gone! I will not be amused if that is the case.
So, with that delay and my continued and escalated interest in SBY 2199 - especially after finally watching the complete series from start to finish, I have decided to get this underway now. It will be a long term project - like most of my builds, but I am hoping the end result will be worth it.
I have looked at a few builds of this online through my research and am borrowing/stealing a couple of details that I really liked from a couple of different builders - simply because I think they really add something to the final build.
Of course, it goes without saying that this will be fully lit and I have a mate of mine programming the boards for me ready for installation.
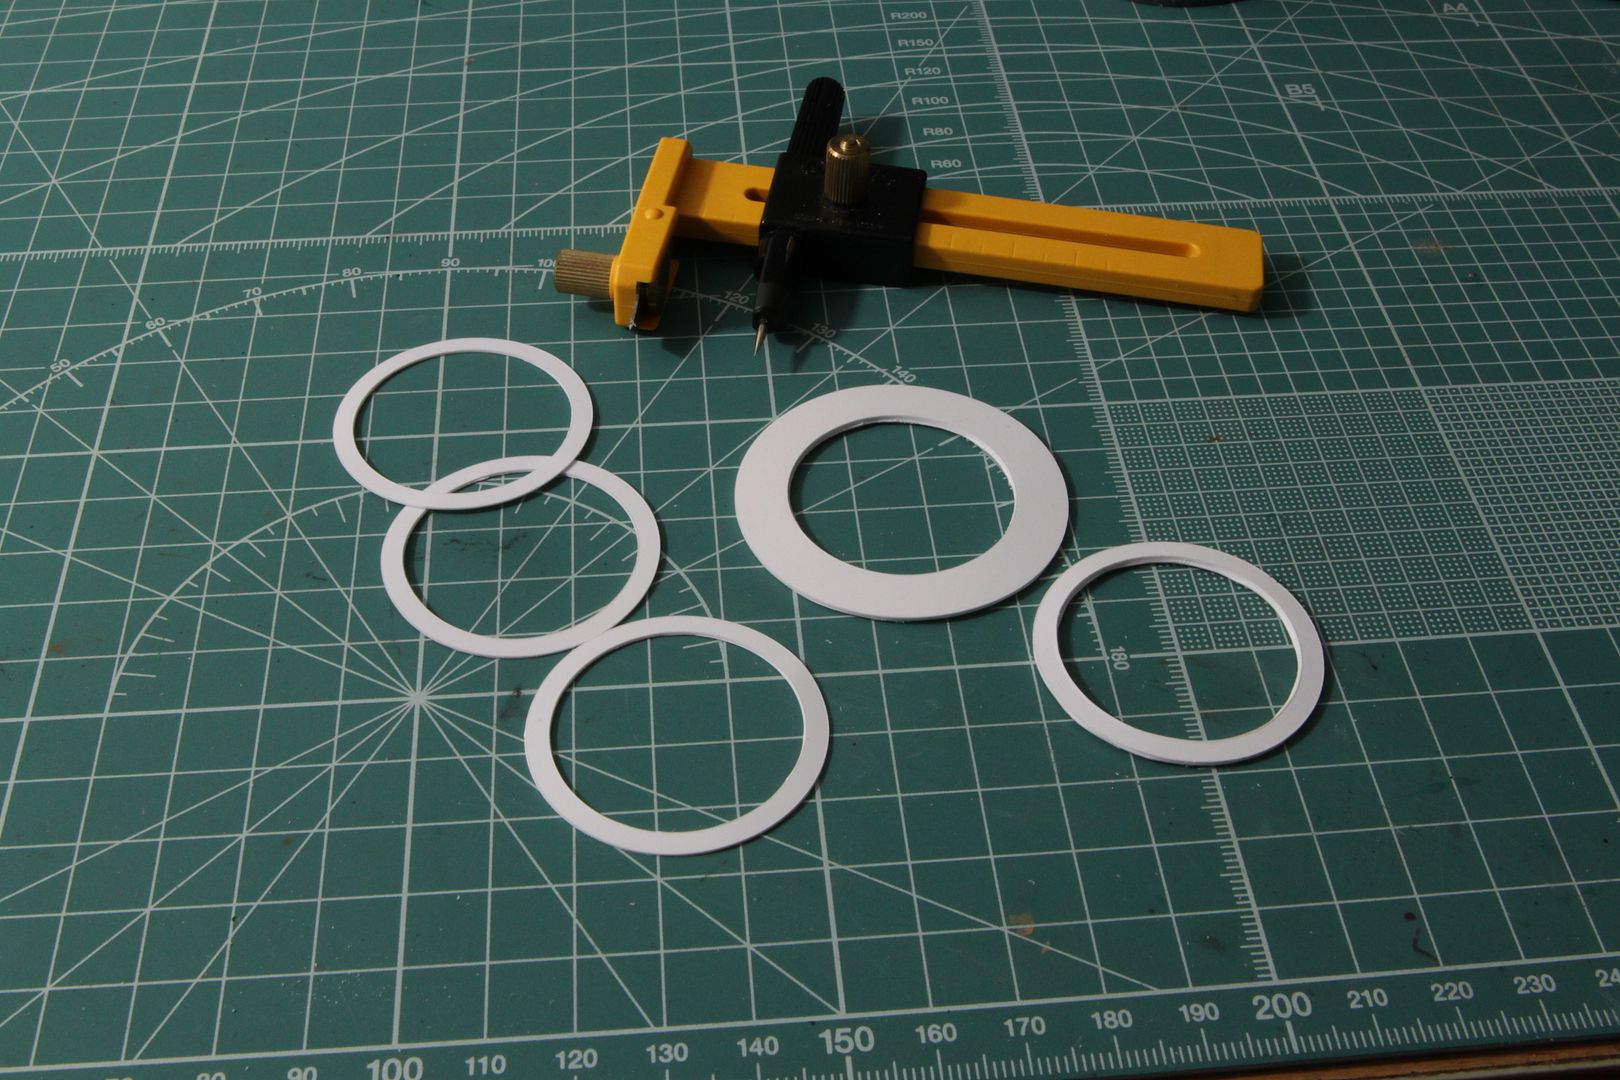
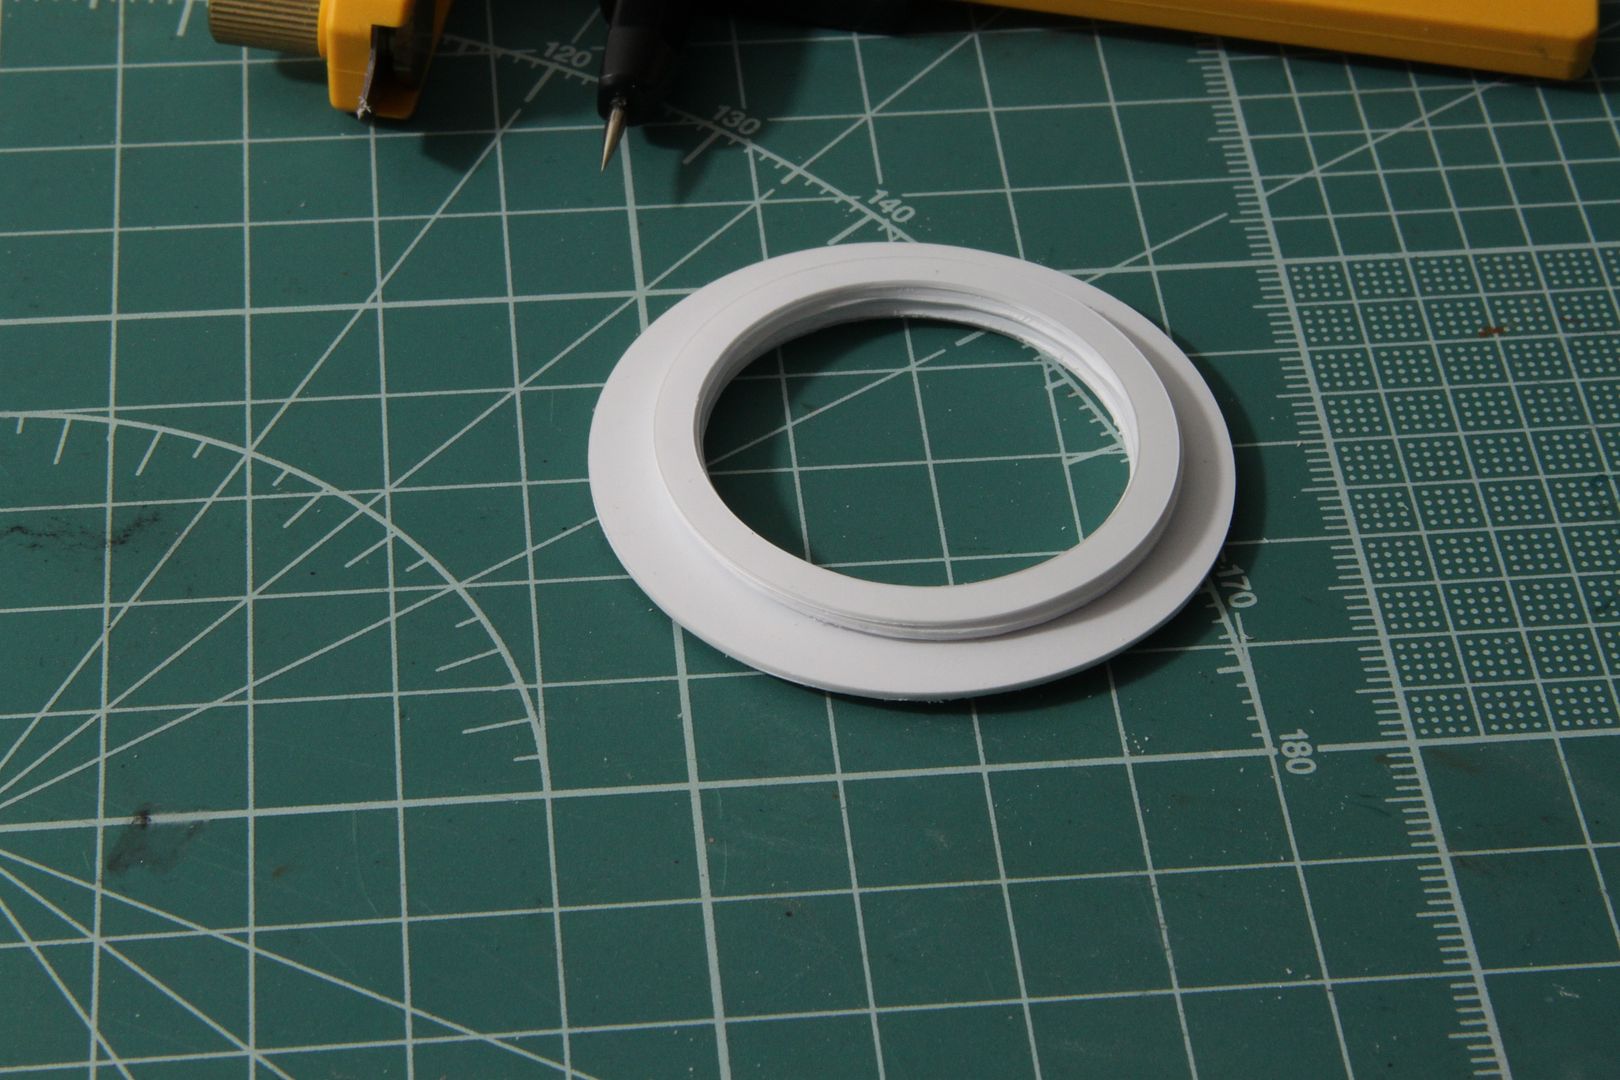
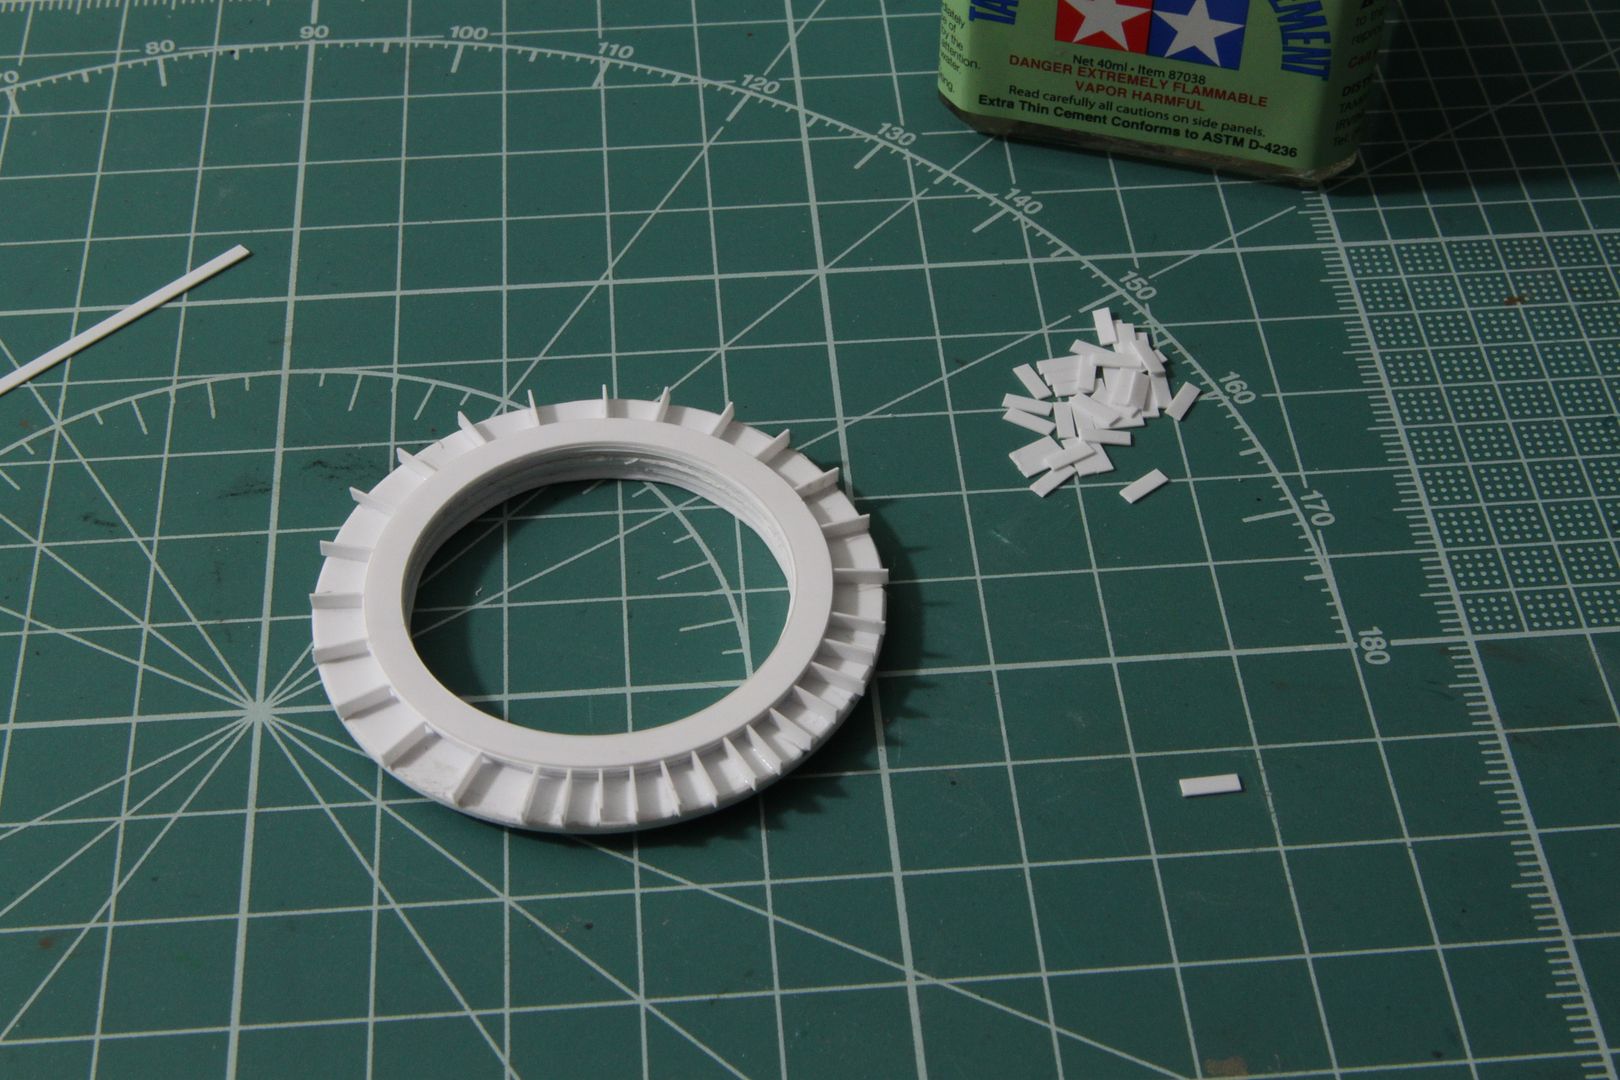
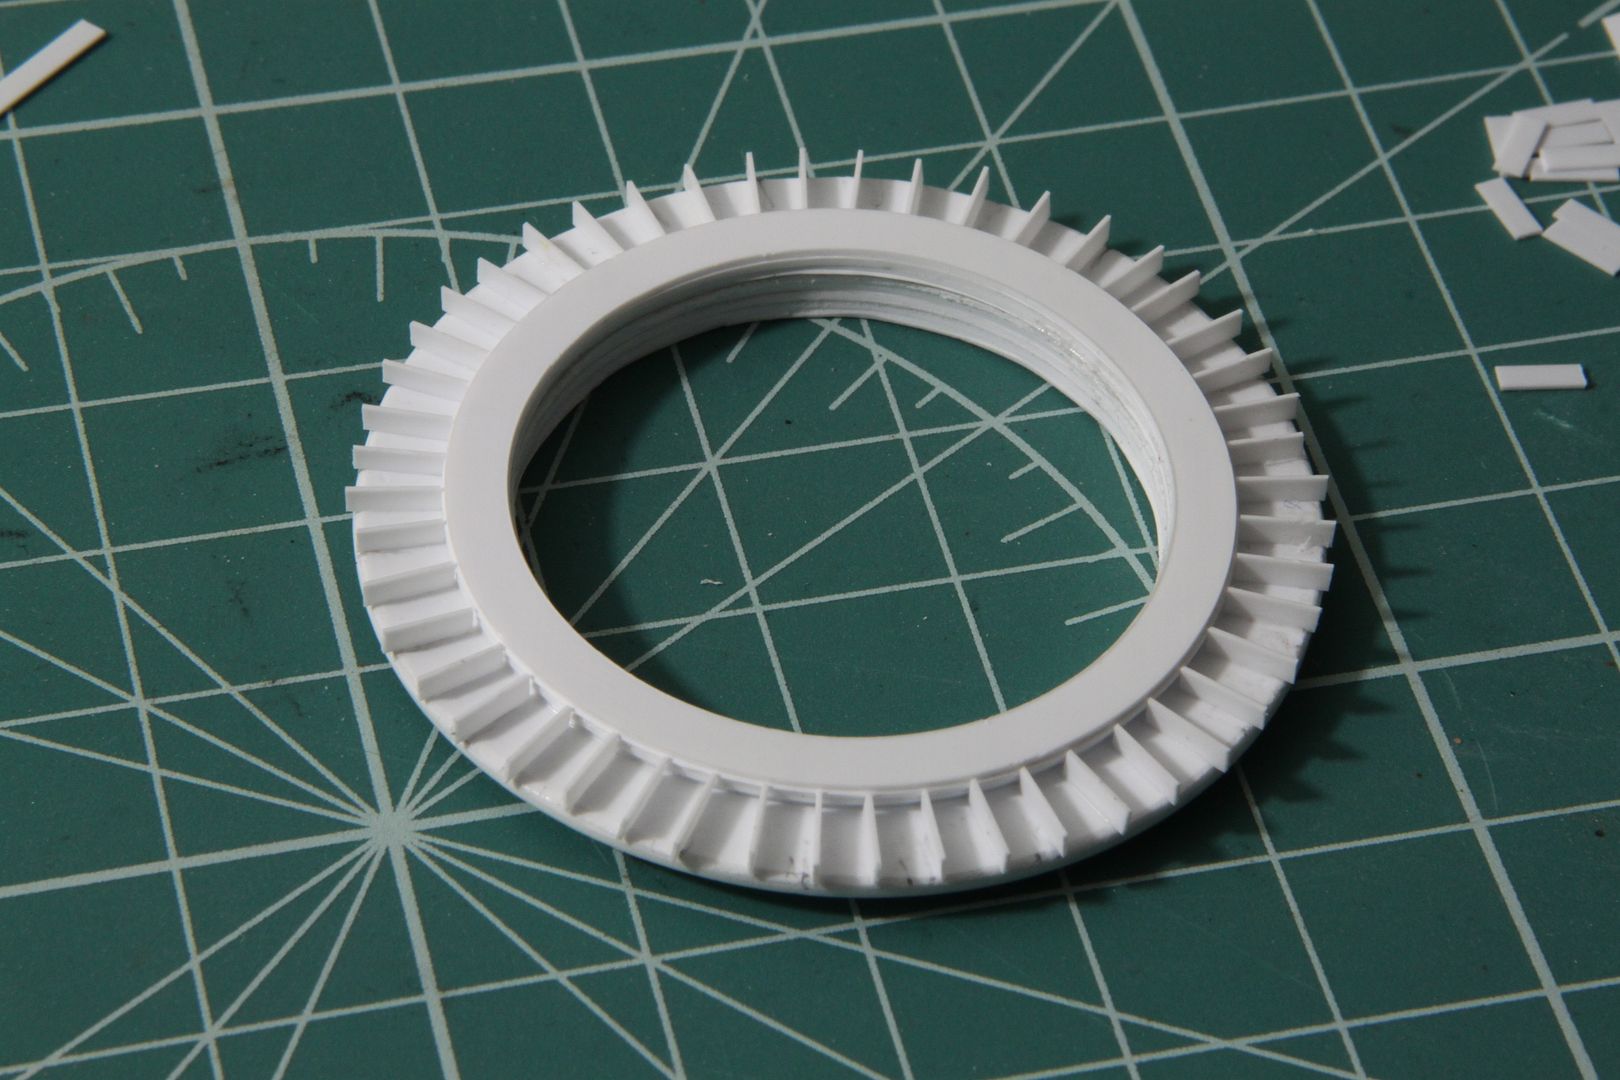
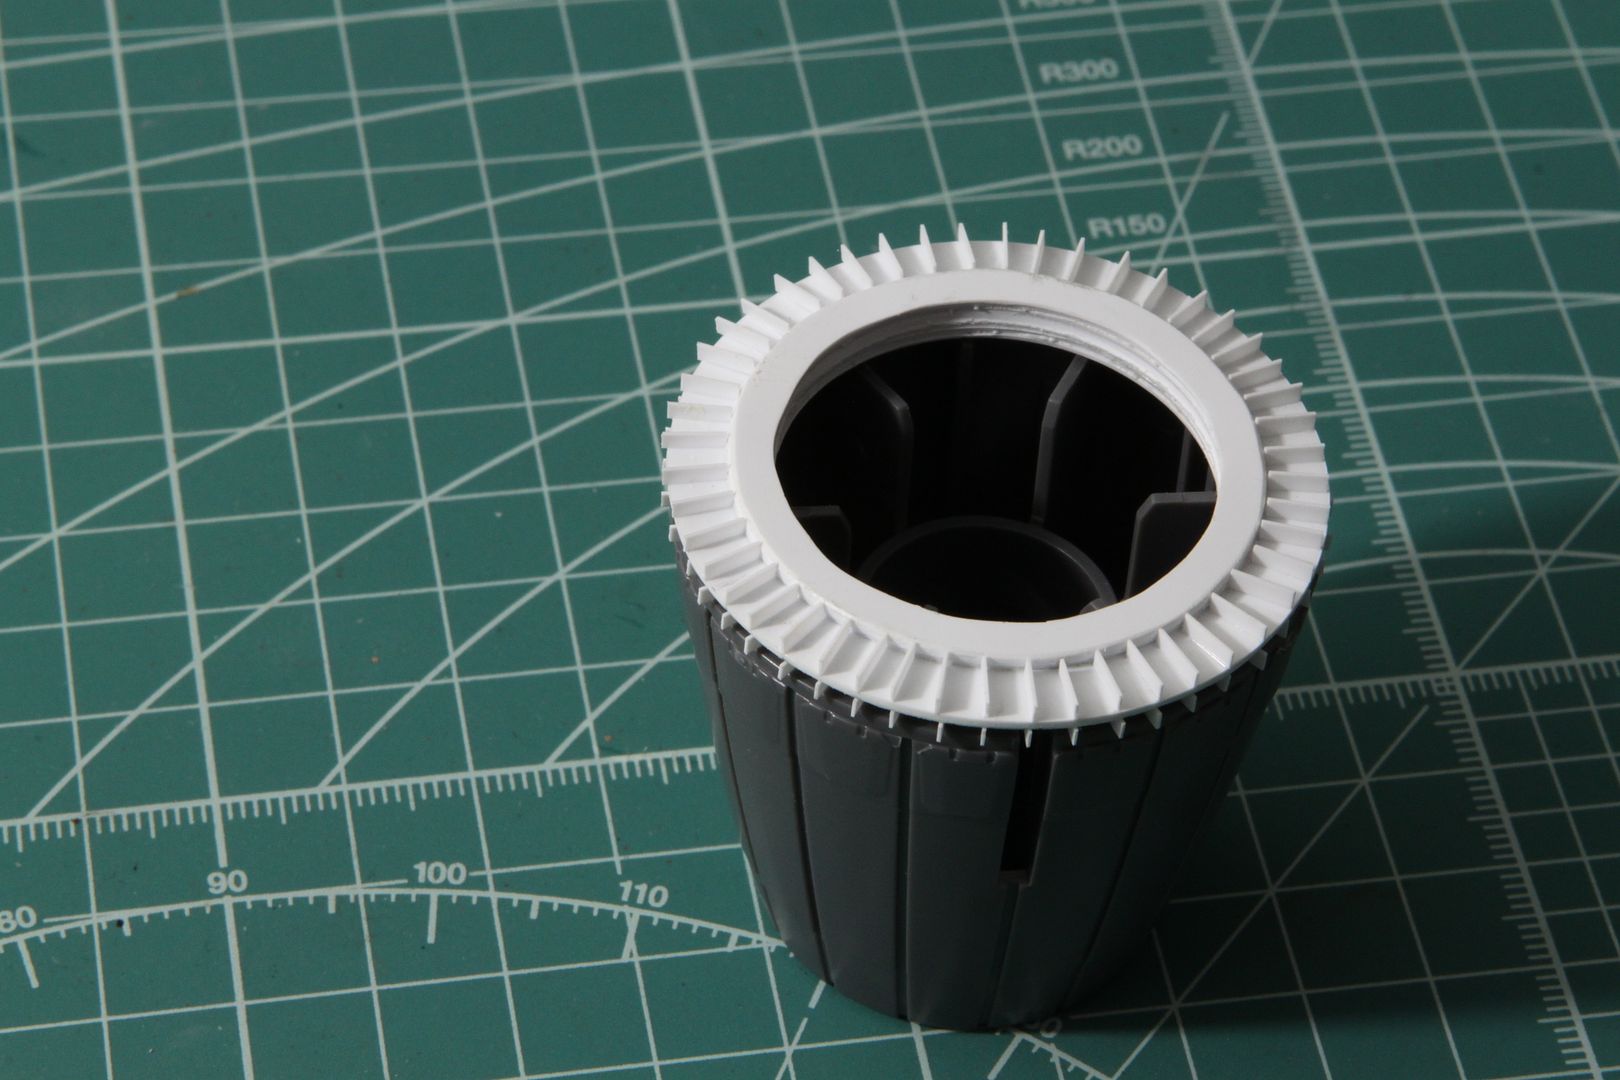
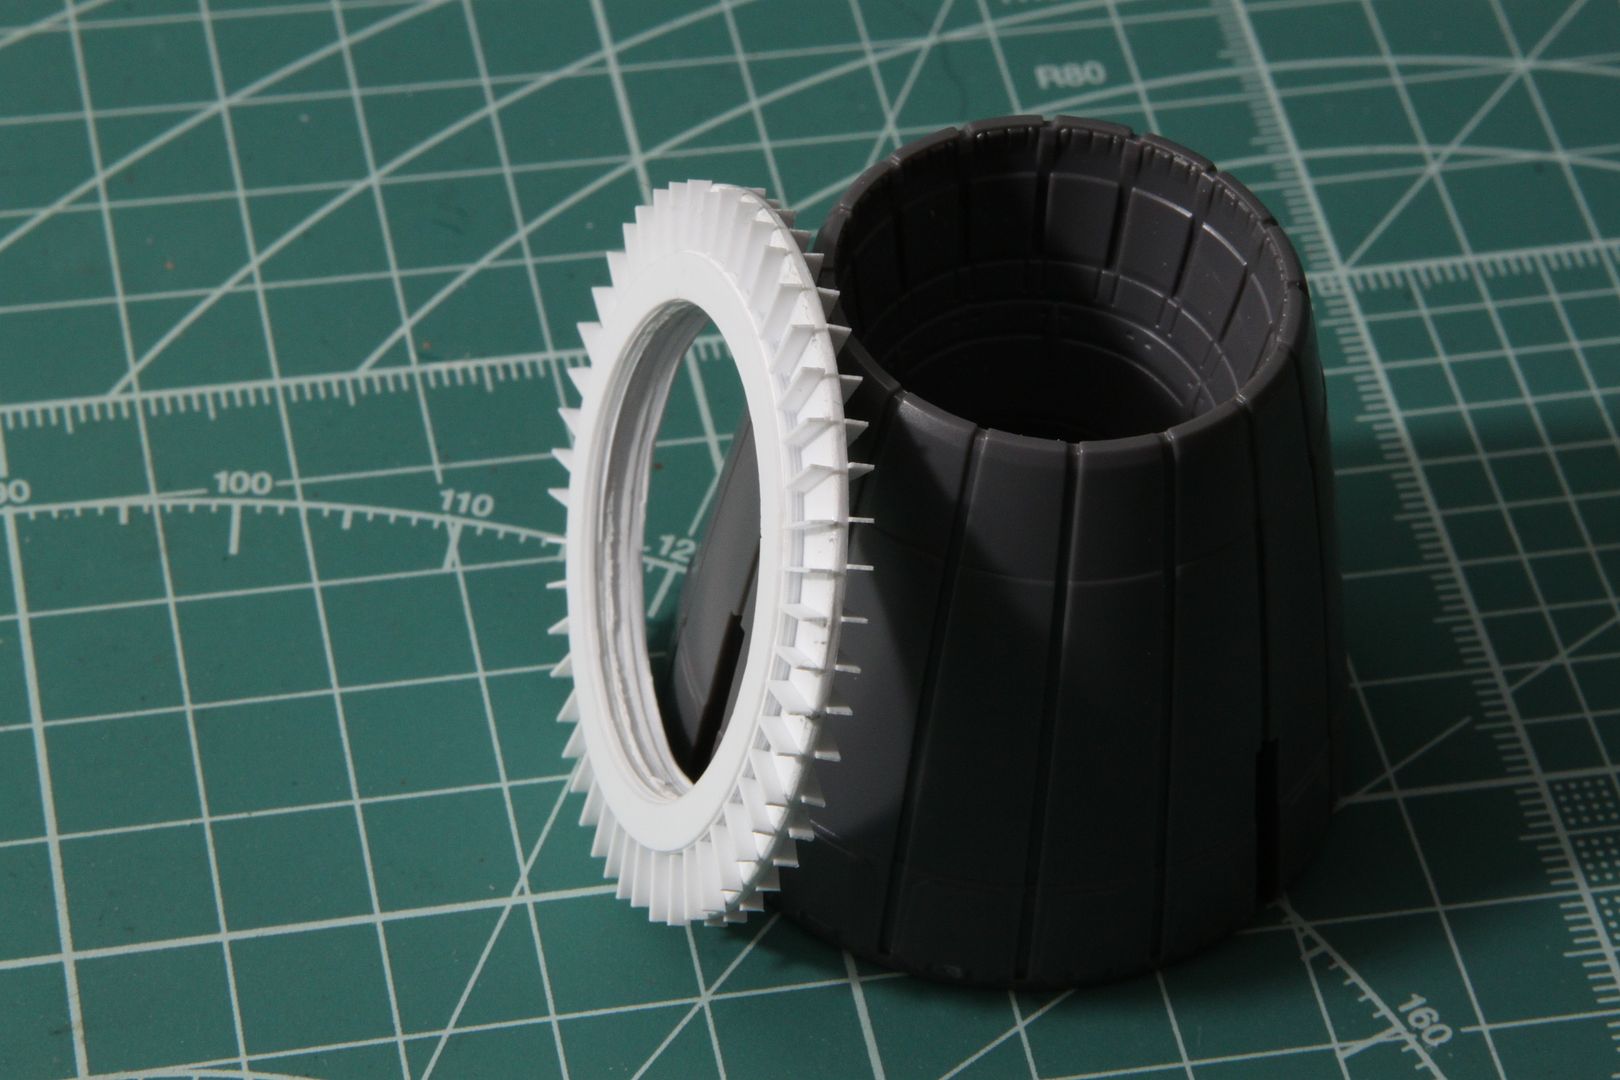
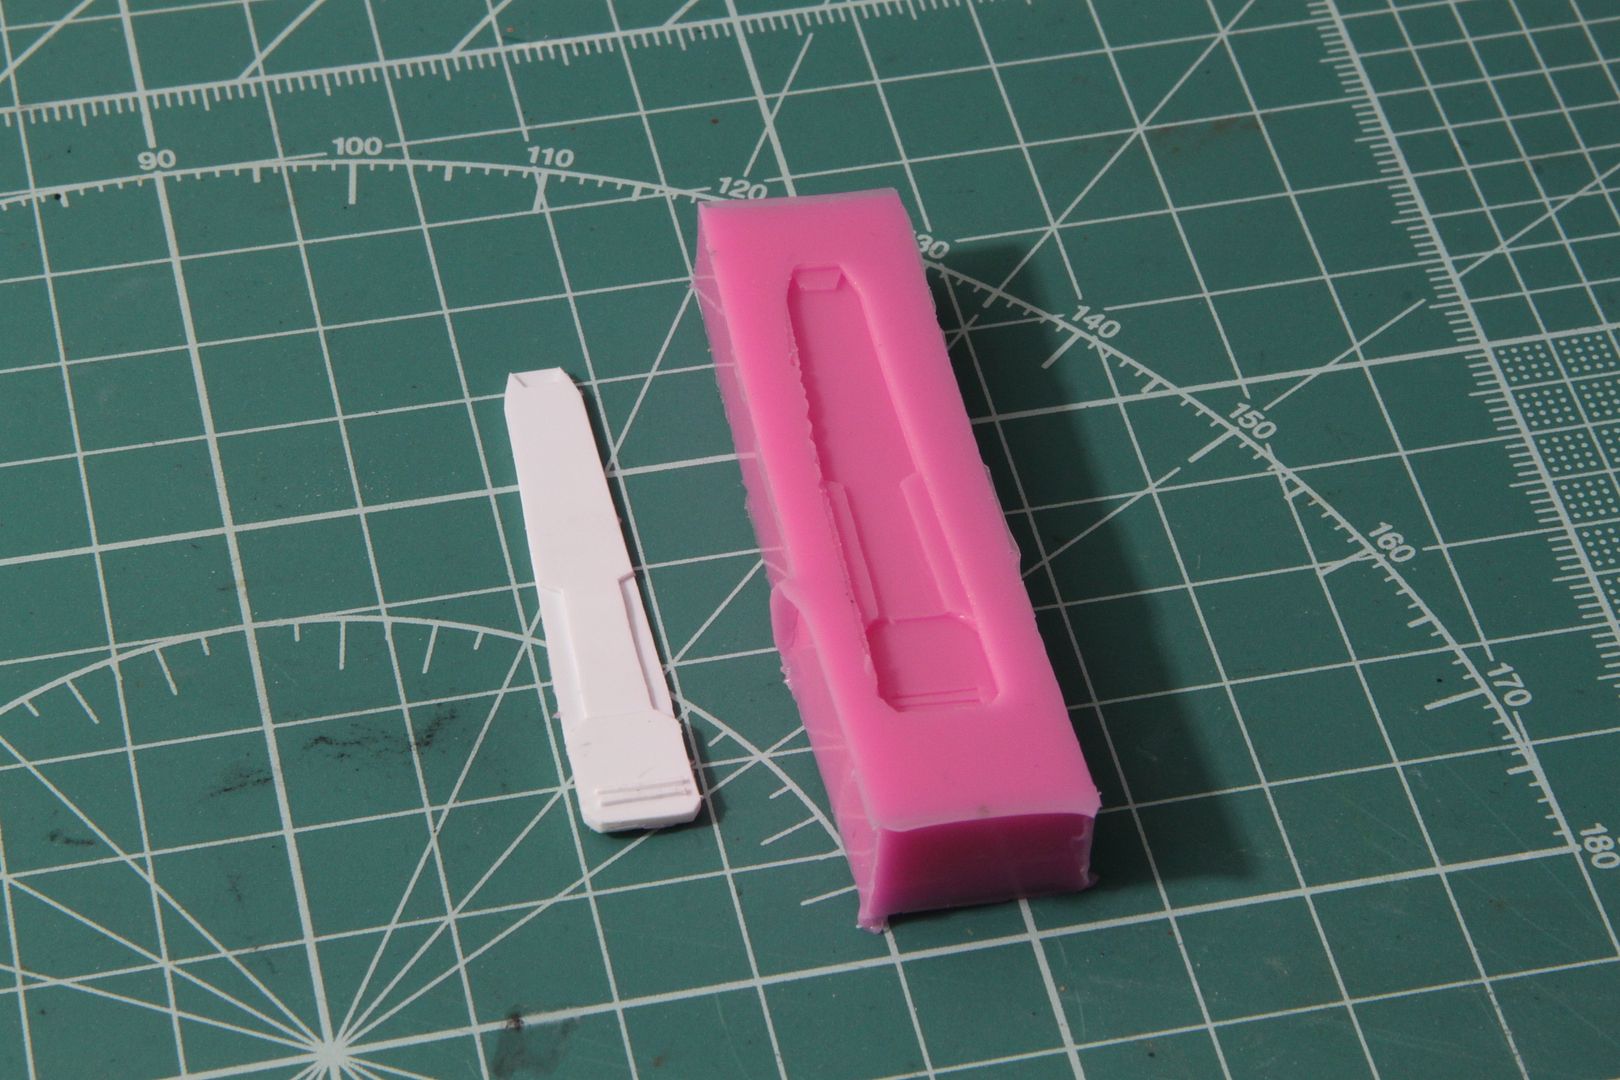
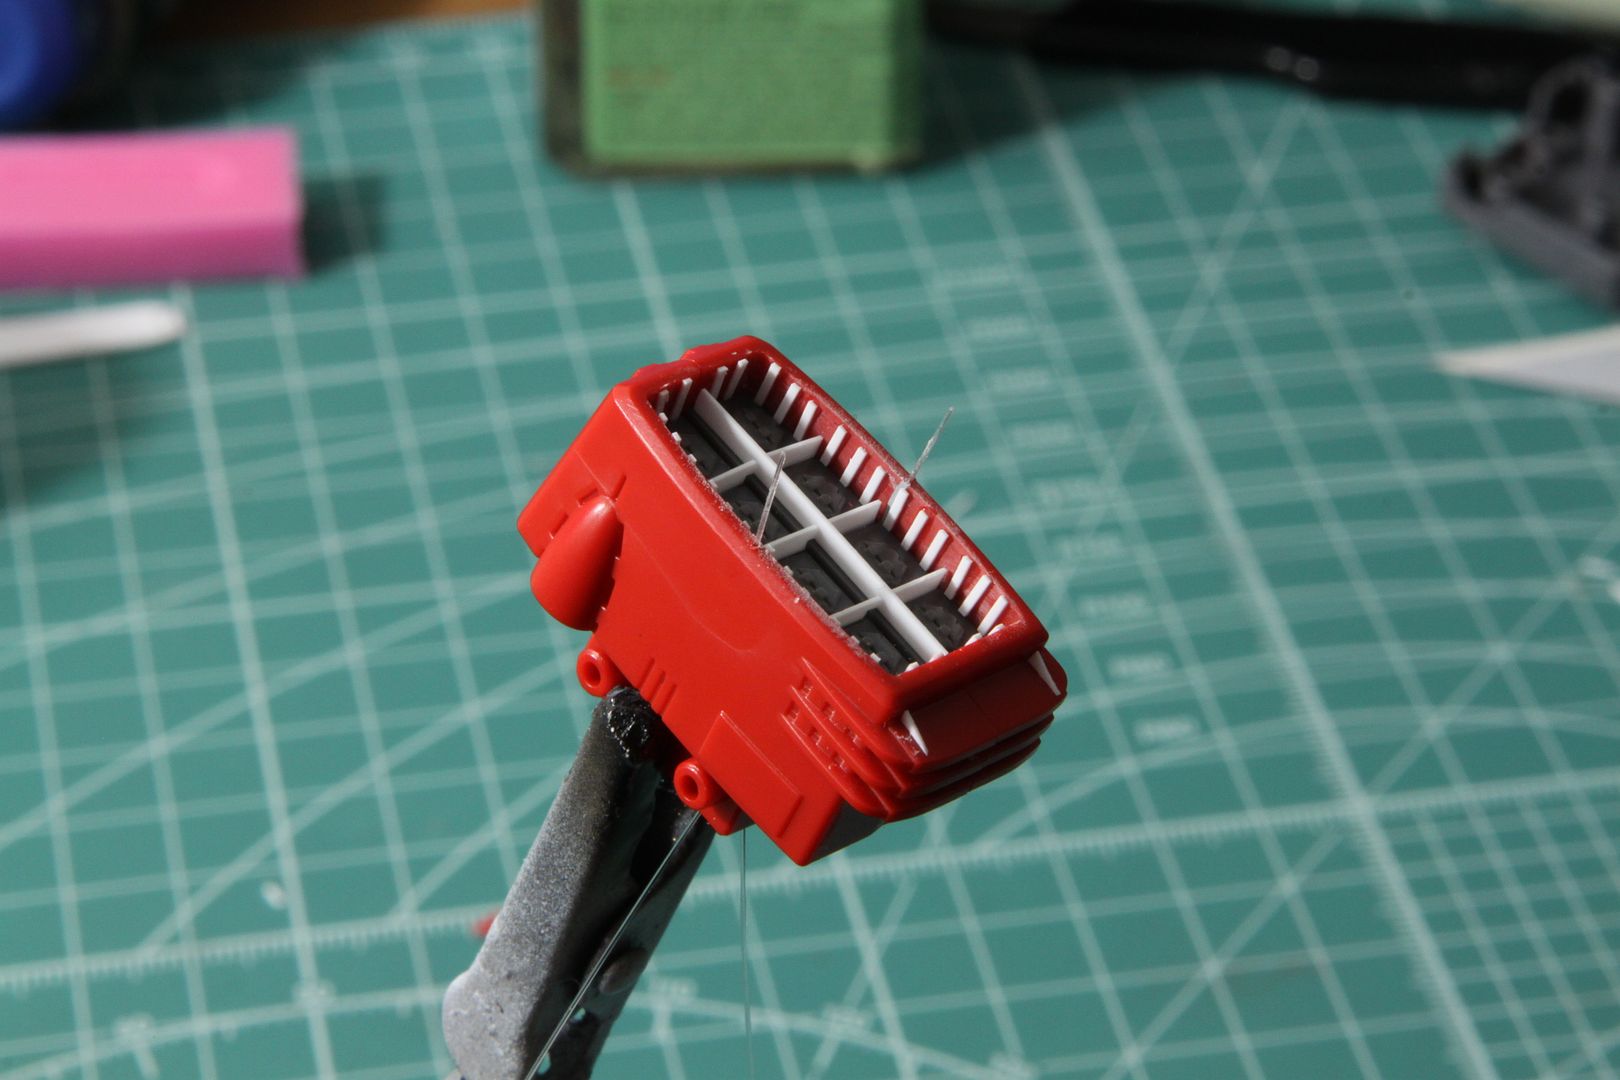
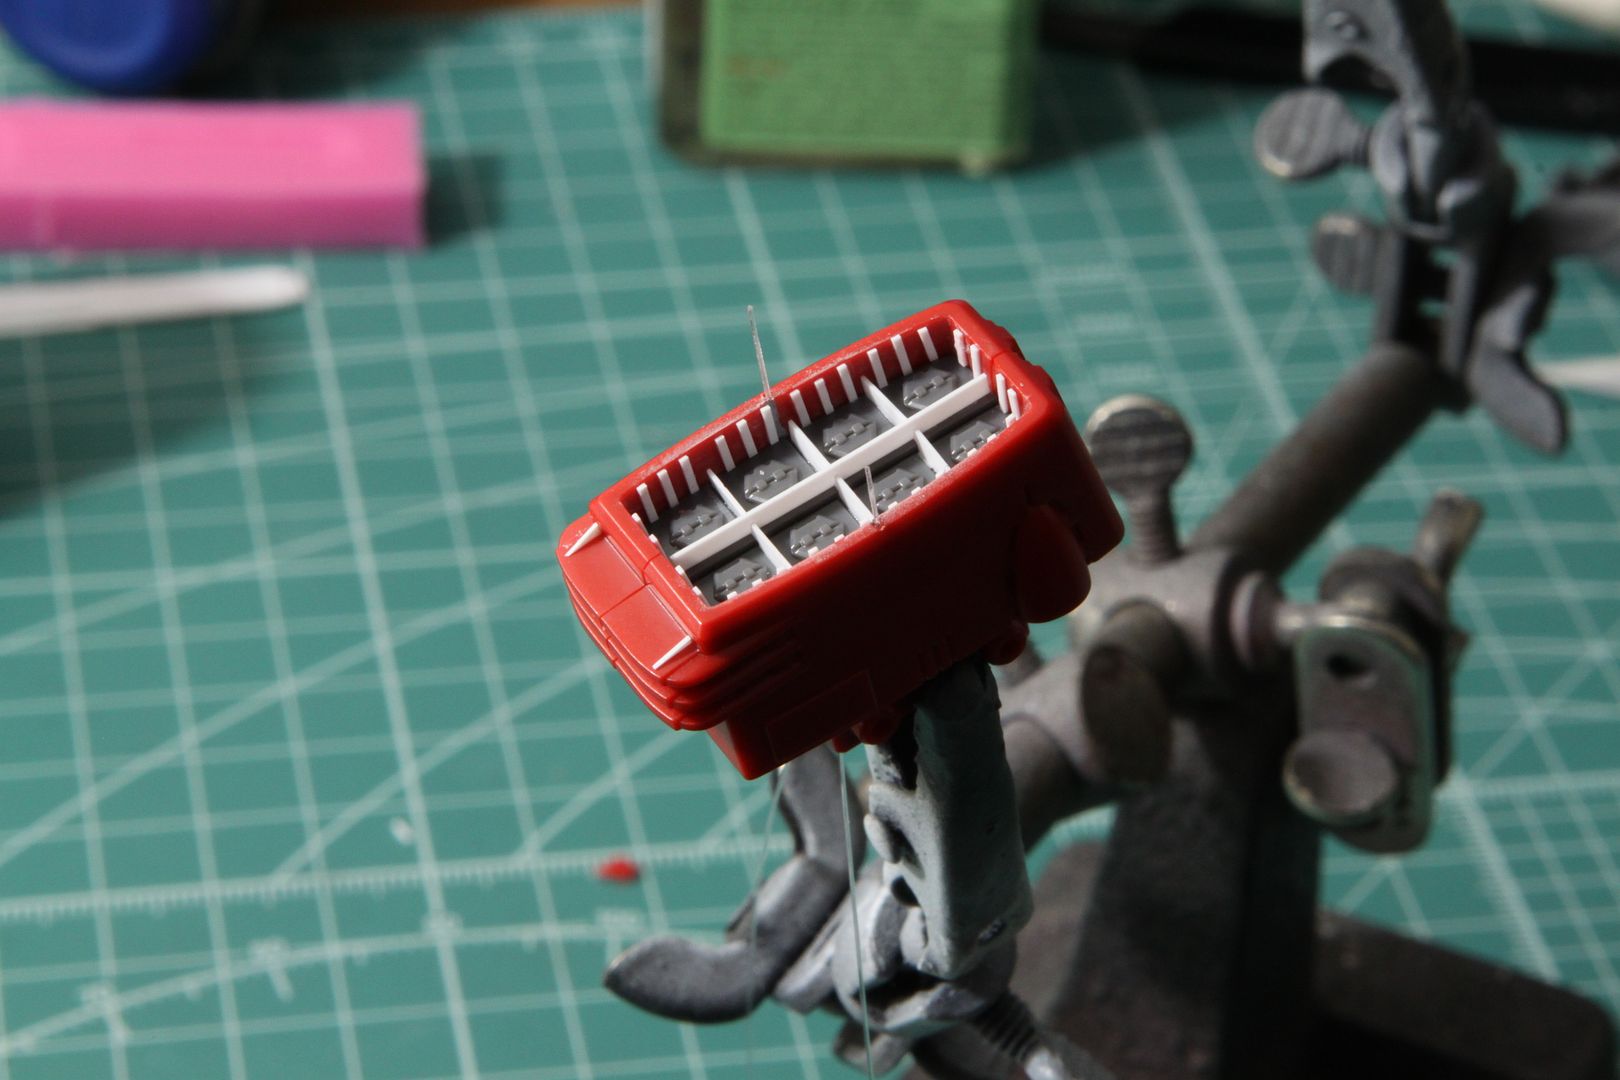
So, where have I gotten up to? I started on the engine nozzle. After watching the live action 2199, I was taken by the design of the nozzle (yes I know - small things etc) and when I was trawling the net looking for references, I came across one fellow who had made them. So, following his design, I made my own one. However, it took me ages to get the first one right - and I thought "bugger making 16 copies of this", so I made a mold of the one I made and will make resin copies of it to ensure uniformity. I am waiting for my resin to arrive which should be tomorrow. I also made the ring at the back of the nozzle. This was surprisingly easy to do considering that when I first looked at it, I thought "how the hell am I going to make that!?" As it turned out, I have a cutting compass, so that made short work of the plastic rings and I used the angles on my cutting mat as an initial guide for the slats. The end result is pleasing - however, I am still undecided whether or not I will use it, or for that matter, if I will go ahead and use the feathers I am about to cast. I do like the box version and at least it's in keeping with the show, but I do like to be a bit more creative with my subjects. the below pictures show how easy it is to make and also show you the one and only feather I made:
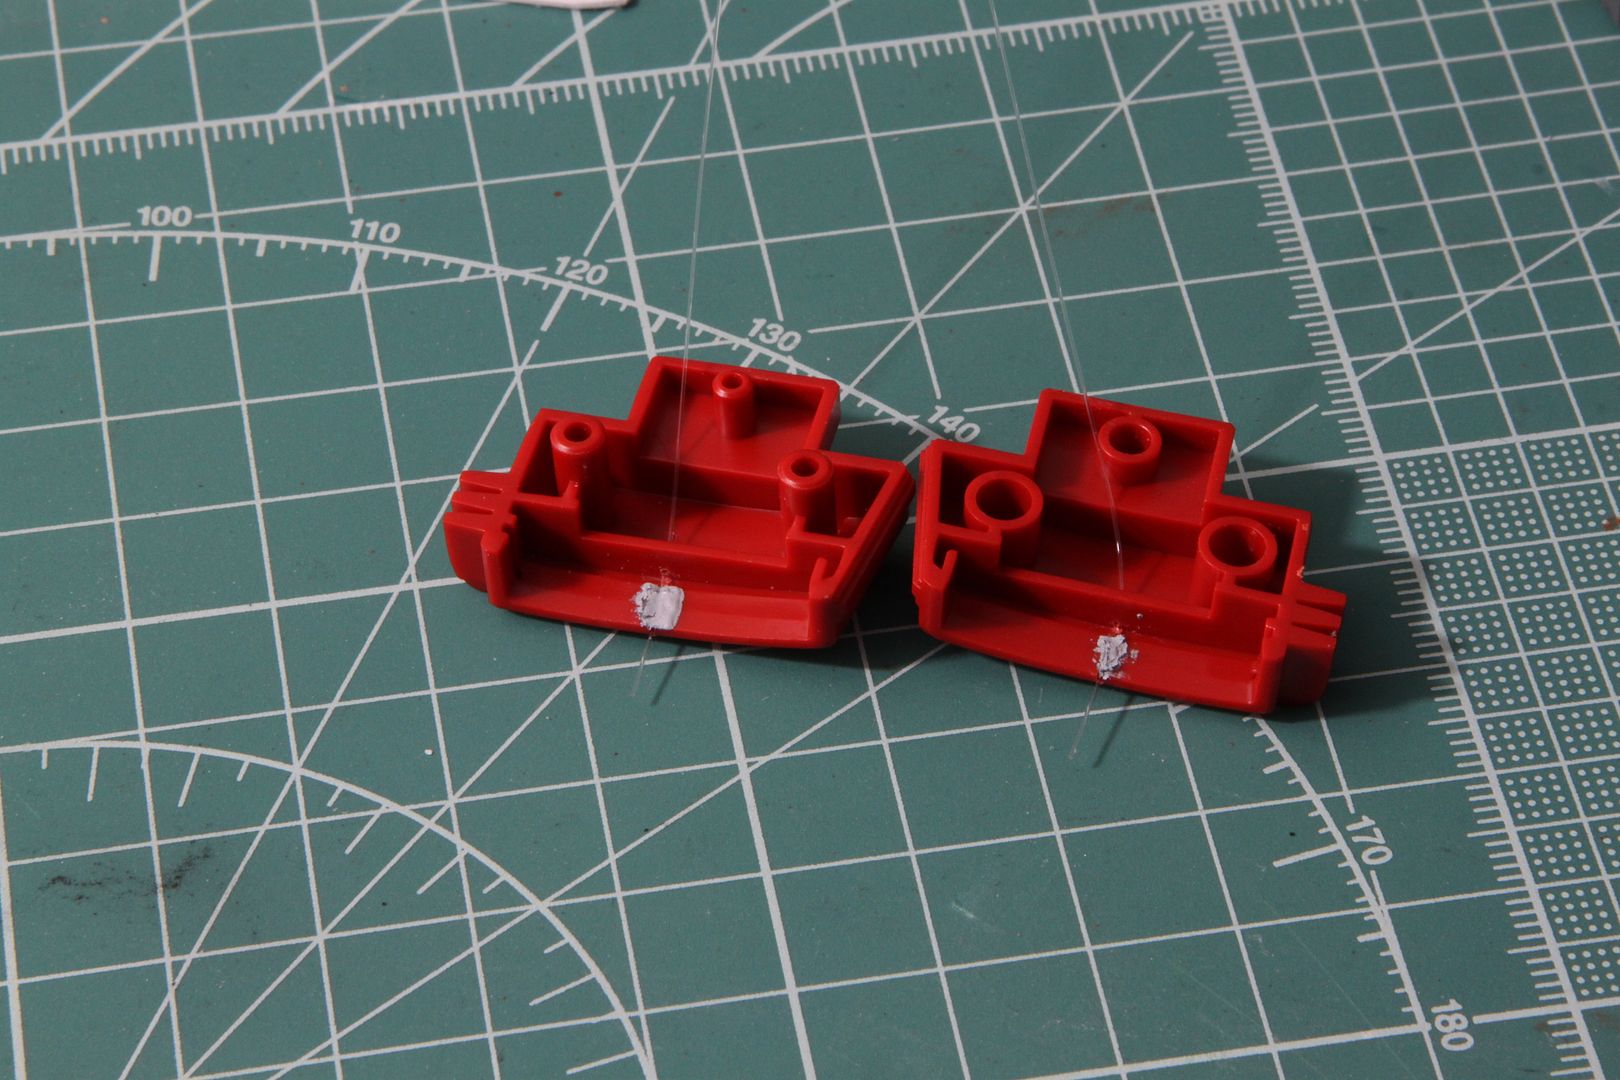
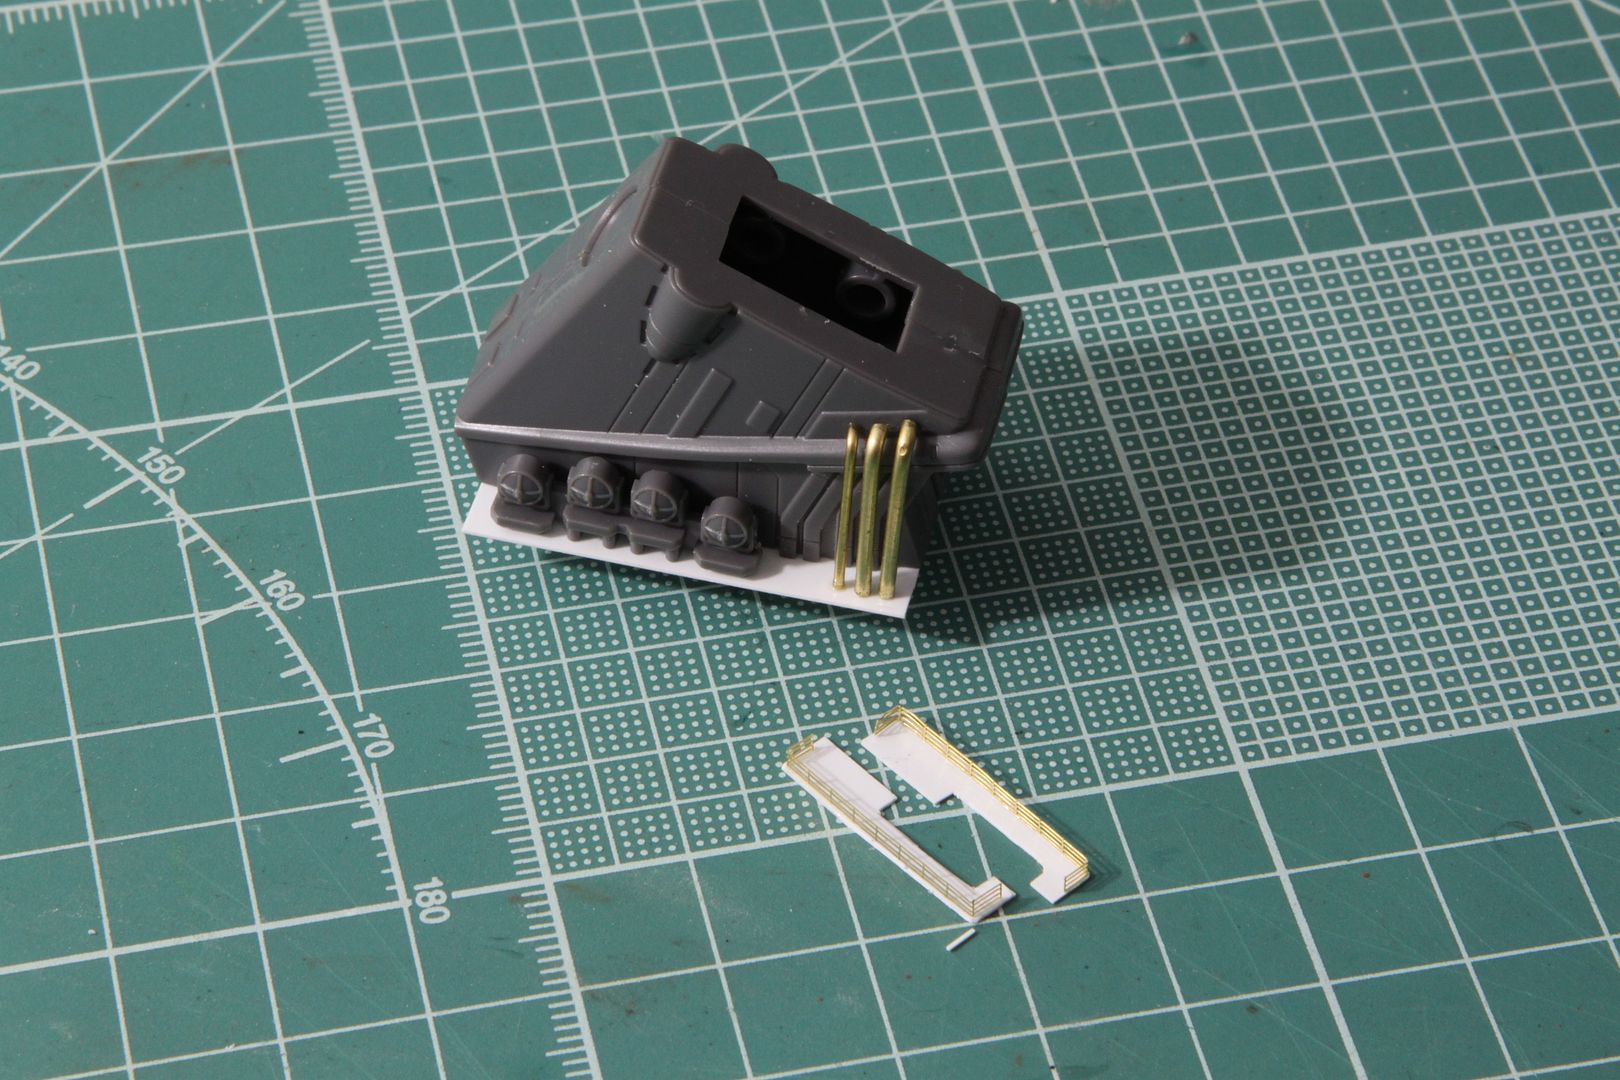
Now I turn my attention to another area that I saw on one build that really stood out for me - the funnel - even though it is technically a torpedo/rocket launcher. I have begun by detailing the inside of the funnel like that on the show. The next part however, isn't on the show but it's a feature that I really did like on the build online: is the vertical piping that feeds into the sides. I have just finished making one set of cat walks and am about to begin the lower walks - which is where I am at presently.
I carved a trench on the inside of the top of the funnel for the nav lights and then puttied over them. Once dried, I then sanded them back and now you wouldn't even notice they were there. It also helps that the ribbing on the inside assists in covering them.
So there you have it so far. I will be continuing on with the piping and catwalks tonight. I think I will paint the inside of the funnels now before I proceed any more, and that will also save me masking hassles later on. Then I'll put the funnel together, fill in the seams and add the last part of the detailing and then that area is all done!
From there, I will endeavor to get the engine lighting set up ready for the boards, cast the feathers and then start work on the main superstructure. After that, I'll start on the lighting boxes for the observation decks on the side of the ship, then the fun part - getting the main batteries detailed and lit. The rest of the ship should fall together pretty quickly. I am not going to be adding too much extra surface details like I usually do because I don't think this ship needs any.
As always, thanks for stopping in
MH


