This all started when a good friend sent me a 1/72 KP Avia BH-3 Czech monoplane. Mine came in a conveniently pre-crushed box. This matched the pre-crushed box the first one I built came in over 20 years ago.
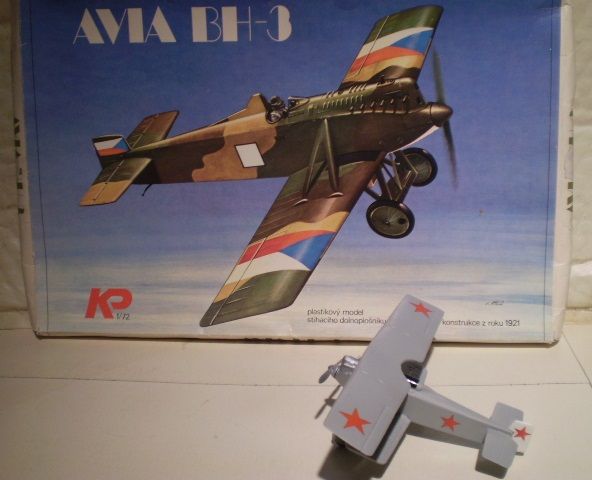
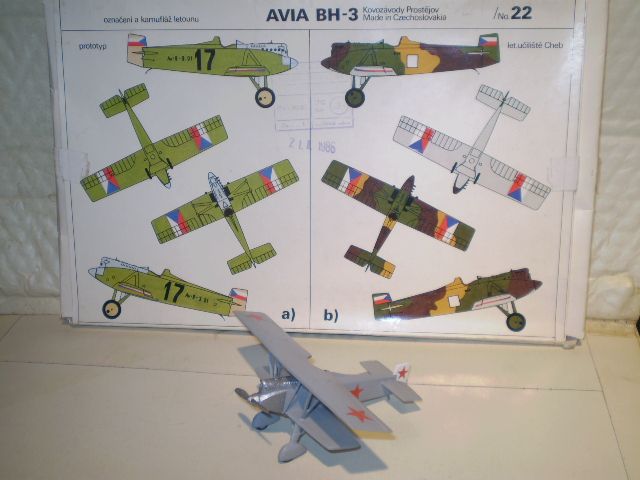
I think KP puts all their Avia BH-3's in pre-crushed boxes. If any of you have ever seen one of these in a non pre-crushed box, please let me know. Actually, the box is great. While the art on the front is truly stirring, what really makes this box rock is the cool full-color painting guide on the back.
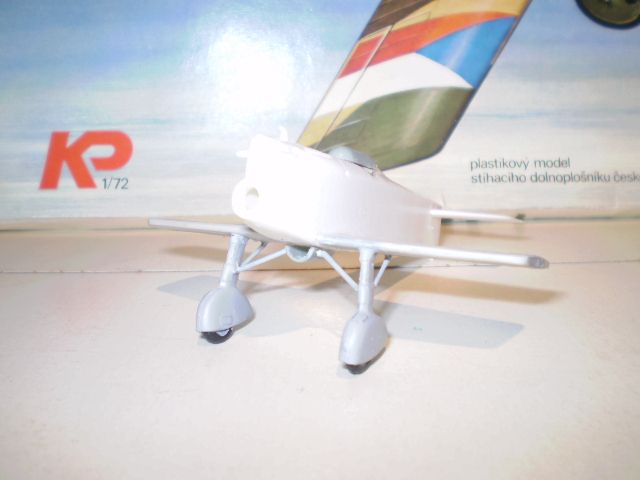
This kit seems to be of 1960's or 70's vintage which means it's very basic and lacking in detail - perfect for my needs!
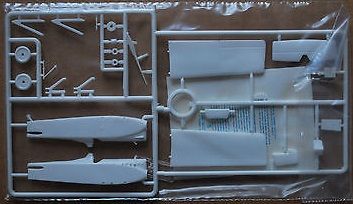
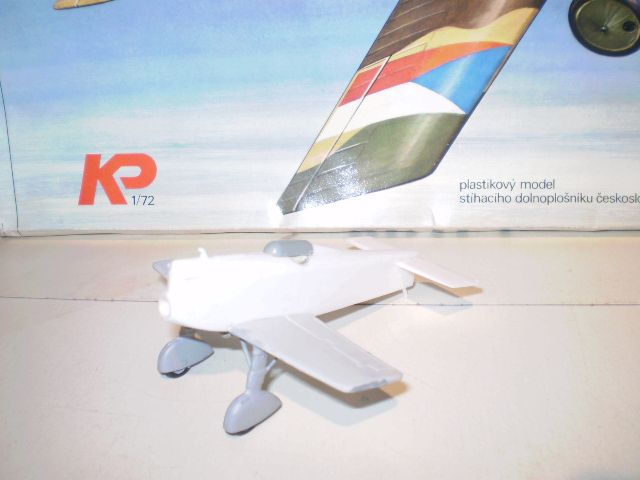
That parts count can't be over 20 and even less if you don't plan on using the cockpit parts or the wheels. After giving the parts a good look it became clear to me what had to be done. I started the biplane conversion by gluing the wings together and cutting out a notch to aid pilot visibility.
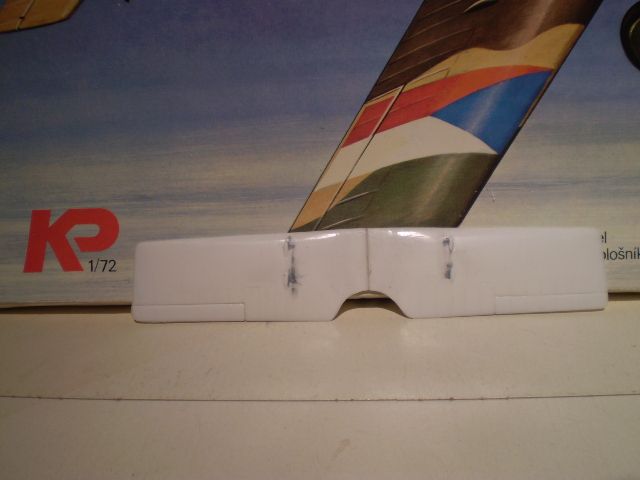
Next I had to figure out what to use for the lower wing. Luckily, the horiz. stabs. from an incomplete He-219 Uhu I decided to part out were a perfect fit.

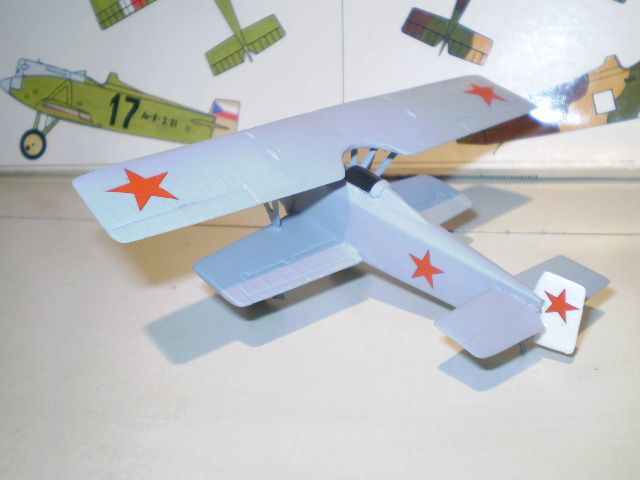
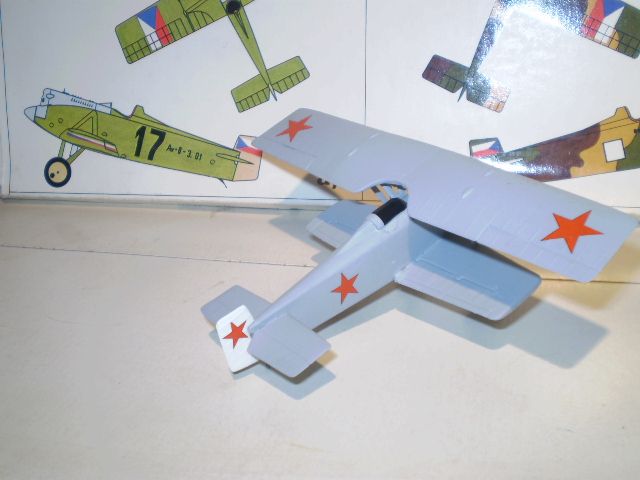
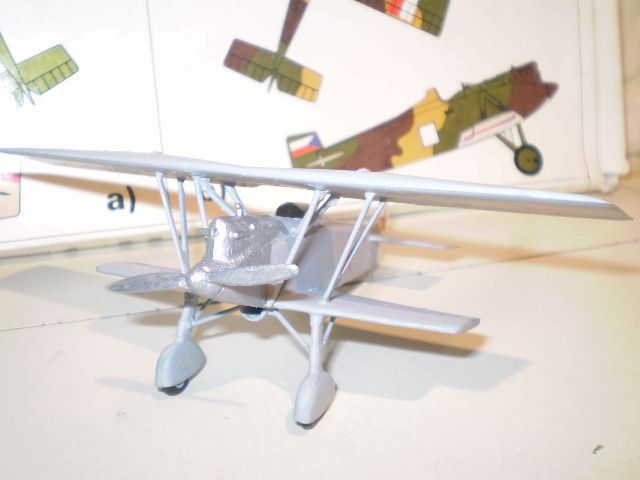
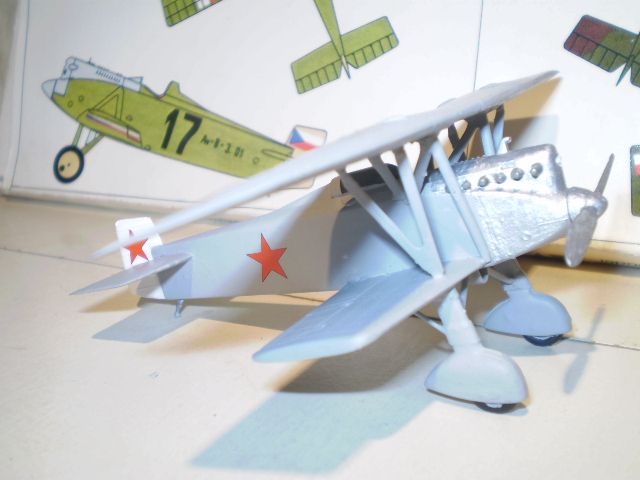
I also added spats from a Fiat CR-42 and a bomb-half as a canopy after sanding back the prominent head rest. Then I noticed a little radiator on the kit's sprues and replaced it with the tail half of a 1/144 drop-tank as a tunnel radiator. Here's a good shot of the new cooling system.
I was hoping these changes would make my biplane look more modern.
After deciding I could use the kit's struts with a couple of extras thrown in, I assembled the rest of the model and headed off to the paint shop.
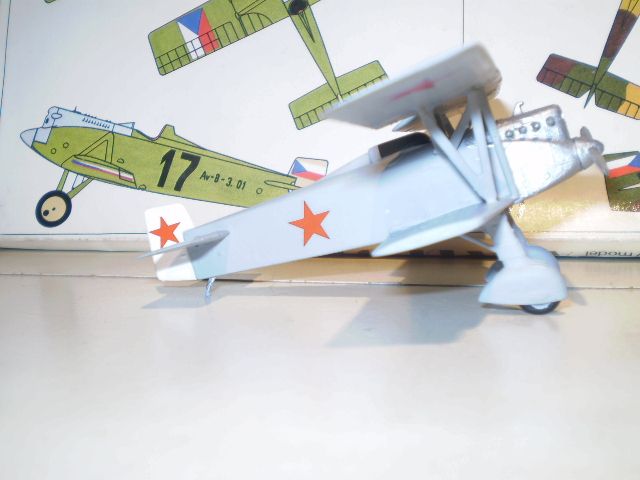
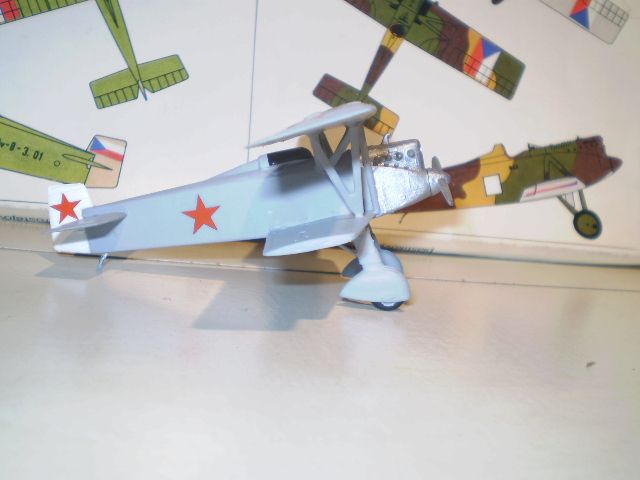
The model was brush-painted by hand in acrylics, Polly-Scale Lettering Gray mostly with Model Masters Aluminum used on the engine and semi-gloss white primer for the rudder. The canopy was tinted with Model Masters Gloss Black and a touch of Jet Exhaust was used on the exhaust pipes.
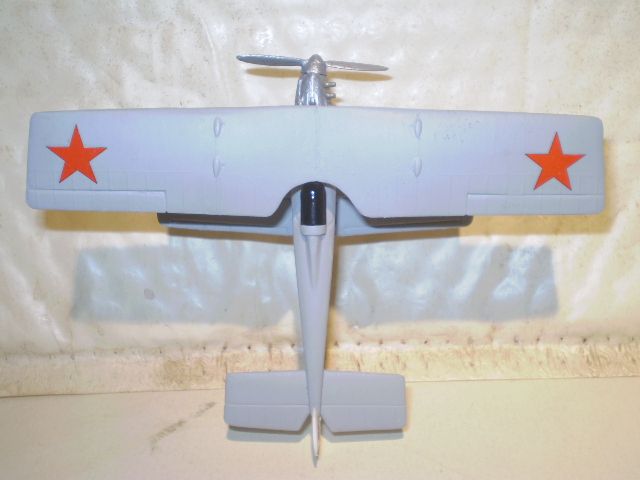

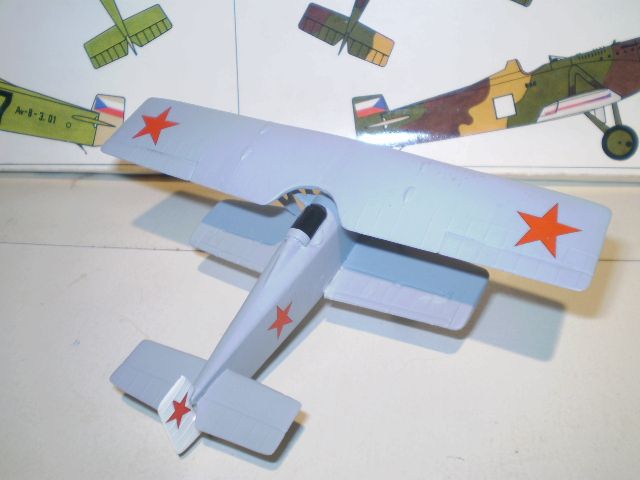
Decals were swiped from a 1/72 Special Hobby Soviet Vultee V-11.
Since this was going to be a prototype, I didn't include any numbers or registration codes, which was good thinking as my decal stash is a bit limited when it comes to Cyrillic characters.
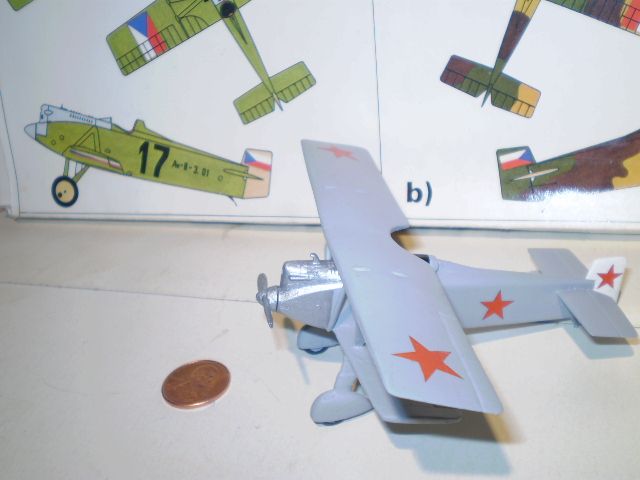
It took me three days and change to put all this together. Things fell together so well it almost felt like the model wanted to be built this way. Maybe part of the reason things worked out so smoothly is that this is a pretty small kit. Here's a shot with a U.S. penny included for scale.
I had a lot of fun on this project and it helped me alleviate a bunch of work stress.
I hope you enjoyed the Stanislavski St-1 and reading a little more forgotten aircraft history.
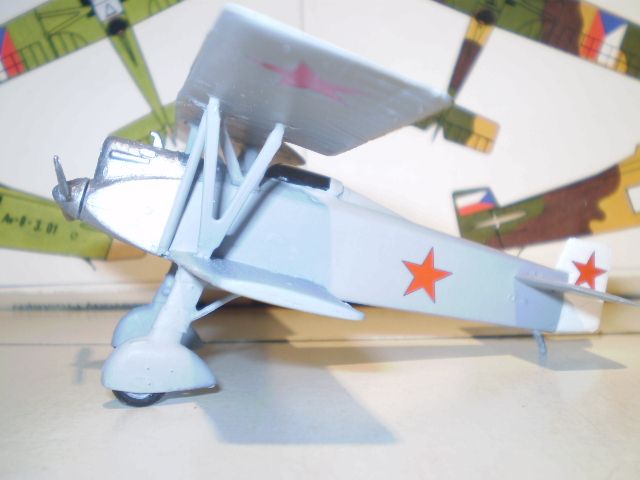
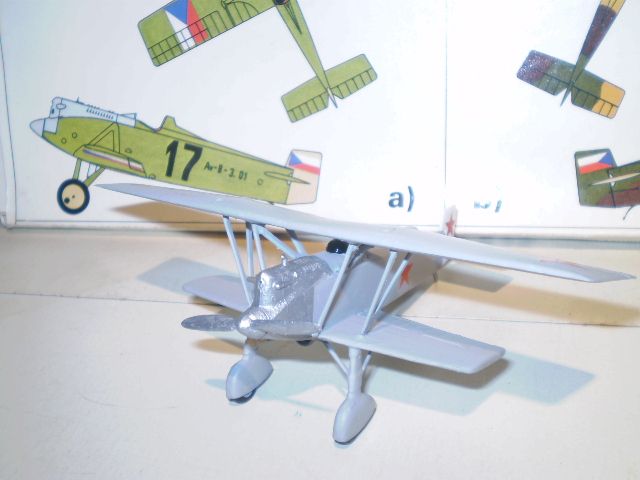
Here's one last shot that shows off those fearsome spats!
Brian da Basher


