In case anyone wanted to see the process of how I put this one together, I've show some of the progress below.

At this first "in progress" image, I've actually already done a lot of the work. I've done much of the recontouring of the nose and I've gotten the markings largely finished. Despite that, there's still a LOT of work left to do.
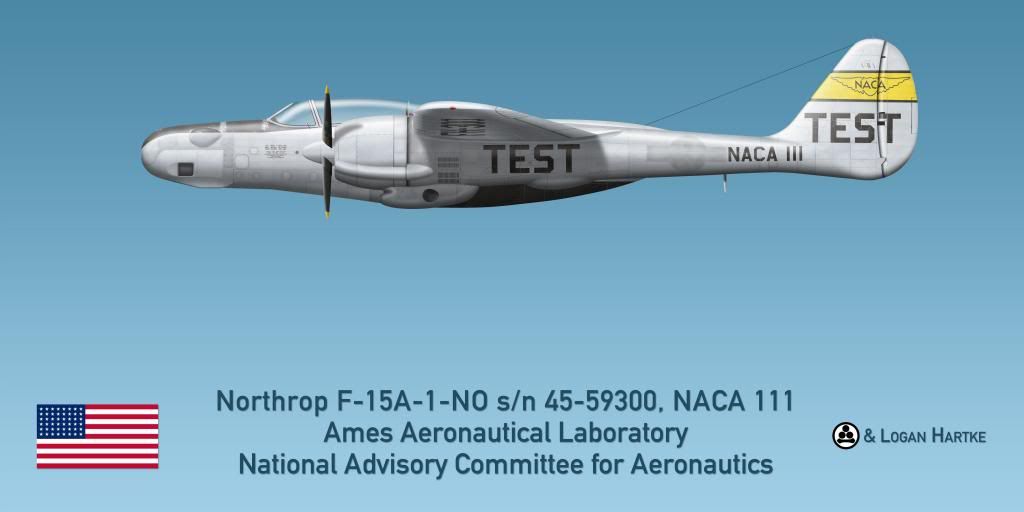
Here I redid the bulge on the upper nose, chipped the paint on the anti-glare panel, added the copy of the markings above the lighting to show the reduced shine on paint vs NMF, and have largely gotten the aircraft itself finished. With the exception of the new pitot, it just needs the transonic test body.
At this stage, I'm just defining the primary shape and scale of the test body. You'll also notice that I keep it level with the fuselage. This is to aid in the sectioning of the shape, lighting, and a number of other elements. Since it's basically symetrical, it's much easier to keep it level until the very end.
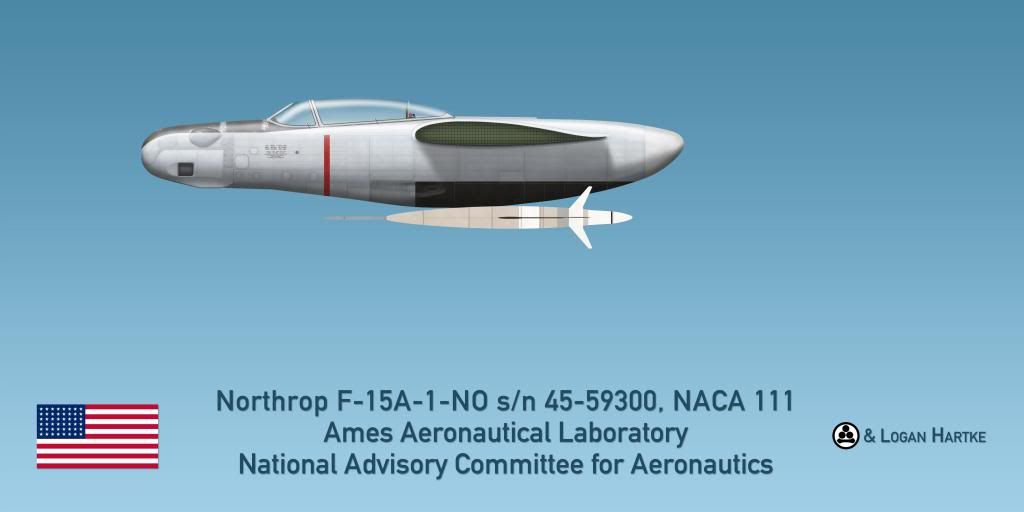
I still haven't started the lighting and shading of the body, yet, but you can see that the painting of it is largely done. I've also removed the reference image. I still consult it during the process, but I don't need it as much since the shape and scale are clearly defined.

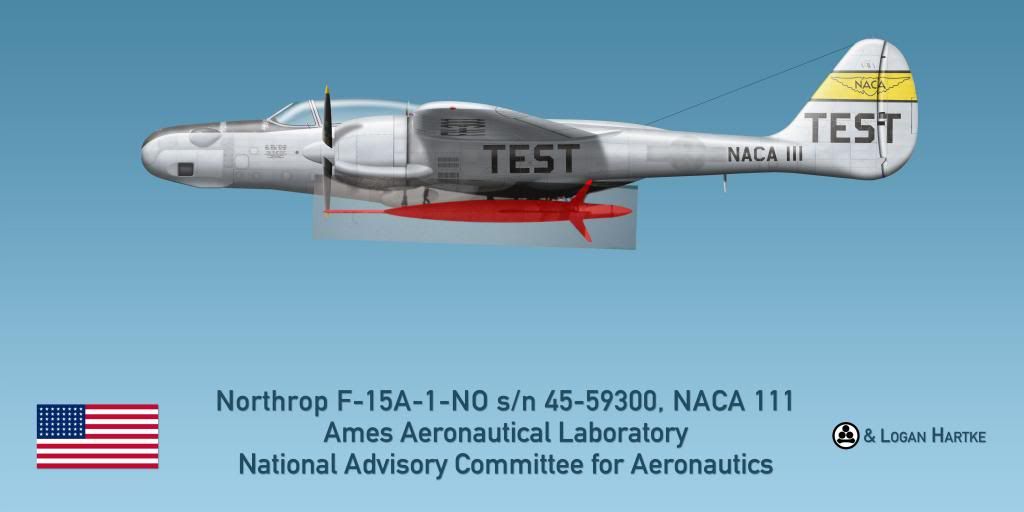
Shaded, angled, and attached. The straps were actually a pain since there are no good detail shots of them or the attachement points. I tried to put them in the right place, then guess at their details.

All that's left now is the new pitot. This is where I left it last night.

The new pitot was a couple hours of work, most of that research. Still a pain. The P-61 family had at least 3 completely different pitots on the nose among the variants.
Cheers,
Logan


