Well I've read a lot of modelers aren't very happy with the kit's fit etc. so I did a search to see how people coped with the problems. Lots of grumblings but not much in the way of how they fixed it (at least in the few threads I looked at).
I wasn't going to bore everyone with a step by step of the build as I figured it had been covered already but it doesn't appear that anyone has, so I've decided to approach this with open eyes and as I find a problem, I'll try to explain how I fixed it. My first problem was when I went to make up the three parts for each intake assembly. I did a dry fit of the parts as the instructions say to do them but found that it's not very easy way of doing it. Also saw my first example of the appalling fit of the parts.
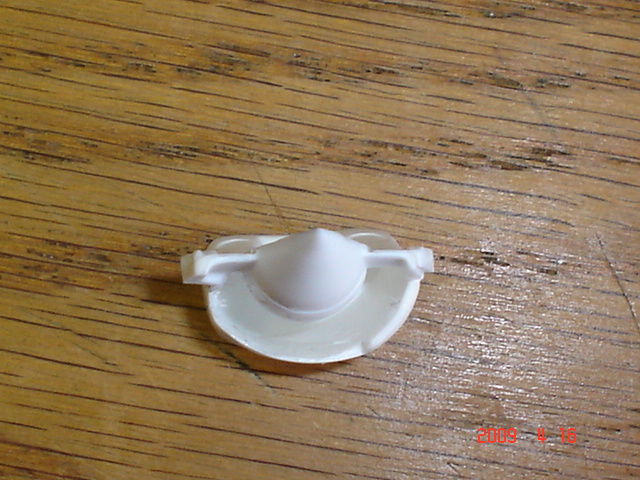
Here's the parts in question:
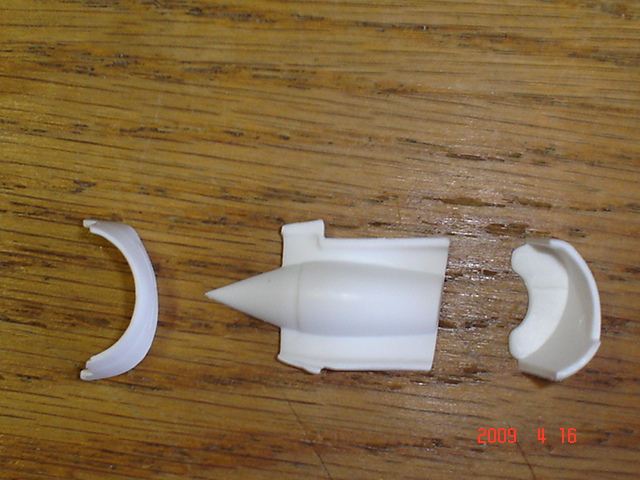
on the left you have the outer intake fairing, in the center is the shock cone part, and on the right is the internal duct, the instructions say to glue the outer intake fairing onto the shock cone part first, then glue the internal duct afterwards. The problem is that trying to hold the first two parts correctly while trying to glue it isn't very easy but when I trialed fitted everything with the internal duct it sort-of lined things up better, so I've glued the internal duct on first.
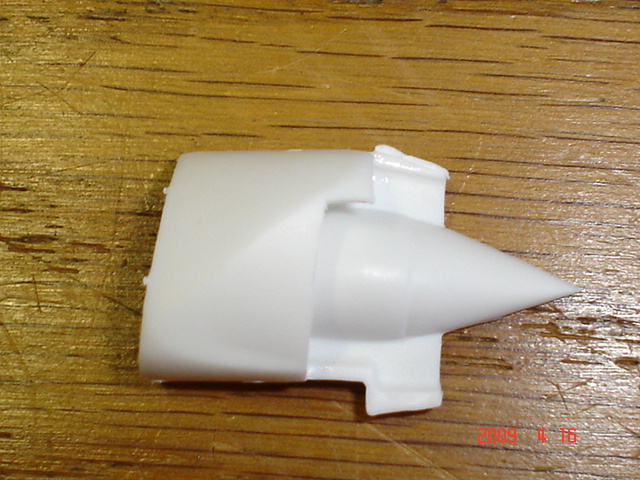
Once the glue had dried I could now see how the intake fairing was supposed to go on, but then I looked inside the duct and could see a very large gap.
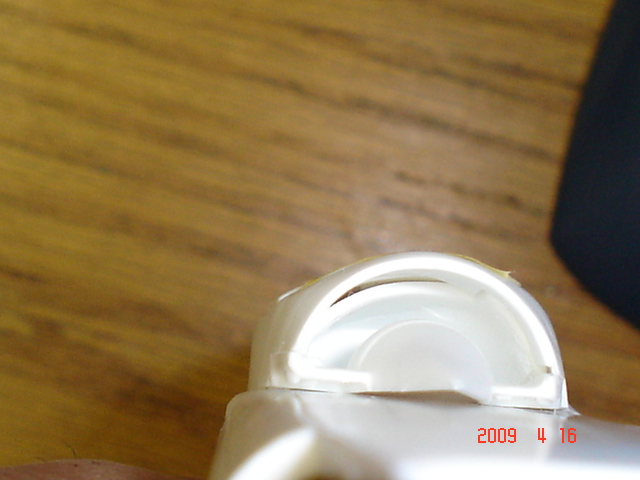
I then fitted the two glued parts into the fuselage side to see how everything would look before I glued the intake fairing onto the shock cone part. Well it doesn't just fall in, you have to sort of twist it in -- like this:
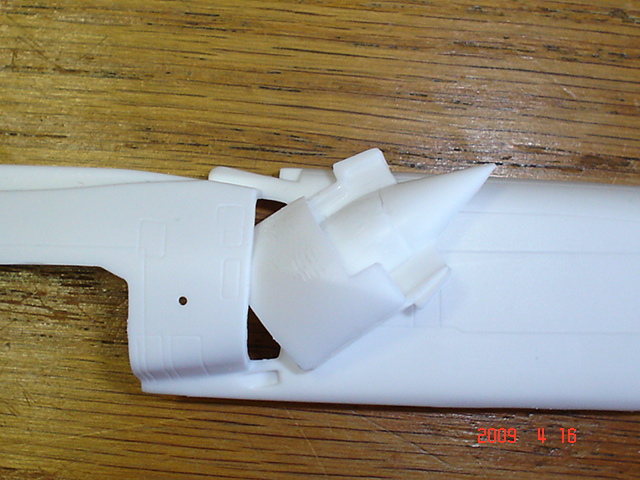
Once I got it in and then held the intake fairing in it's place I could see down inside the duct and I could see that the internal duct part doesn't come anywhere near the side of the fuselage and just looks really awful.
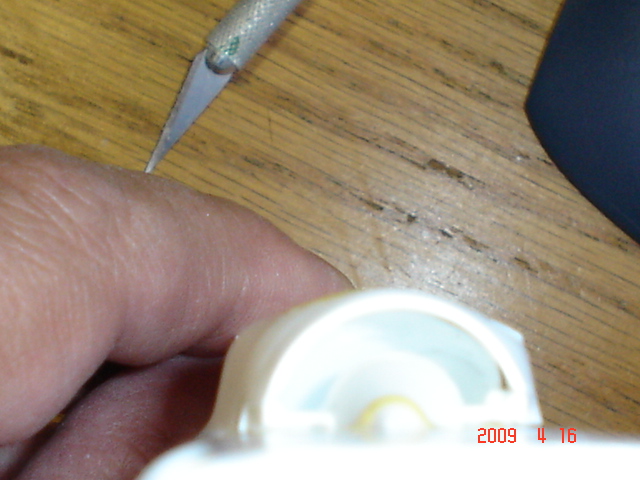
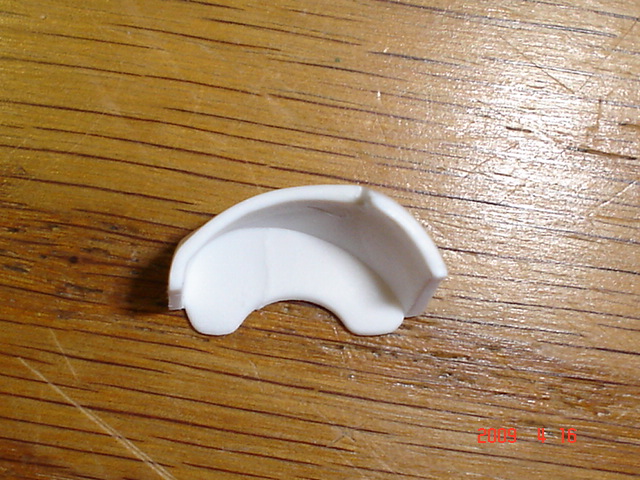
Another problem is the very thick edge to the leading edge of the internal duct part so I thinned it down with my hobby knife from the inside, don't thin it down from the outside as we need this side to touch the plastic of the fuselage. After it was trimmed, I then used some pointy nose pliers and very carefully stretched the trimmed edge outwards so that it would touch the plastic of the fuselage, I hope this shows what the results were:
The thick internal duct edge
After I had thinned down the edge
and how it now looks when viewing inside the duct.