Hi,thought id start this one,whilst doing the Sa1,This is the first launch.of a design change to the previous three,as the next step in the moon race?.
Basically the differences are,The main mission reason,was to test the procedure for an engine failure in flight,so an engine was programmed to shut down,100 secs into the flight.The solution was the rocket to mreroute fuel from the stalled engine to the others,and burn longer to compensate.This was a total sucess,as it was used later on in the apollo missions,a few times.notably Apollo 13.
Also this rocket,had a few additions...the dummy 2nd stage was identical to the proposed flight ones....including all vent ducts,fairings .dummy ullage rockets...dummy camera pods..and it also flew with an antenna design used on the later flights,[thats the square panels near the tank tops btw?]
The SA4 has the unfortunate record of the most launch holds of any mission...
anyway,its basically same build as the SA1,so if you dont want to follow it? Thanks for looking Don
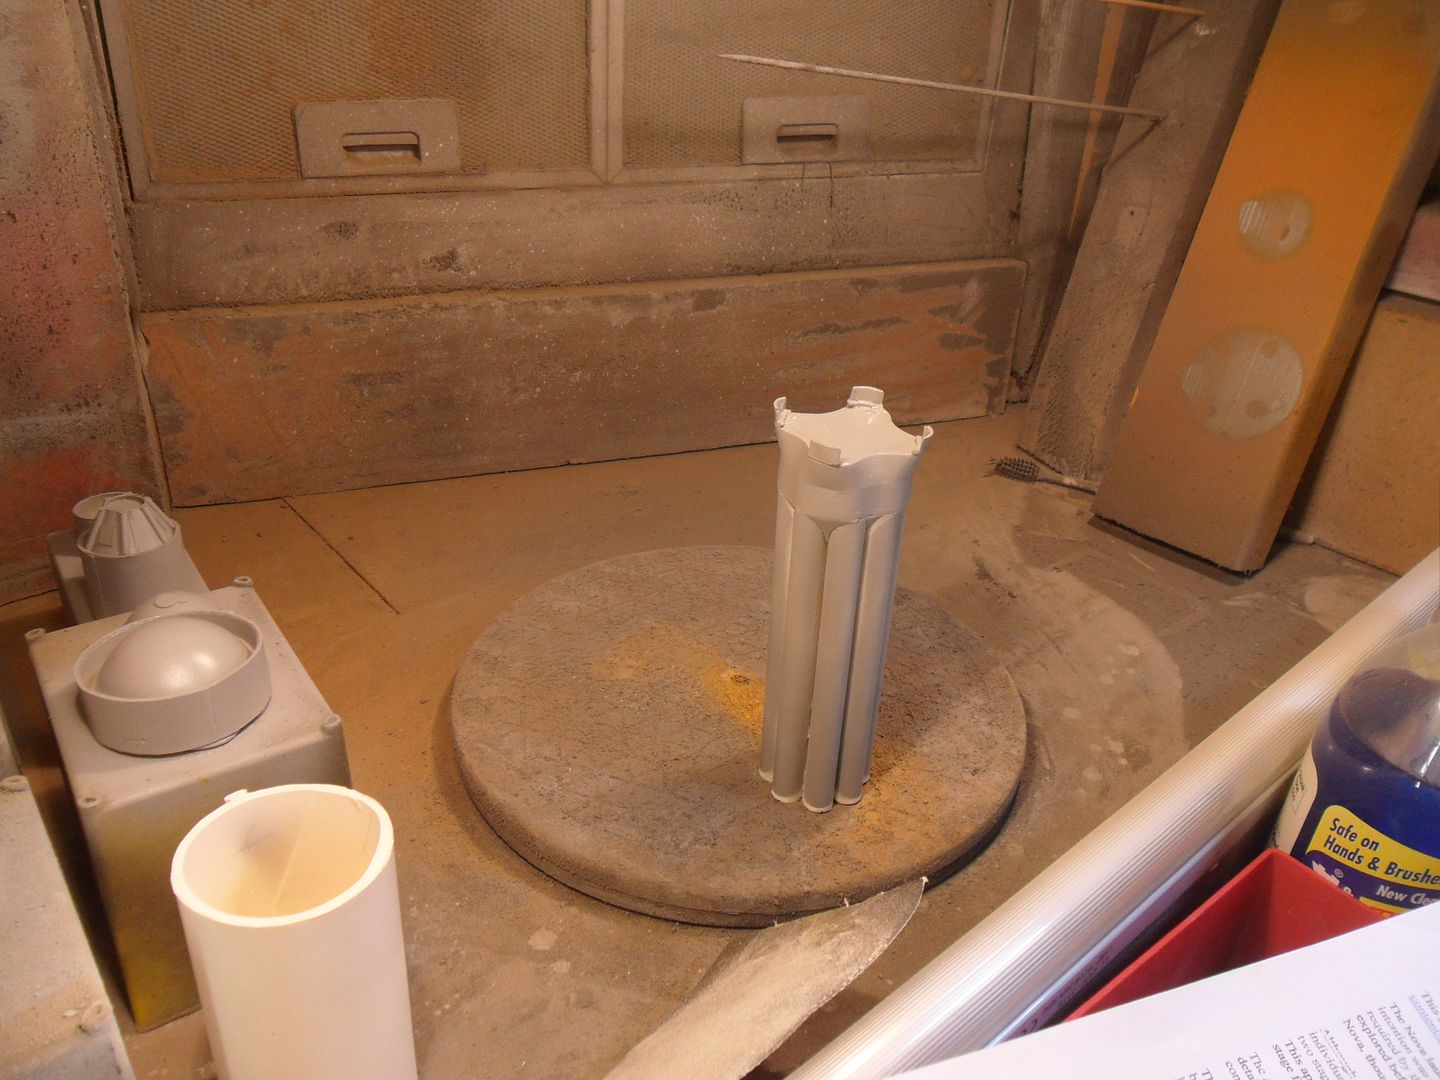
HI,this is the start...

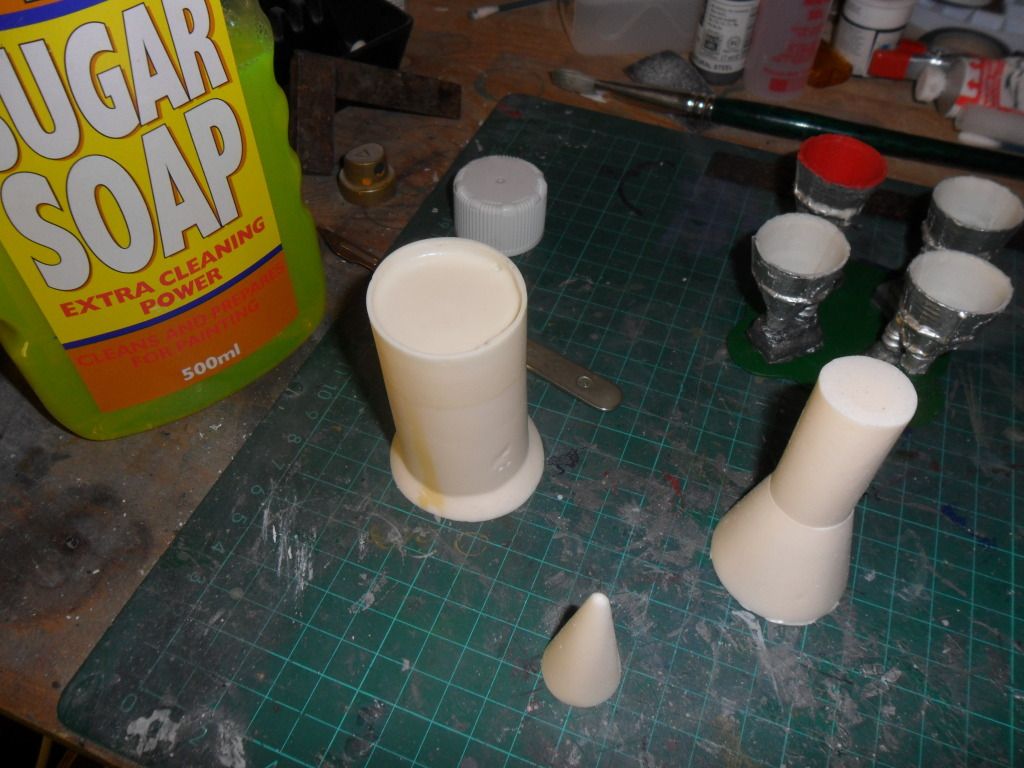
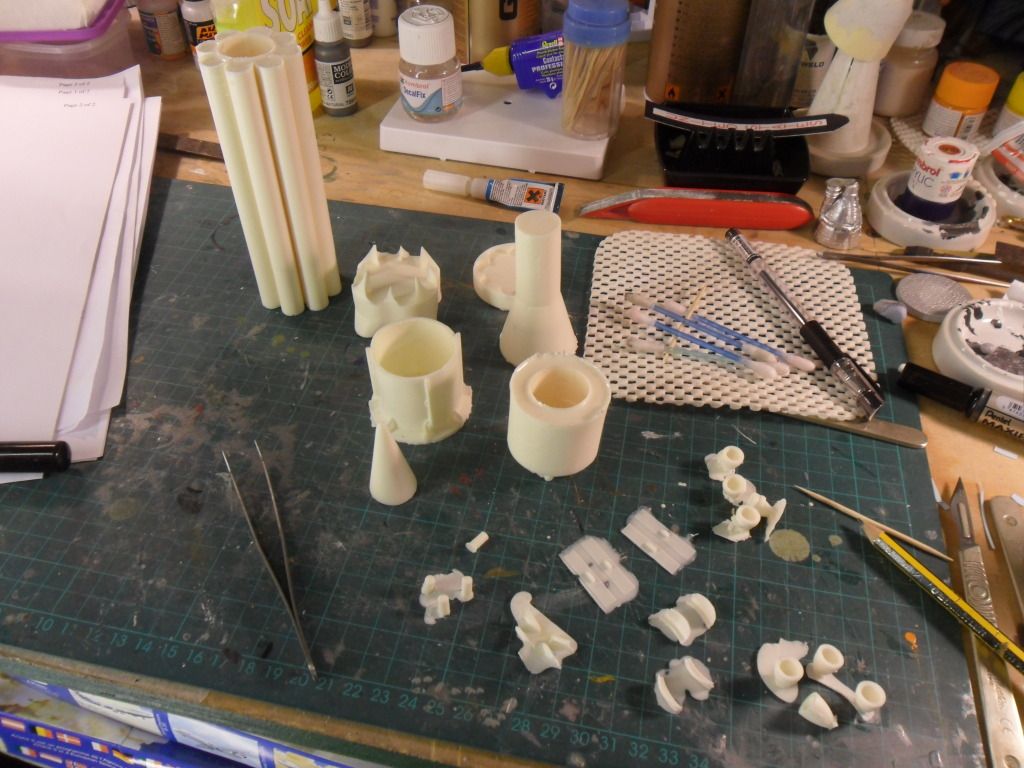
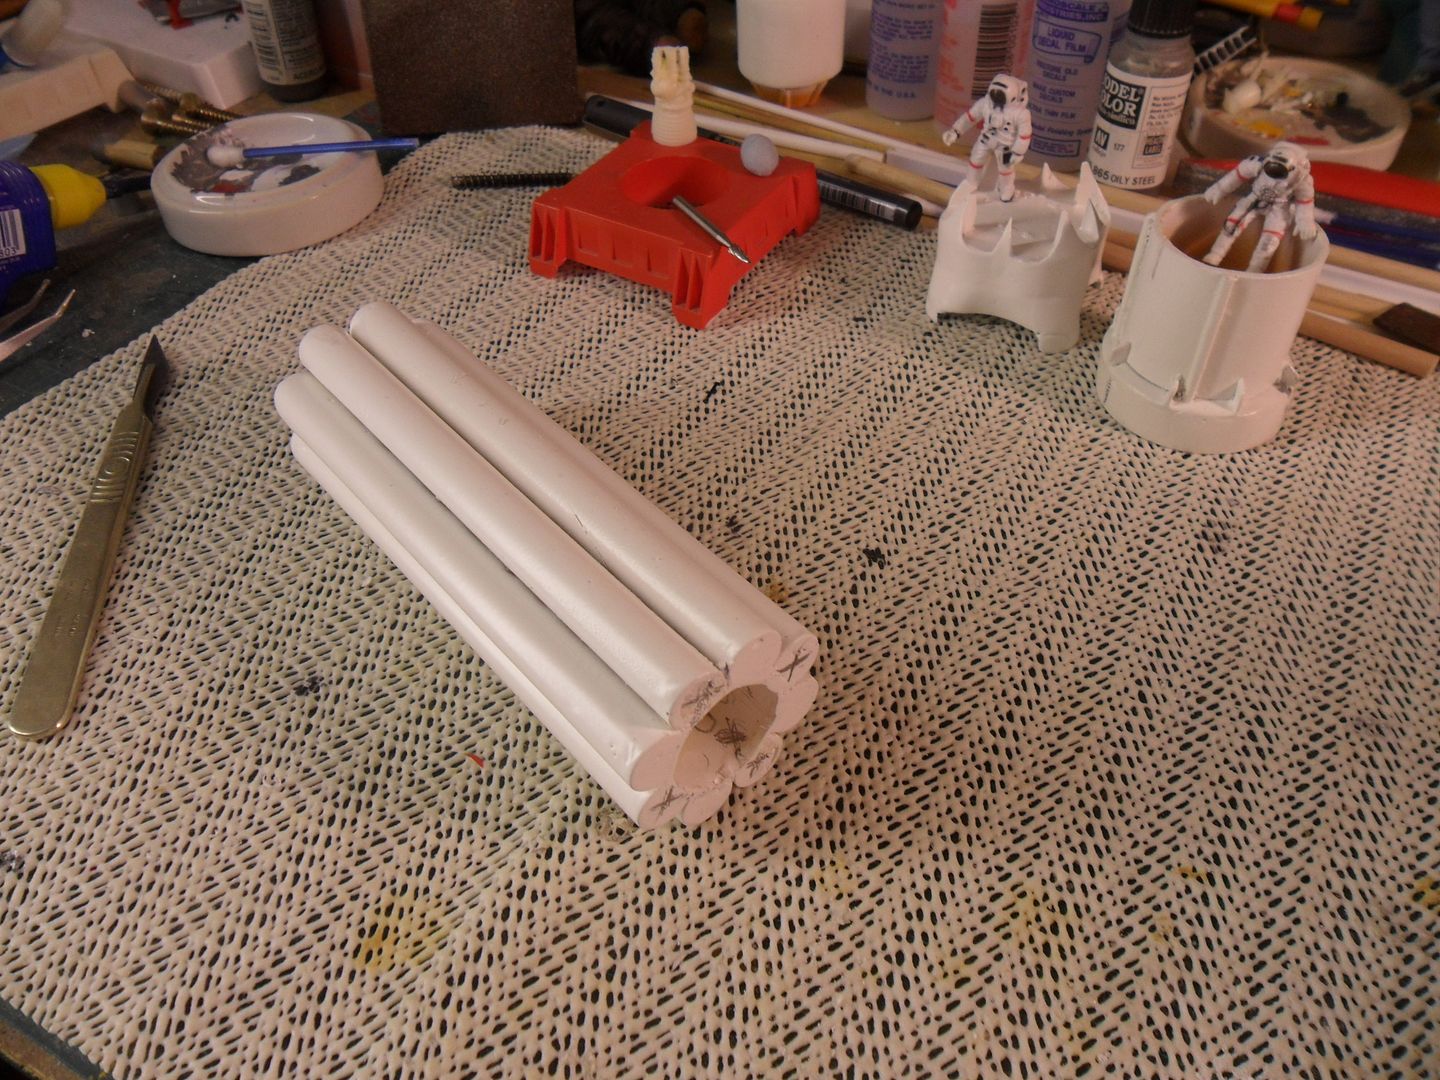
all the major pieces
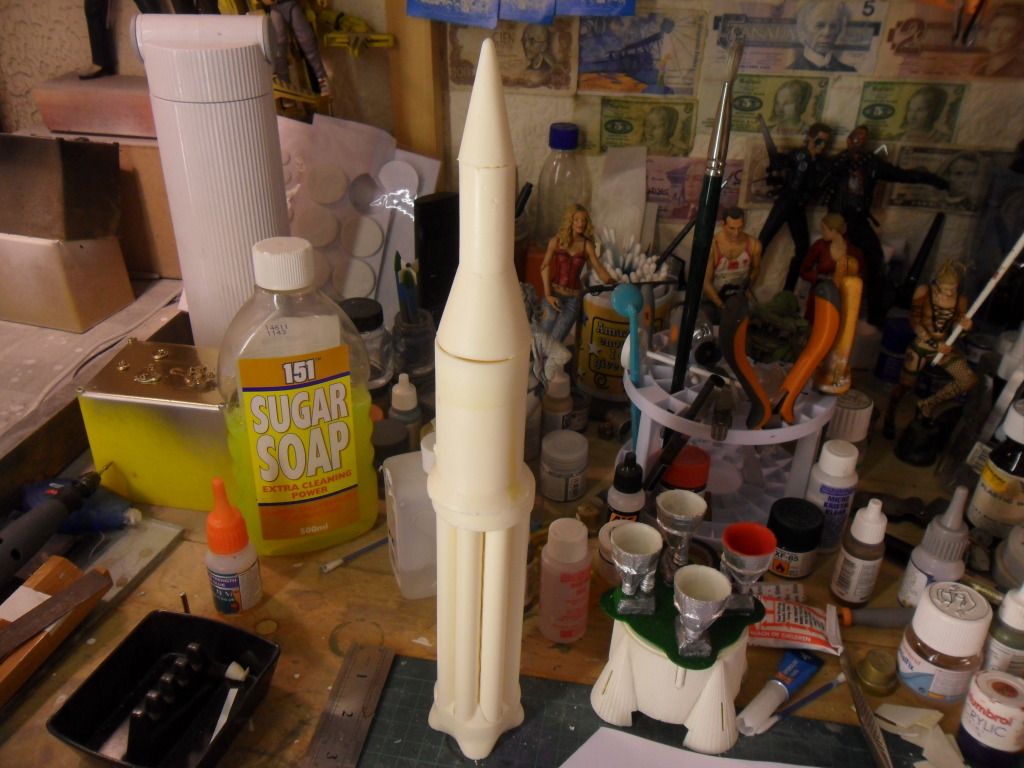
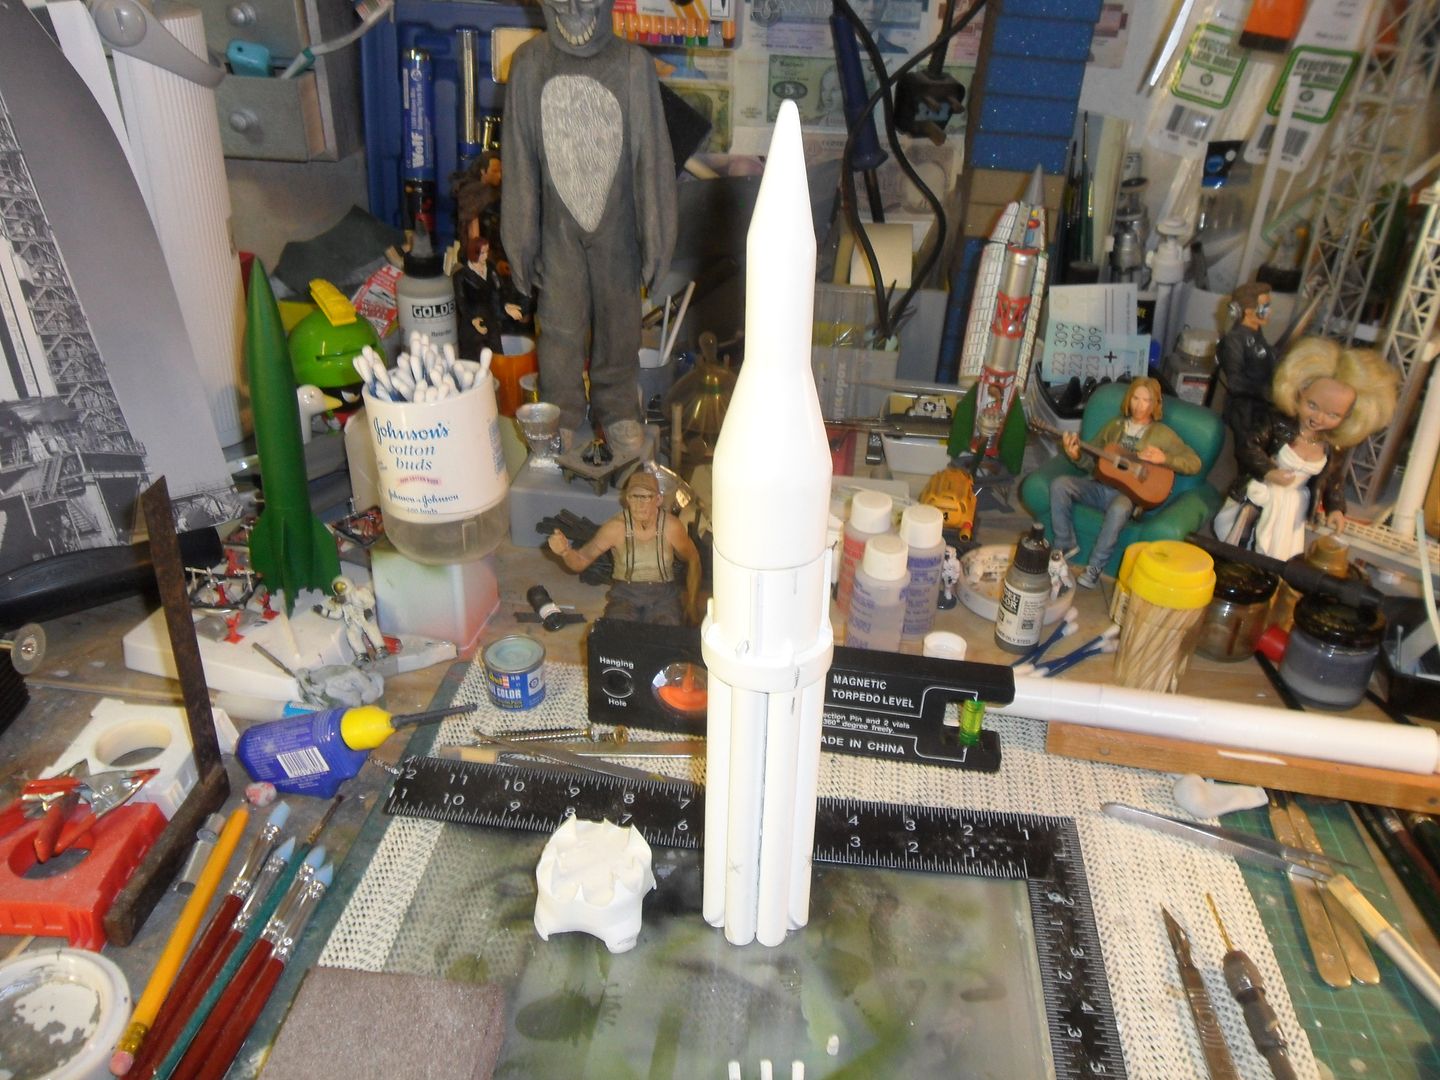
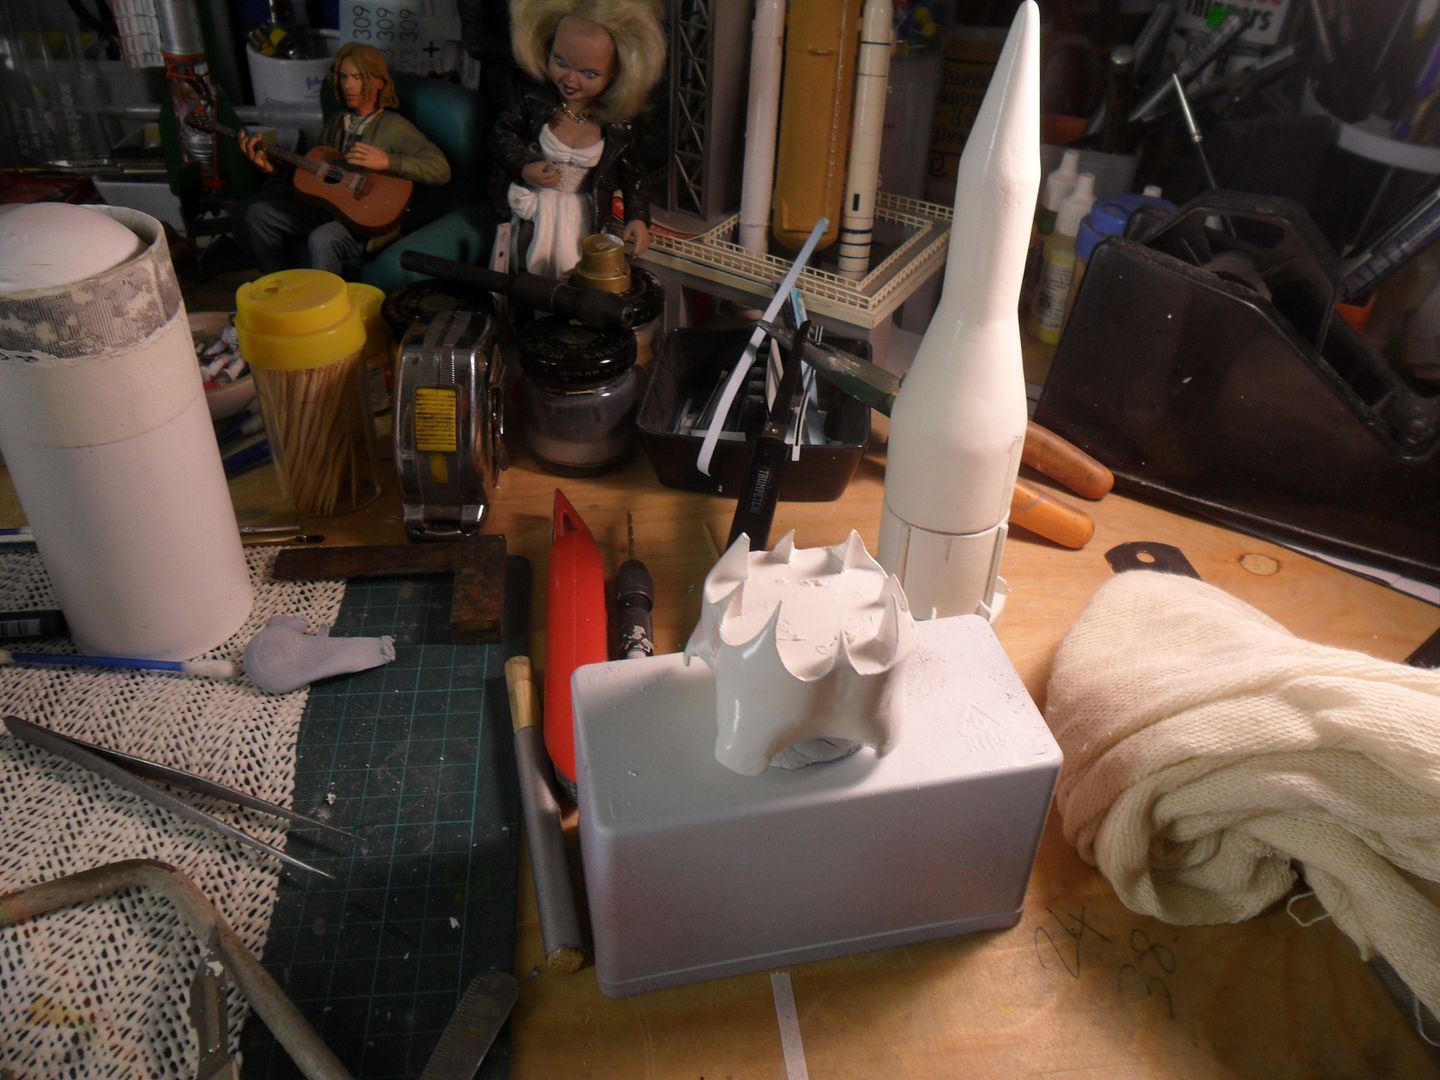
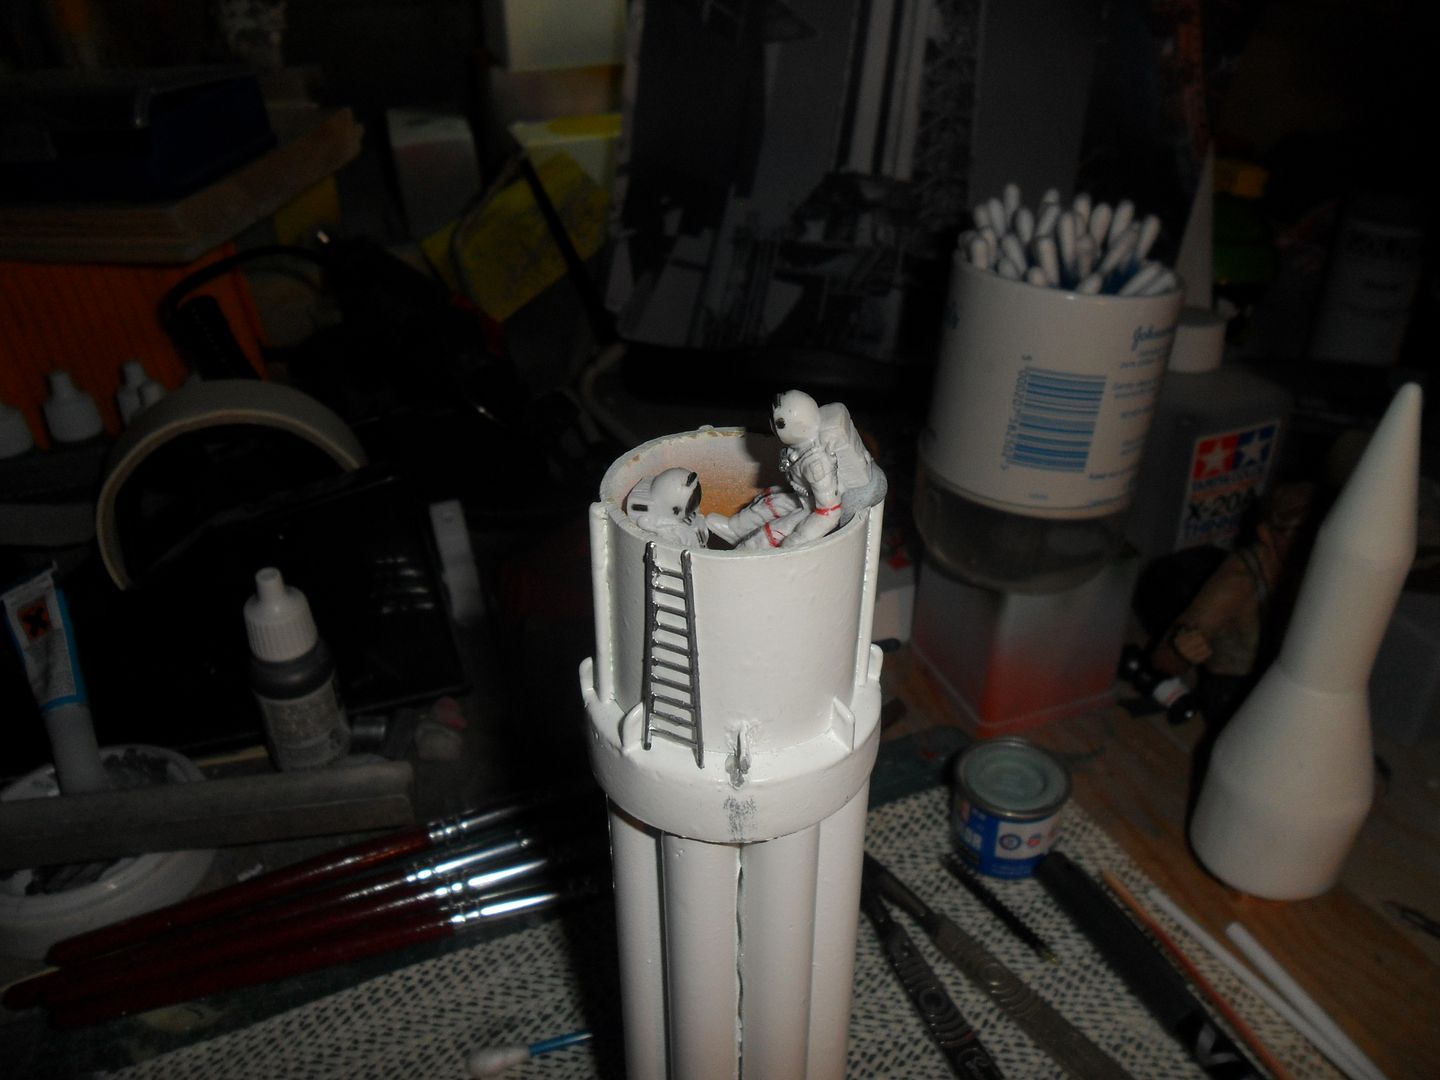
upper stage
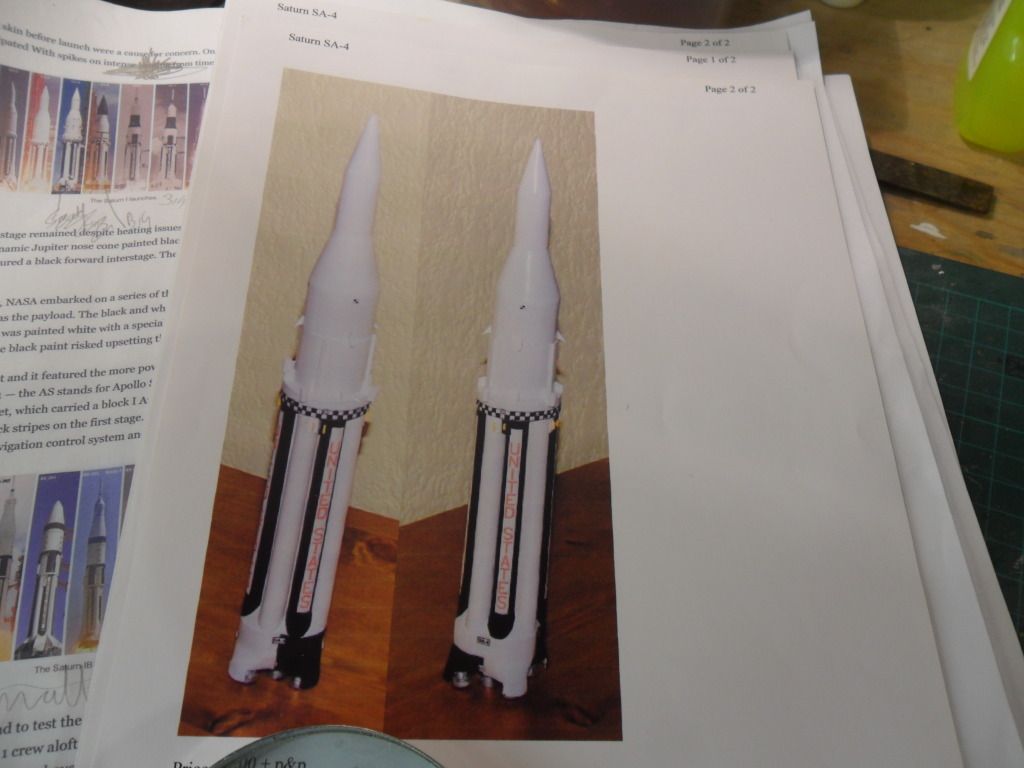
what its supposed to look like...
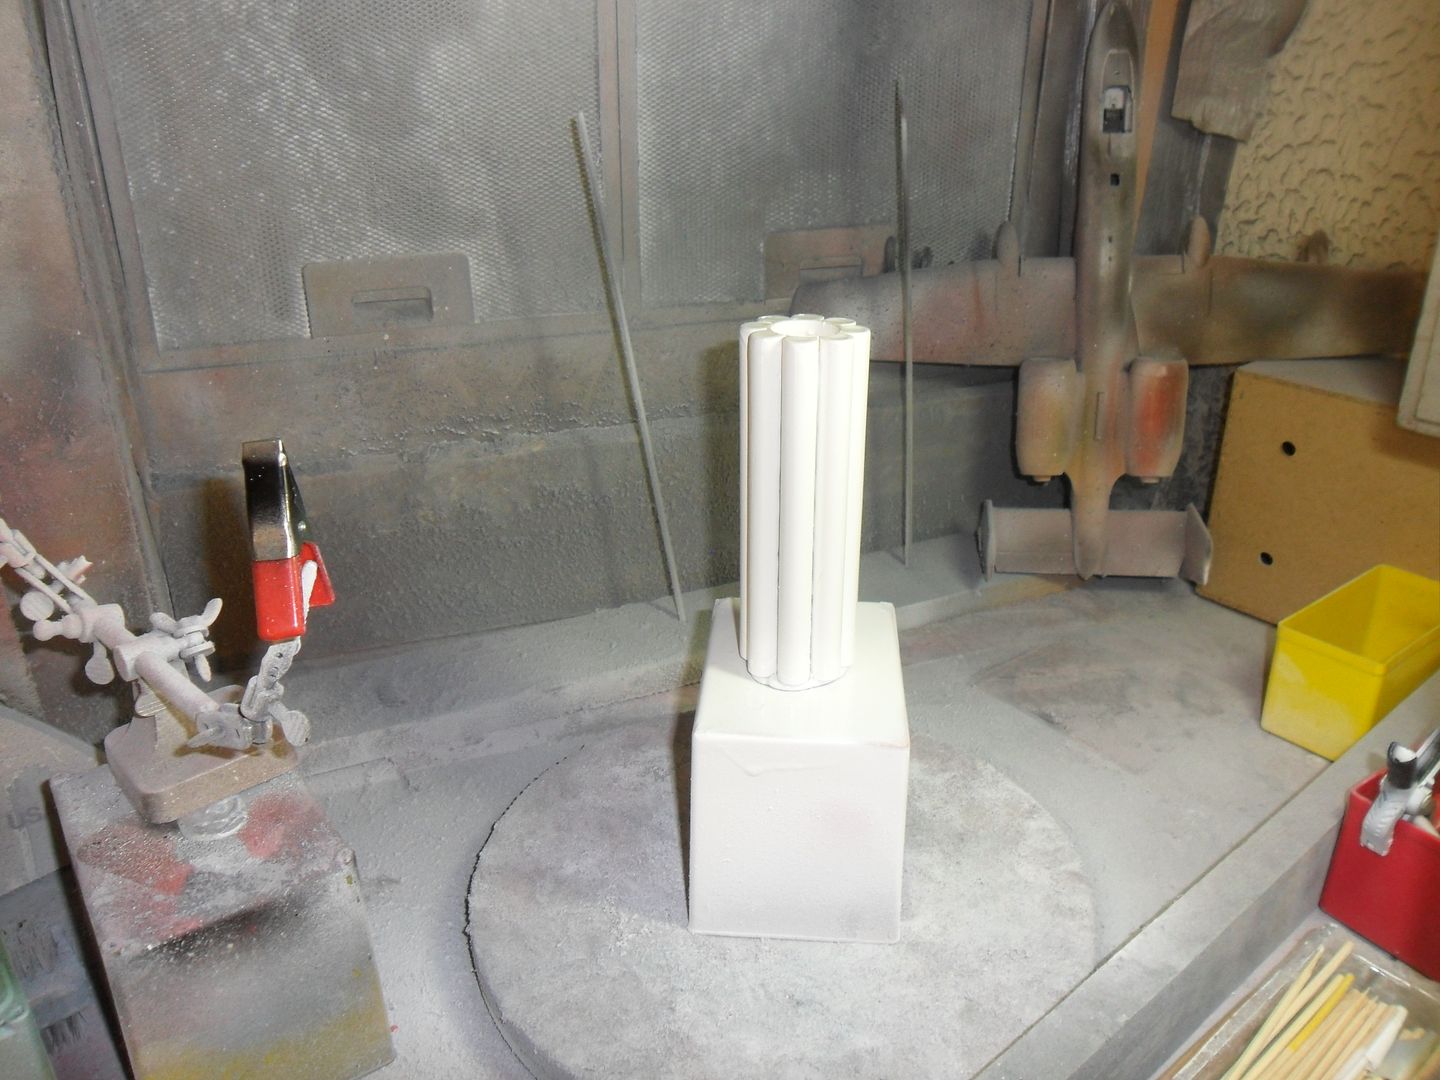
a bit of colour and trying the tanks in the base...
a bit of cleaning up,on the top....
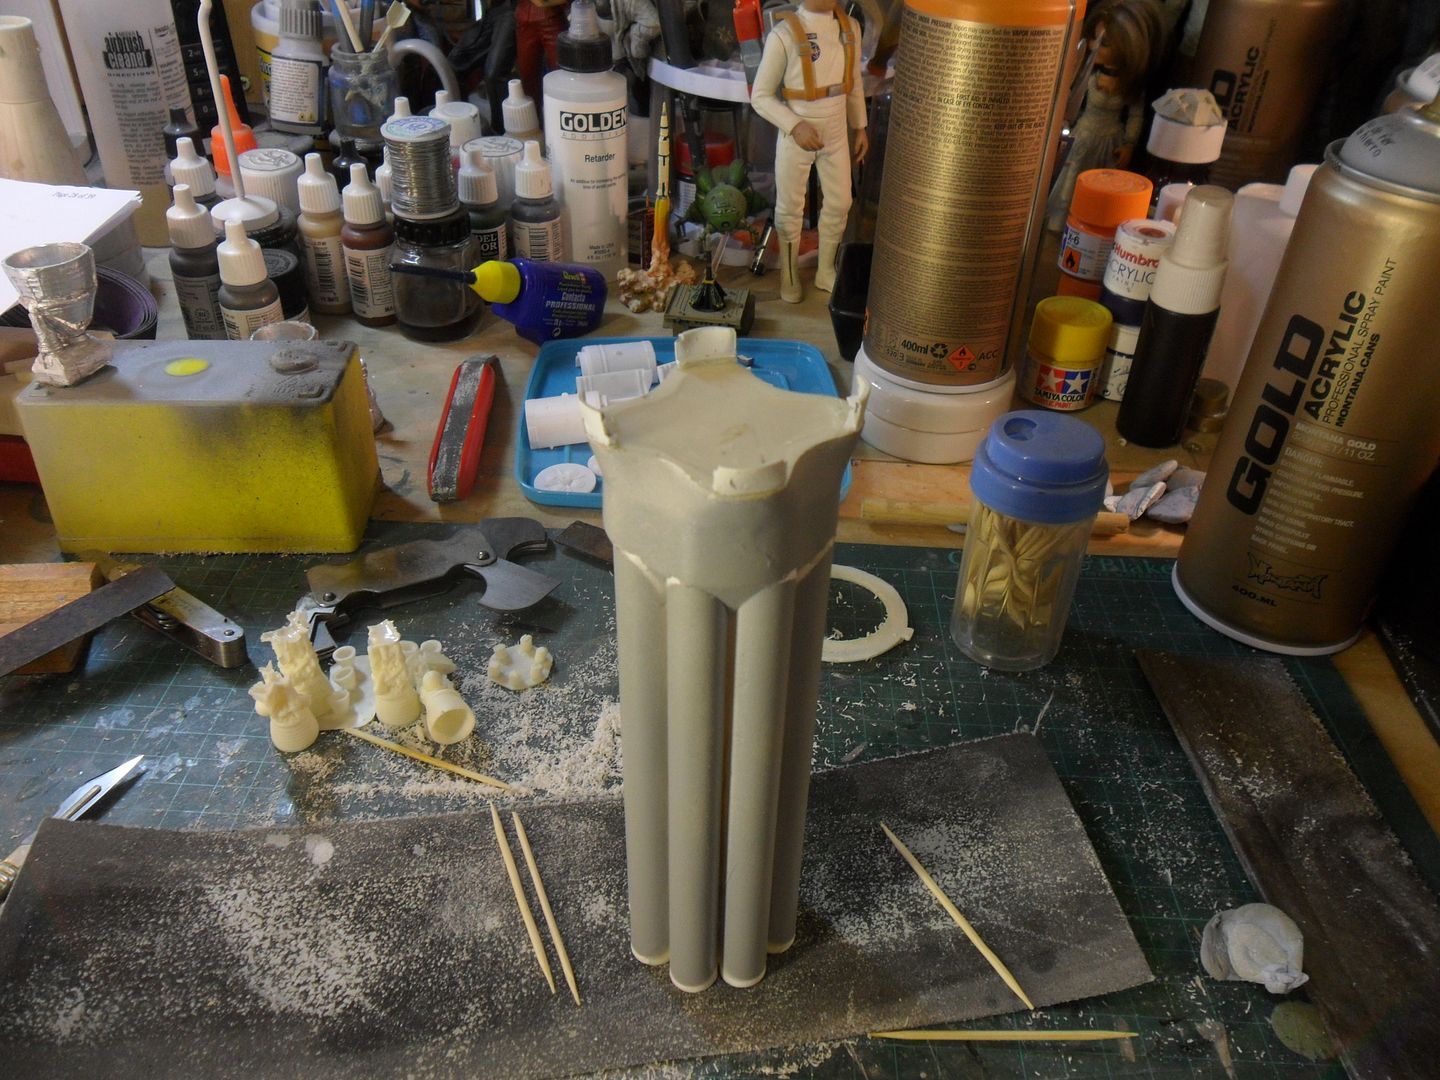
trying to get all the large pieces to line up...
cleaning a bit of resin out of the base to level it
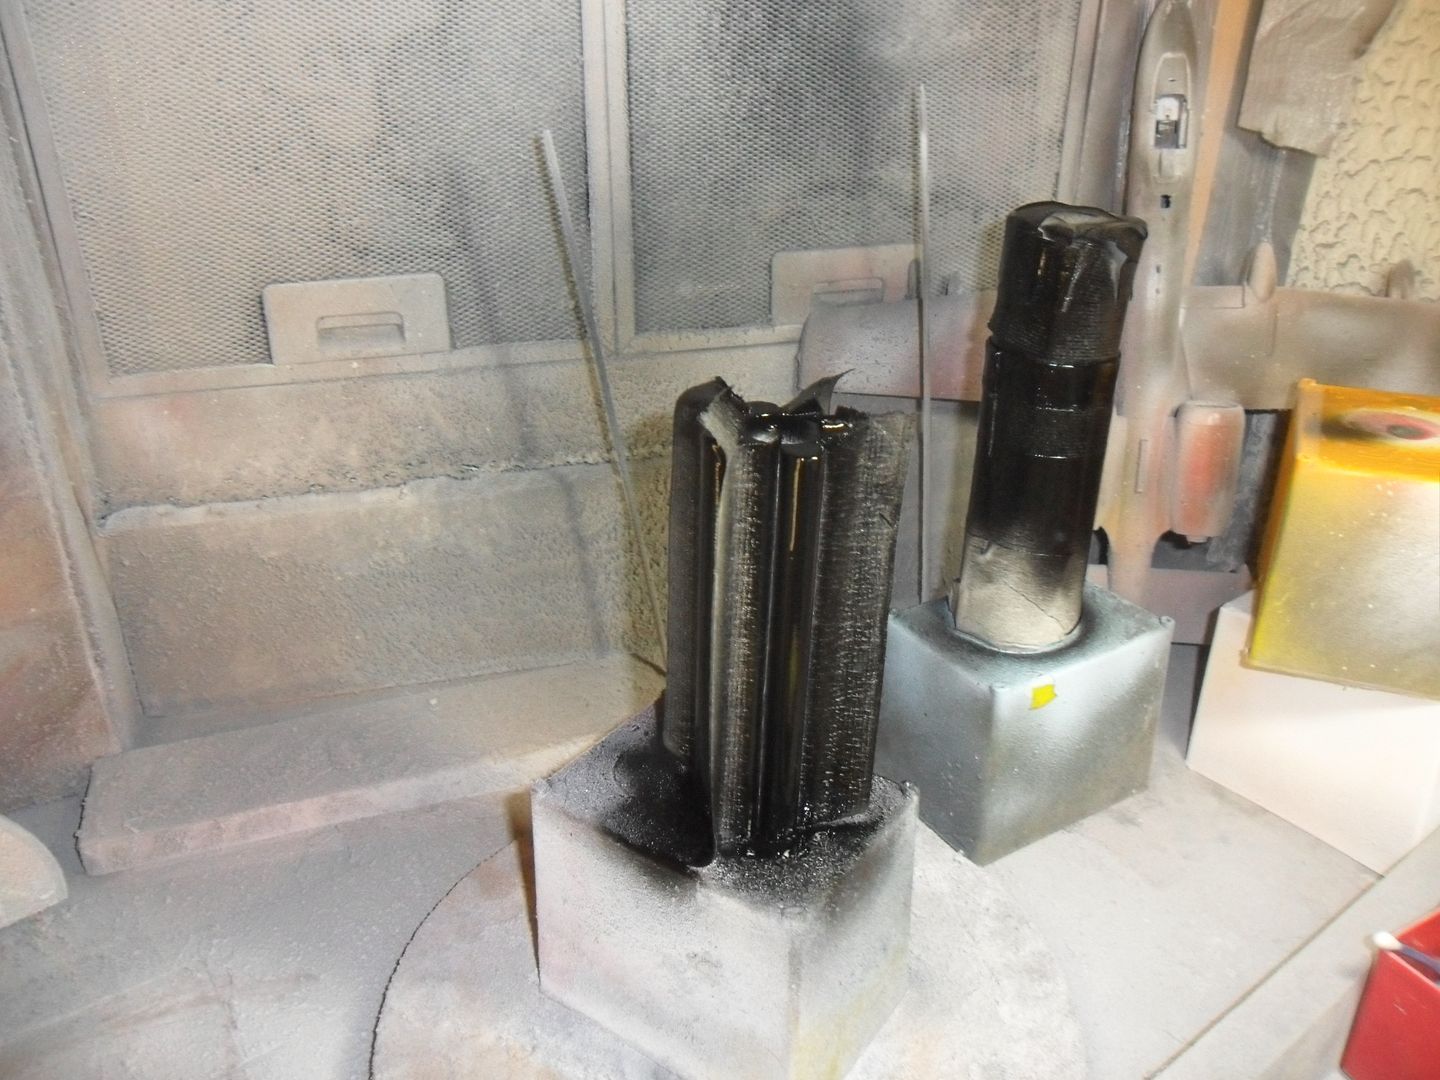
main coat of colour on the tanks
have to keep trying the parts,to make sure the level does,nt alter,until its glued
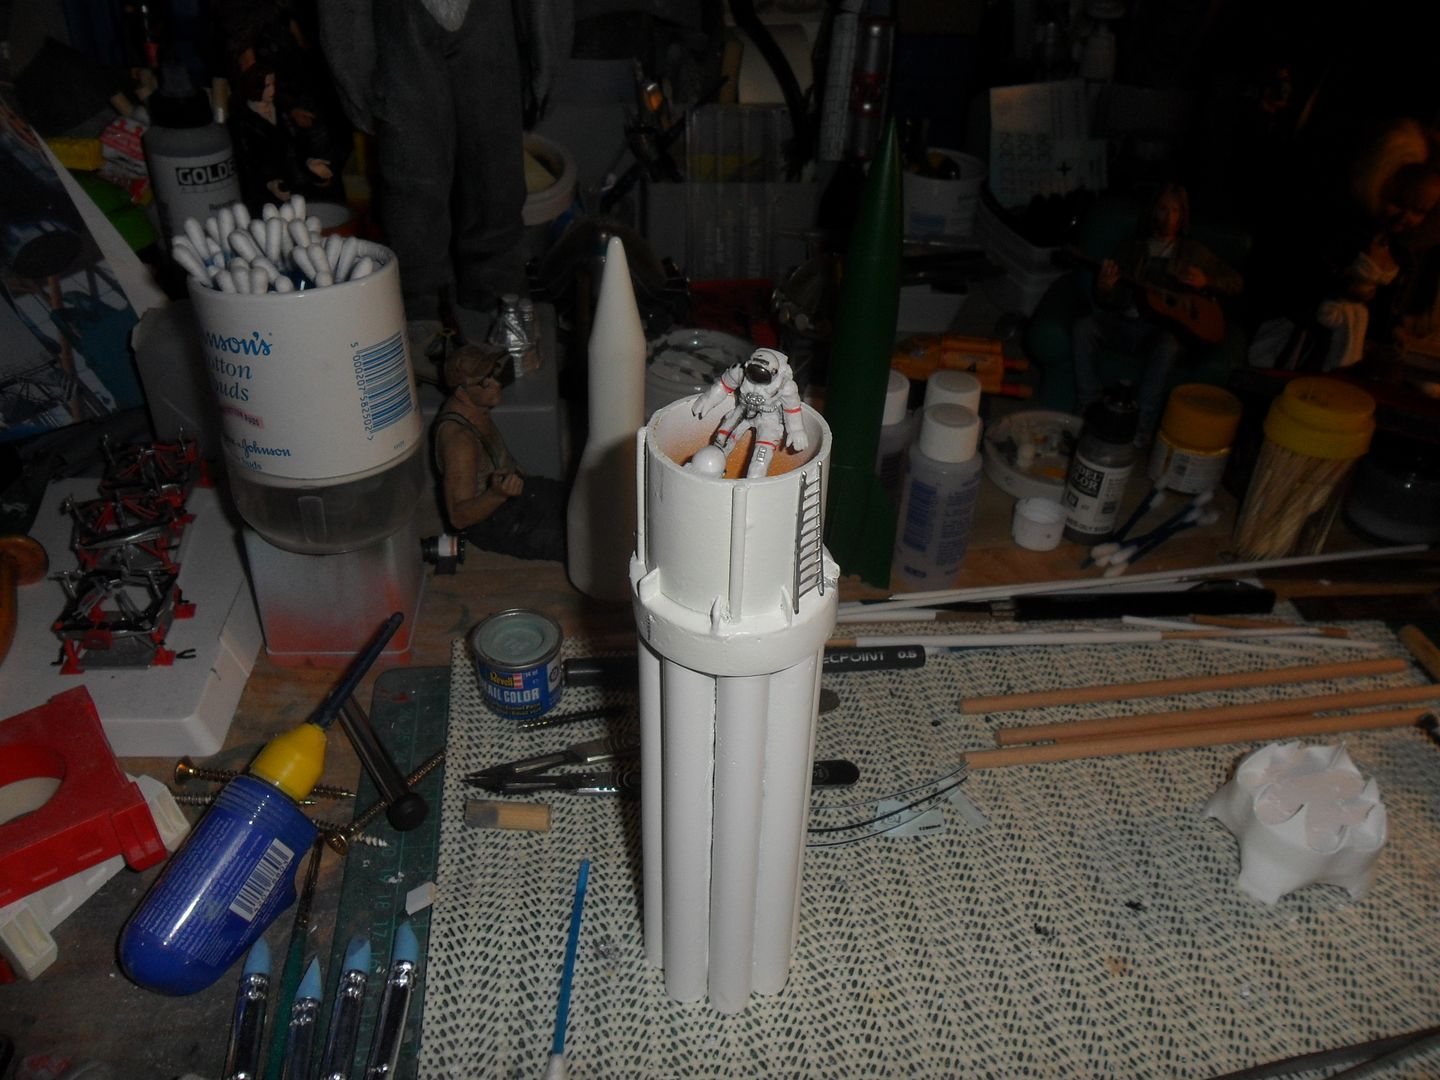
bit of a tight squeeze in there?
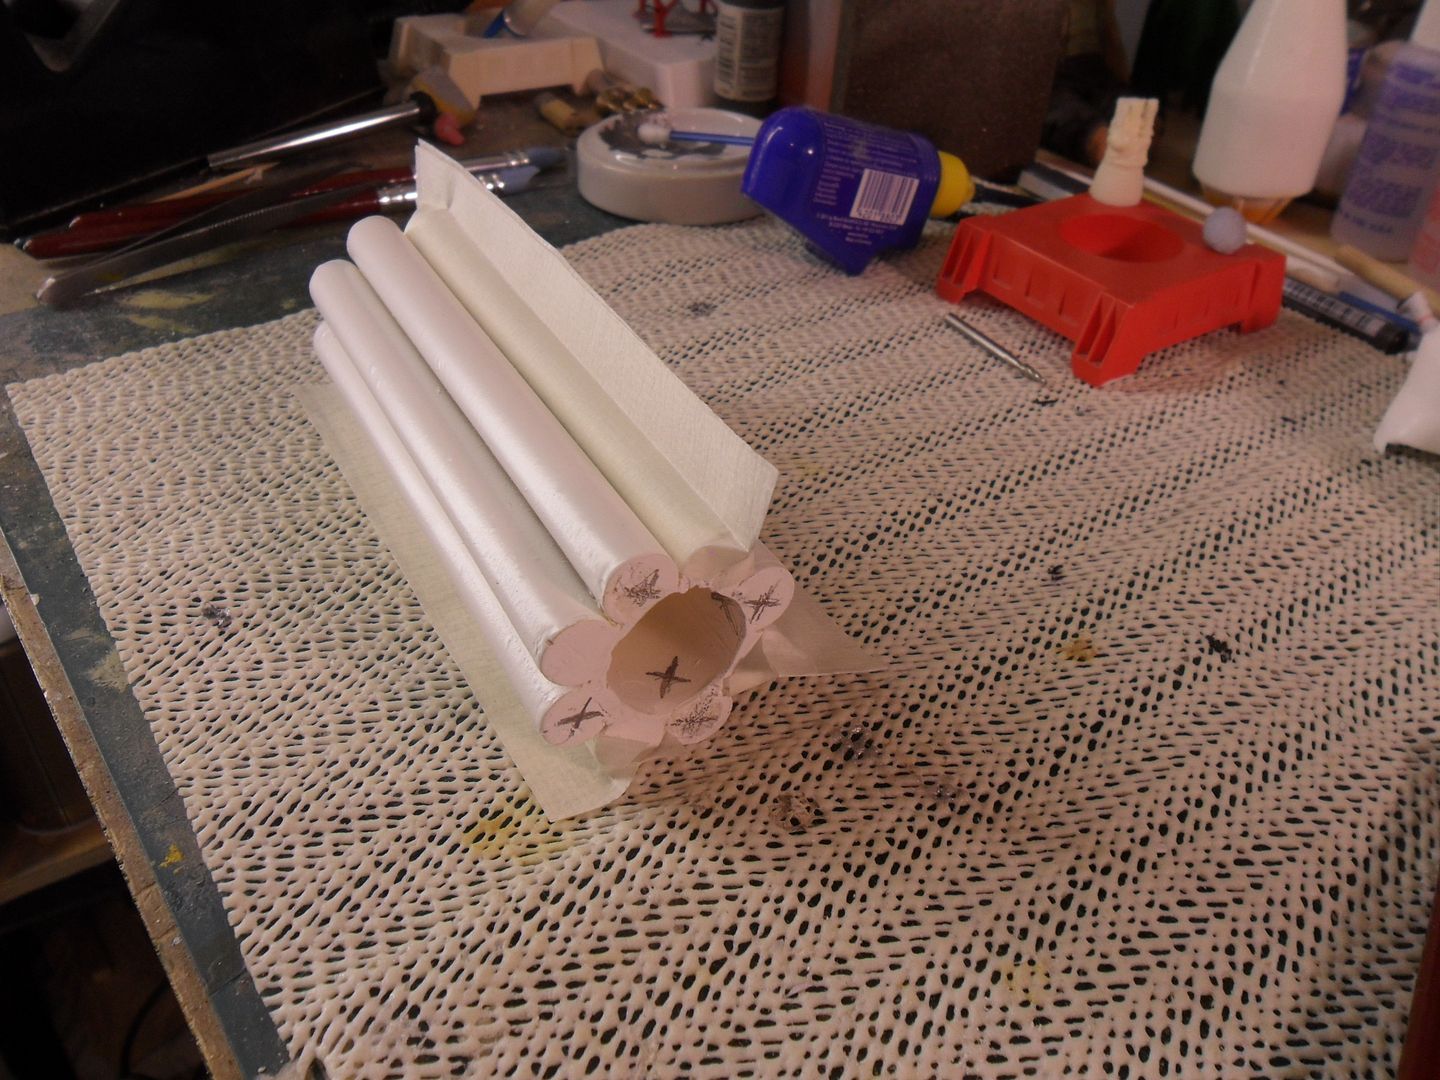
marking up the tanks for the chequer patterns/black tanks
masking up the tanks for the black
i,ll post a few more later,thanks for looking. Don


