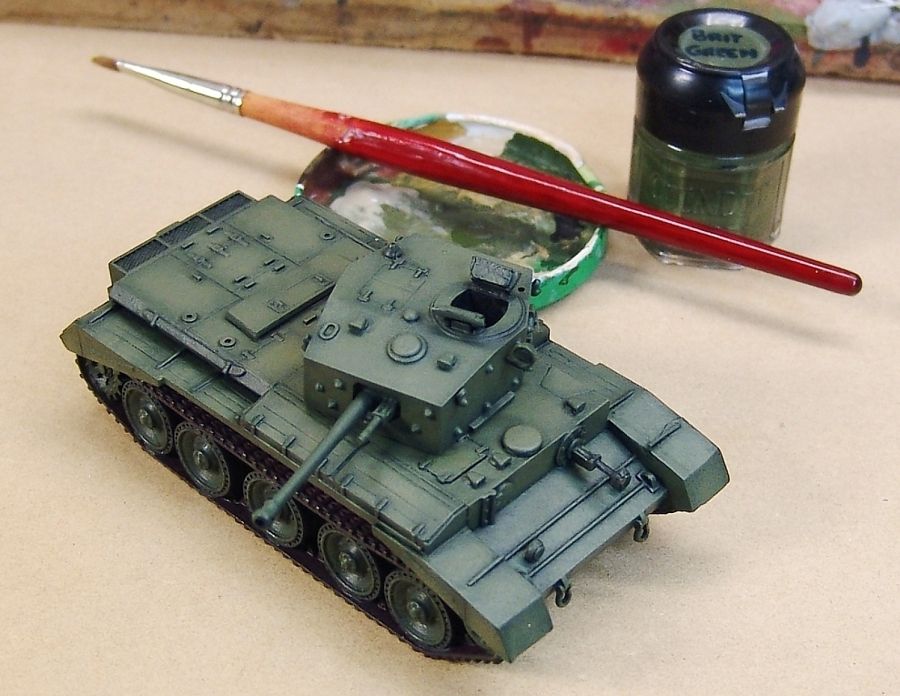
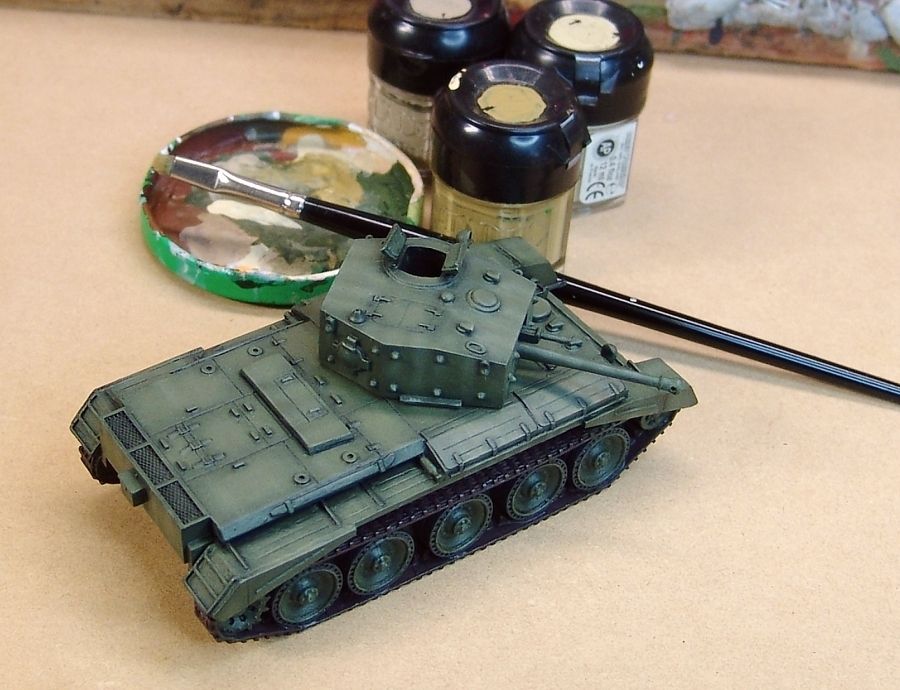
Step 5 - LighteningI mix in a little yellow with the green and concentrate on the panel centres and edges of plates.
The effect I'm aiming for a slightly worn/faded shade of the base British green.
Plus each additional step adds to the colour build up and depth of final finish.
 Step 6 - Streaking
Before starting and using a big and very soft brush I give the whole tank a very light drybrush of oily steel mix.
The horror of silver drybrushing I hear many cry! Don't worry, it works.
Tanks are steel and it doesn't matter what colour they're painted with IRL they still look ... steely.
Mixing in a little buff with the green and using a small stiffer brush I drybrush the mix on in streaks to simulate rain streaking and blown dust.
The aim is to keep this subtle but even then you'd be surprised at how visible it is on the finished tank and how it adds some interest to the monotone green.
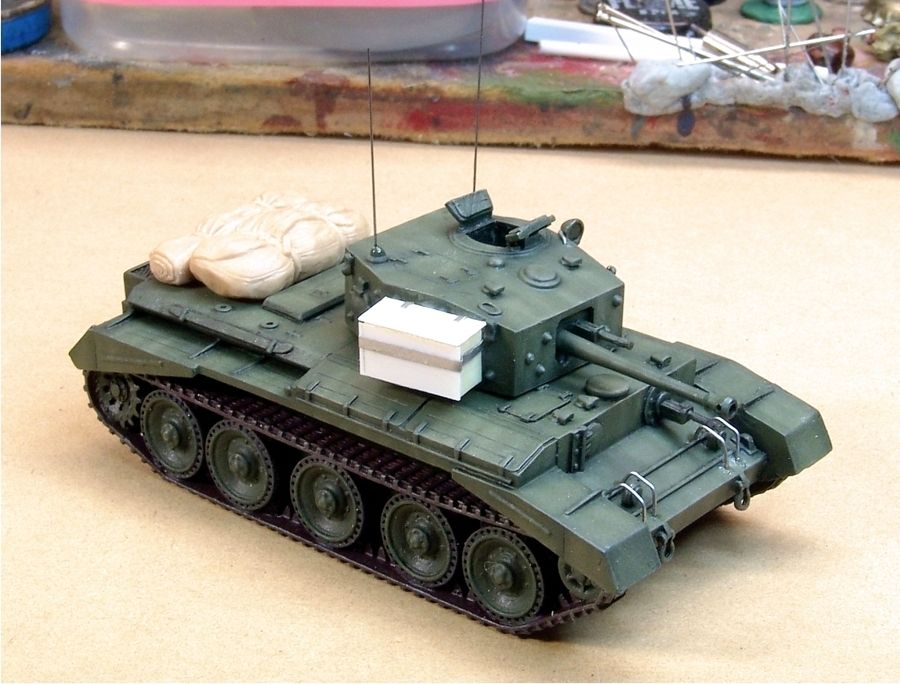
 Step 7 - PIP Product Improvement
Why this late you ask?
Mainly because the drybrushing/blending/shading can be a little hard on small parts so I've gotten into the habit if adding them late.
Plus this is a very basic kit (13parts) so little additions help fool the eye into overlooking the some of the simplicity.
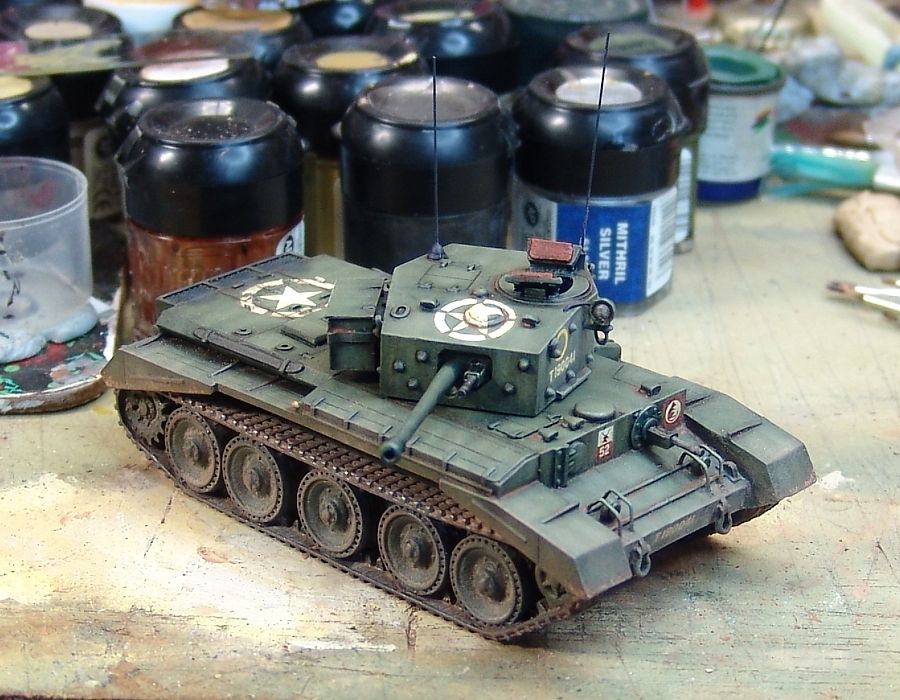
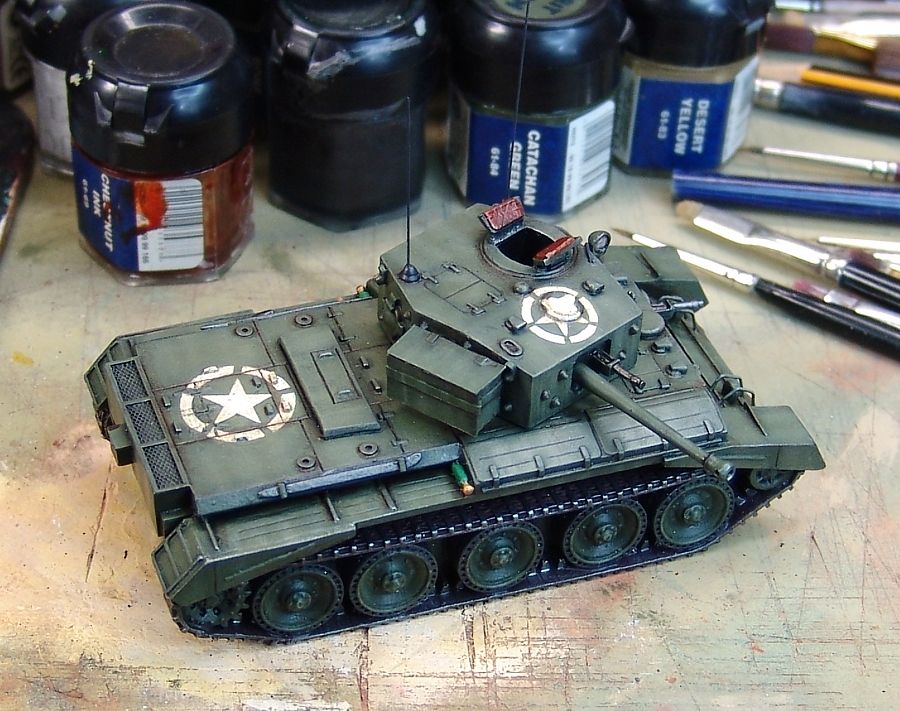
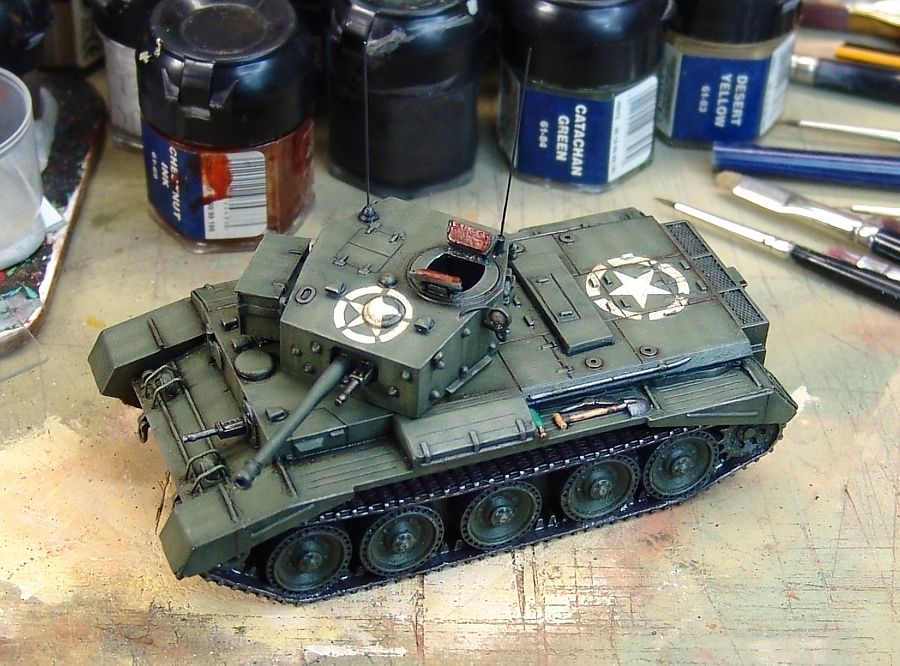
For this I added a turret stowage box, light brush guards, cable for the turret spotlight and aerials.
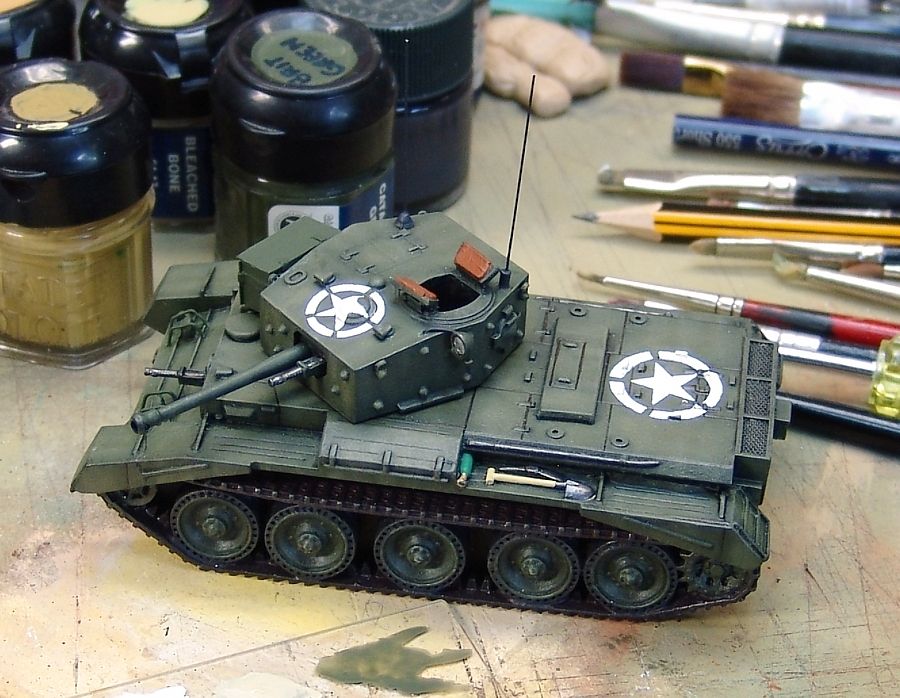
 Step 8 - Detail blocking
Now I tidy up any details and base coat things like mg's, tools, hatch pads etc.
All these will get a final shade and weathering too.
At this stage I also handpainted the allied stars.
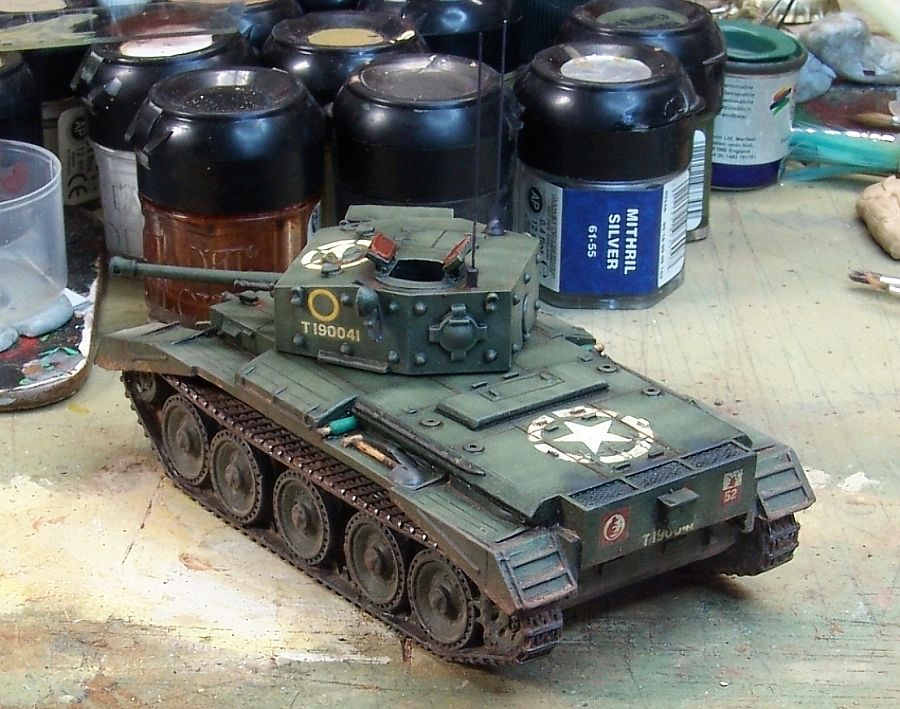
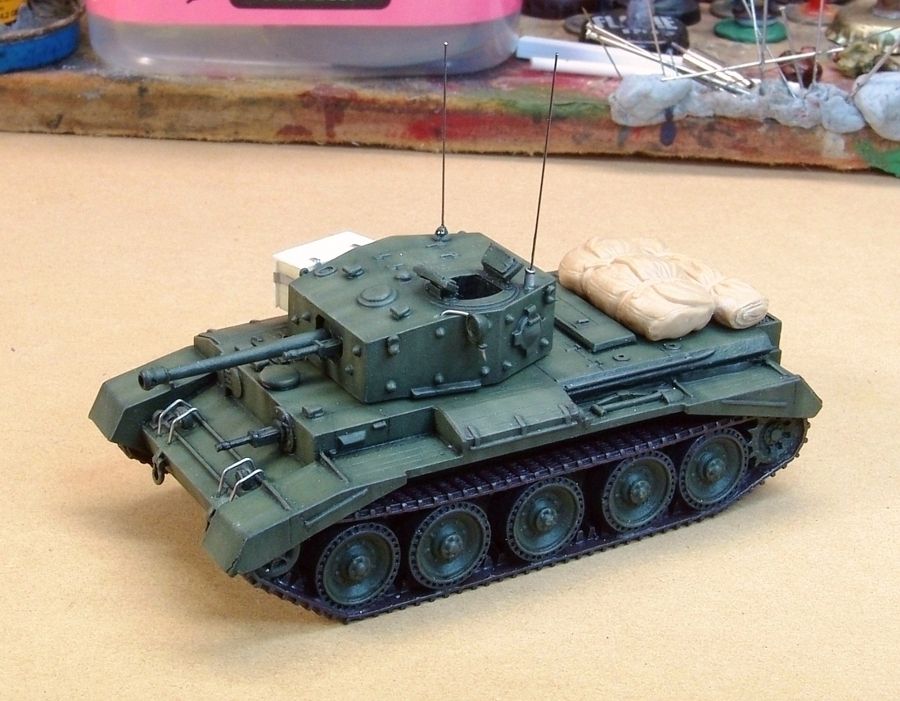
 Step 9 - Post Shading
Here I go over the panel lines with a pin wash of black/brown mix.
Also using a much thinner mix I shade around hatches and vents and main details, also under the track guards and the bottom of the hull.
This step adds to the definition and contrast.
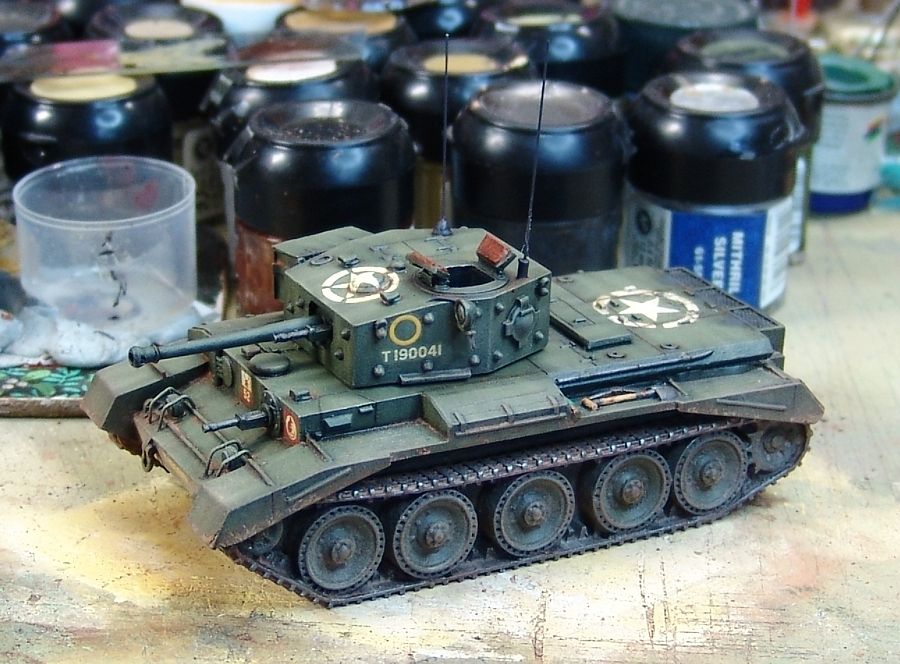
 Step 10 - Markings
No pics unfortunately.
Most wargaming models don't include decals so you have to either by them or in this case rob spares from a Tamiya 1/48th Cromwell which I'm building next ! lol
I don't shoot my models with all over gloss so here I just brush paint on some humbrol satin varnish on the decal locations.
Waterslide em on and finish with a brushing of decal softener/setting solution to help the edges sit down tight.
The satin bits will go when the model gets it's final matt varnish.
Step 10 - Pigments and DustI cover the tracks with a mixed slurry of MiG pigments.
I thin some and run it around some of the panels and fittings with a fine detail brush.
The markings/decals are also faded and blended in with a thin wash of yellow.
The exhaust vents get a soft black followed by grey drybryush to simulate soot and deposits.
When the pigments have dried off the model gets a very light matt varnishing using a Testors Dullcoat rattlecan.
If you hit it now too heavily the pigments will dull off and almost disappear.
Next I dust the tracks and lower hull and sides with my own mix of crushed pigment (it's old dried up humbols crushed with mortar and pestle).
Finally the track track edges teeth and links are drybrushed with an oily steel mix.
A quick check and another light matt varnish and it's ready for the table.