You could get your decals copied by a decal maker near your part of the world, have the serial number altered to suit and not touch your ultra rare decal sheet at all as you can use the 'new' decals for your model, the bonus being you'll know the decals will work first time. :)
it is a thought, especially seeing as they are so rare!
I'm really looking forward to seeing this one!
Not enough Brazilian markings out there! I finally got my hands on six W.W.II style roundels! Those things are hard to find...
This should be one crackerjack P-47!
Brian da Basher
I agree, it's a really interesting history with these aircraft and they certainly deserve a new decal release!
Ok time for a big update after what seems like ages again I'm back to this build.
Well I have plenty of amazing builds to inspire me so I best get to it
Well the last of the goodies arrived today
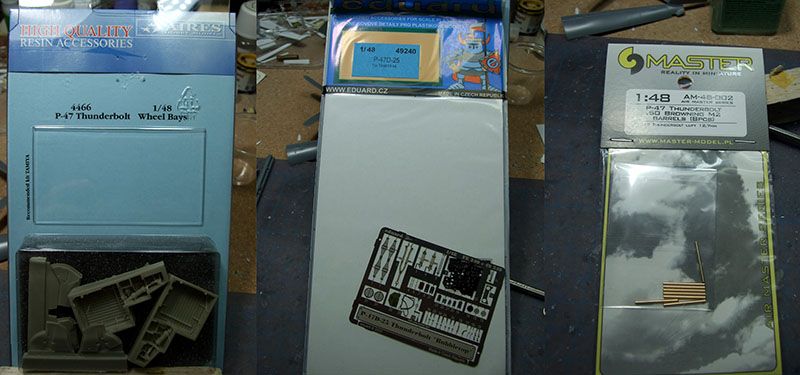
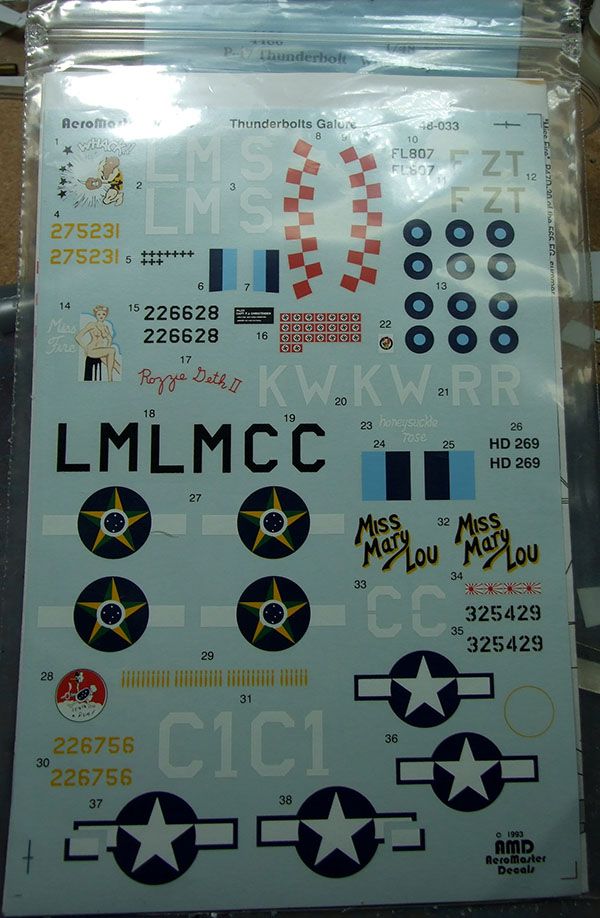
..and the decals that I really have no use for

plus these amazingly rare things that were printed in 1993 and look in perfect condition
no pressure here.
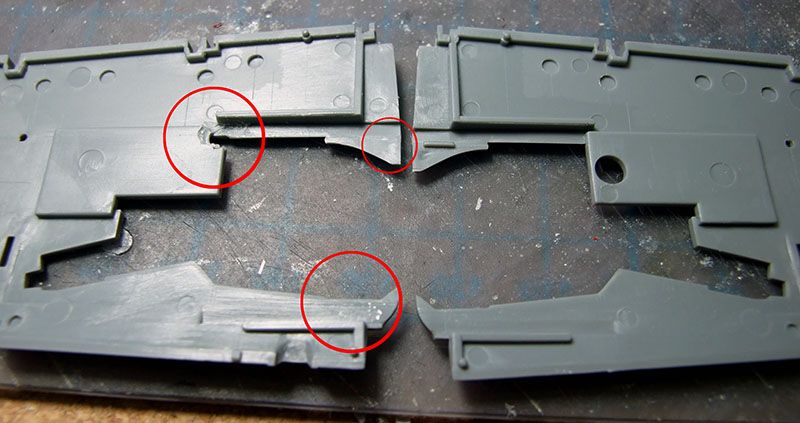
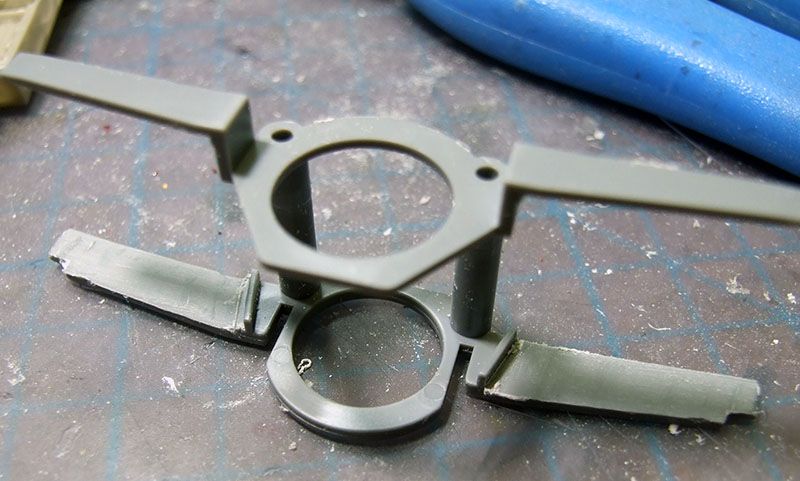
Well first up I need to do the mods, these being for the Aires wheel wheels. First off let me say now that Ive done the modifications to get them to fit
.theyre not really worth the effort!!
If youre trying to produce a show stopper/award winner then maybe, but other than that I dont think theyre really worth all the effort. And yes there is quite a lot of work to get them to fit, Aires resin extras normally take a wee bit of work to sort out, but this wheel wells required a lot of work!
Ill go through the modification process just in case someone else plans to use them. If the sight of distressed plastic or resin scares you then please look away now.
Ok after the resin blocks have been removed I worked on the fit to the lower wings sections, I only worked on one side till everything was correct then I repeated it of the other side. The three marked sections needed to be removes and smoothed out. The actual resin wheel wells do not quite fit in the space the Tamiya ones do, you need to leave room for the spars as well! Oh and the wheel wells will not be fitted until I have finished painting them as well, so everything you see has not been glued together!
Ok its in the right position now in the lower wing and fits nicely.

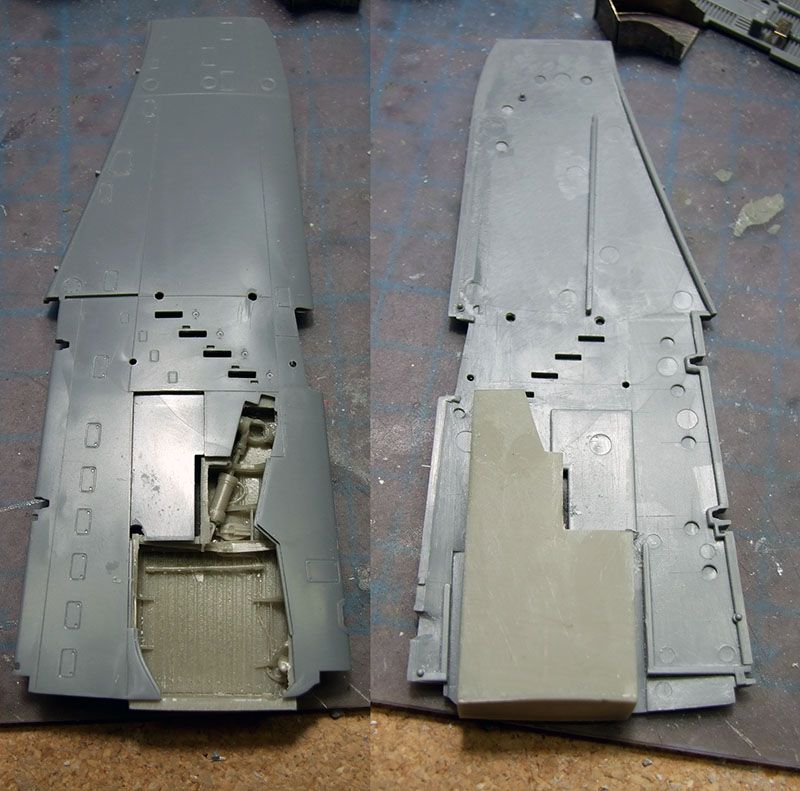
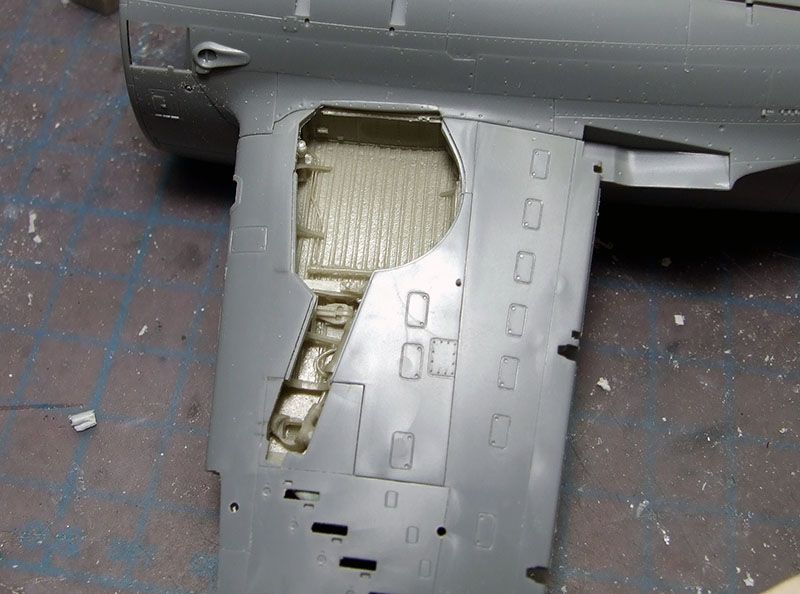
Next up is the cut out in the fuselage, due to the size of the resin wheel wells quite a bit of plastic needed to be removed.

Of concern was how these wheel wells would fit into the Tamiya wing spars
in short not without some work! The wheel well detail on the rear spar needed to be removed.
Plus because a lot of material around these spars was removed from the fuselage, so I needed to add small blocks to ensure the spar sits in the correct position.

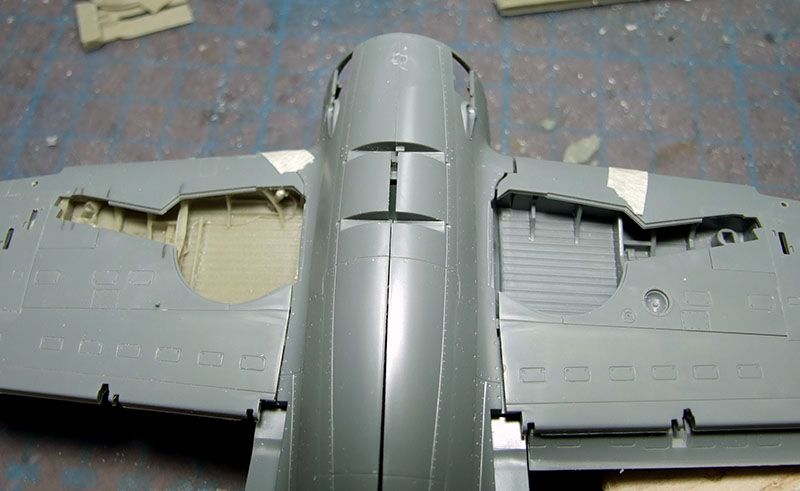
With everything now fitting pretty well with the new wheel wells it was time to remove the Tamiya ones from the top wing
..no going back now!!
A lot of extra plastic needed to be removed to get the new ones to fit, the plastic here is quite thin!

But not as thin as I had to go with the resin wheel wells
..wafer thin to the extreme! It needed to be for the wings to close up without any bulging of the wing chord.

I then repeated the entire process on the other wing.
All up it look quite good, but again was it worth the effort
about 3 to 4 hours work there
.well no! Anyway too late now.
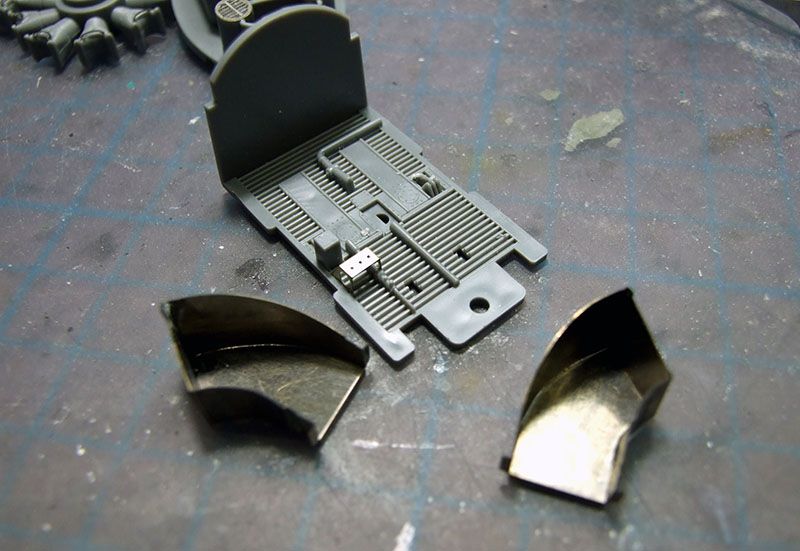
Next up was all the other bits and pieces of PE to be fitted
 http://i1356.photobucket.com/albums/q722/trickyrich62/P-47%20Thunderbolt%20STGB/DSCF1416_zps2xnd62ys.jpg
.plus a bit of wiring to the instrument panel
.

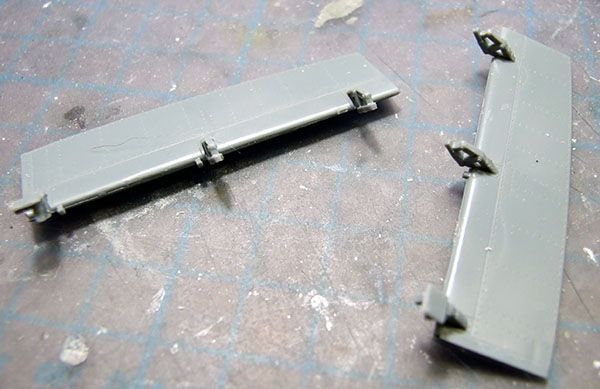
..flaps done
..only because I was in a gluing mood!
Ok that should be all the modification work and pre-painting work done. Next up will be painting!
The plan is that everything will be painted polished aluminium on the inside, well the aircraft was made of it, the interior will then be painted Zinc Chromate and Interior Green/Bronze Green (or something in between
..need to look at references a bit more closely).
I may do a bit of detail work in the rear wheel area as it is very vacant at the moment
will think about that.
Am happy with all the work do today and hopefully everything now should go together quite smoothly.


