Hopefully I can entertain with this build....
Well it does seem like ages since I updated this build, I havent forgotten about it. I have been doing quite a bit since the last update but for some reason cant really get into this build. Its a cool aircraft and I havent built one before but as i mentioned I just dont seem to have the motivation like with the Thunderbolt, right up to the very start of this build, which is for a GB, I was tossing up whether or not to build one of theses
anyway this will be a big update to catch up on where I'm up to.
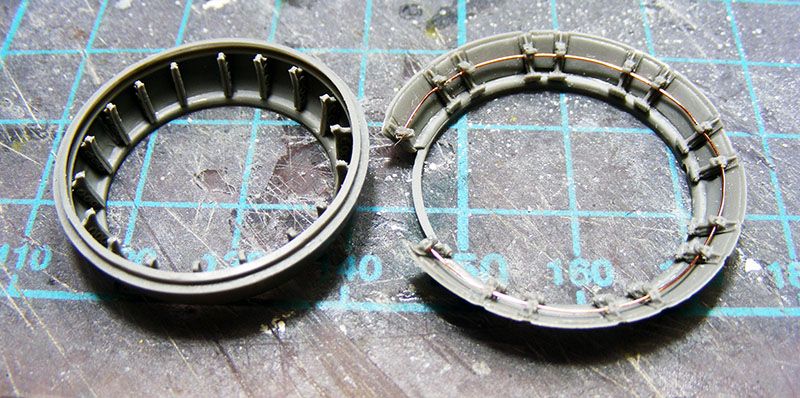
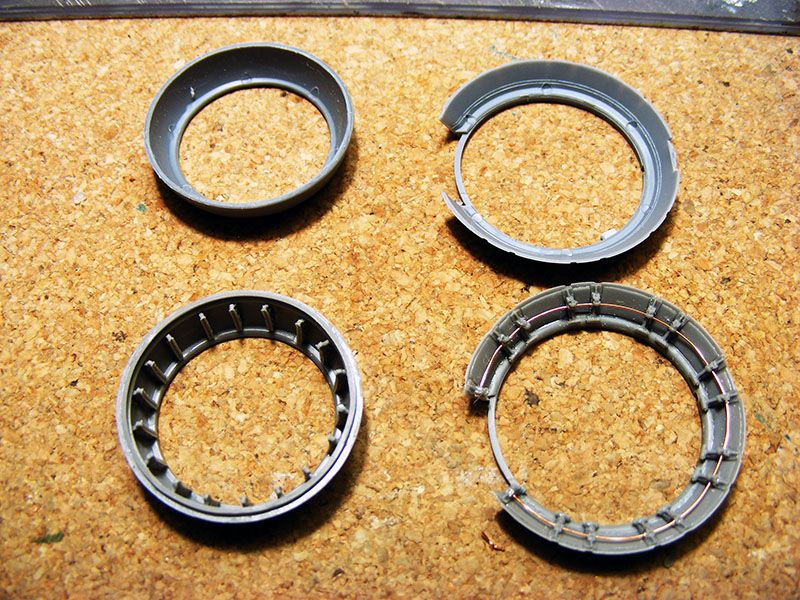
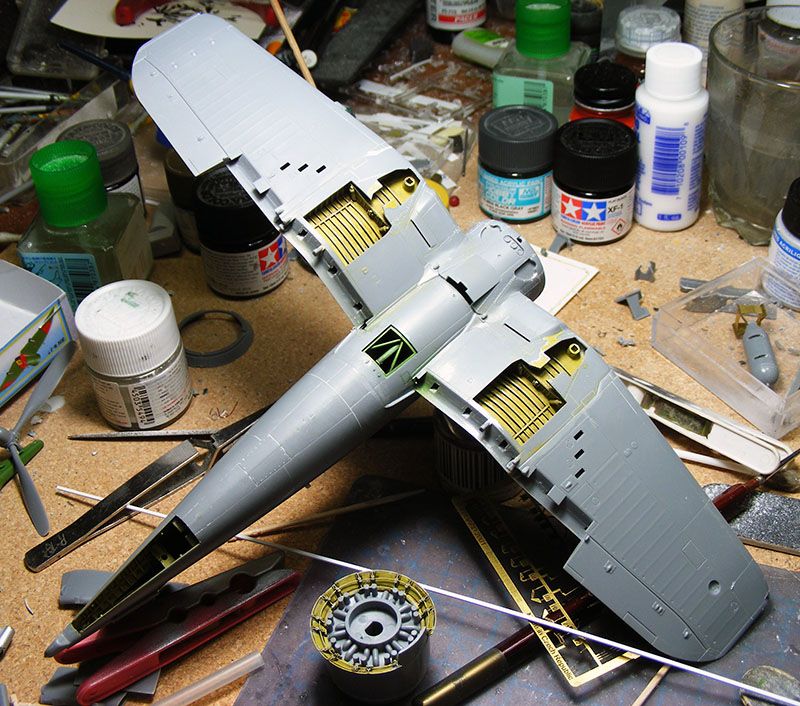
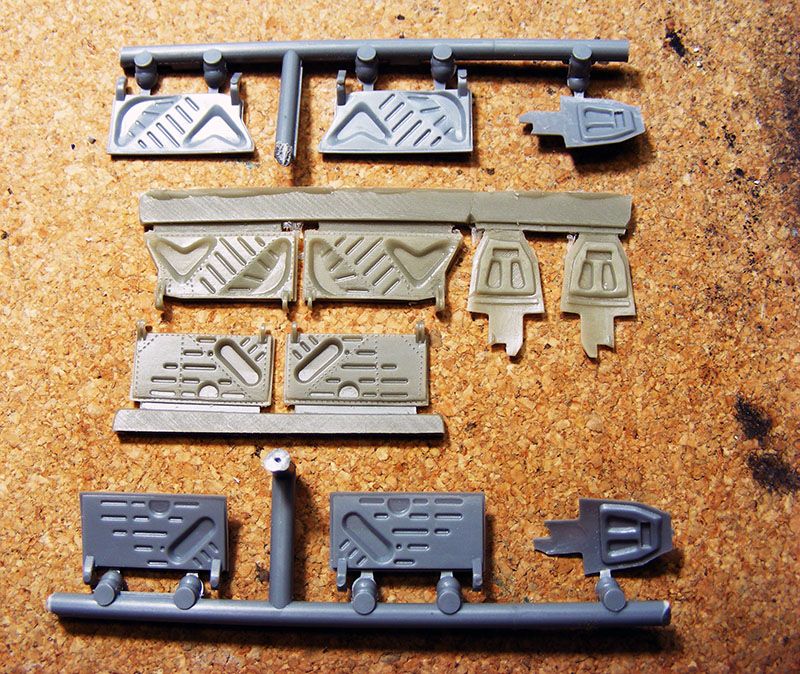
The cowling as mentioned in the previously update was cut up for the new resin bits, new internal bits were added to the cowling ring and cowling flaps along with control wire (??). Theres quite a bit of difference with the original and luckily most of it will be seen.
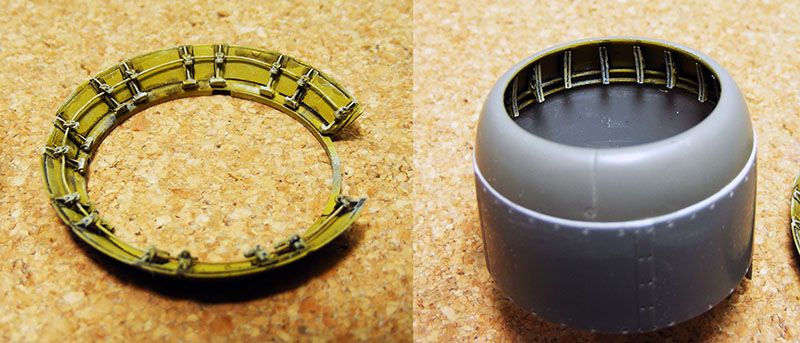
A wee bit of paint and the start of some painted detailing and they dont look too bad.
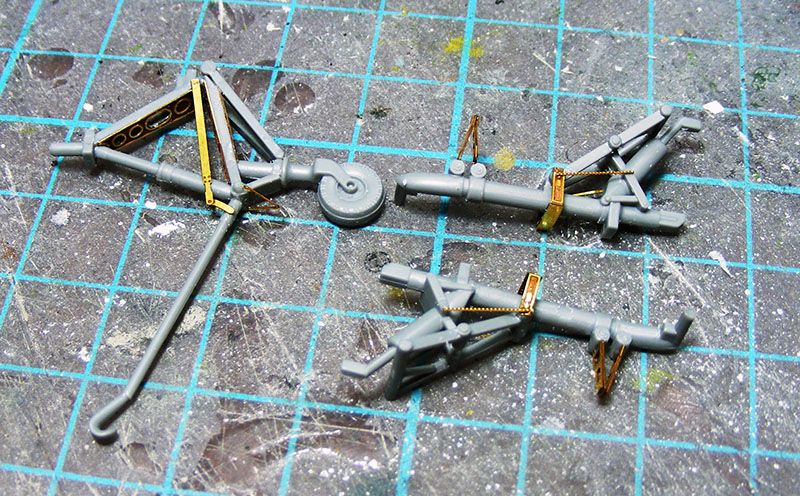
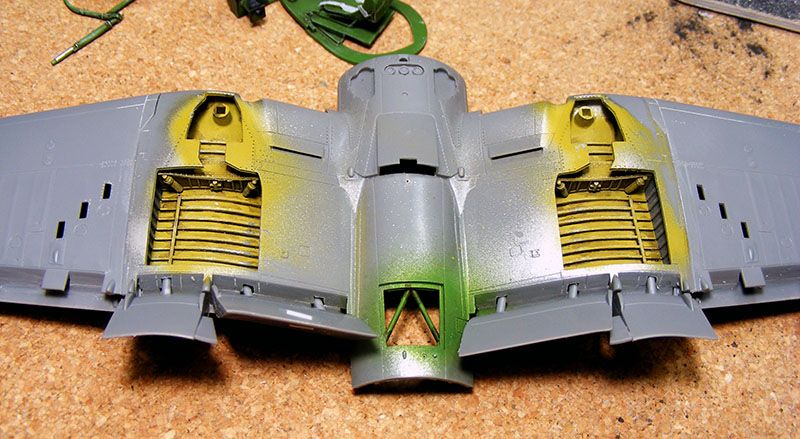
The undercarriage has been painted and weathering/detailing has started.
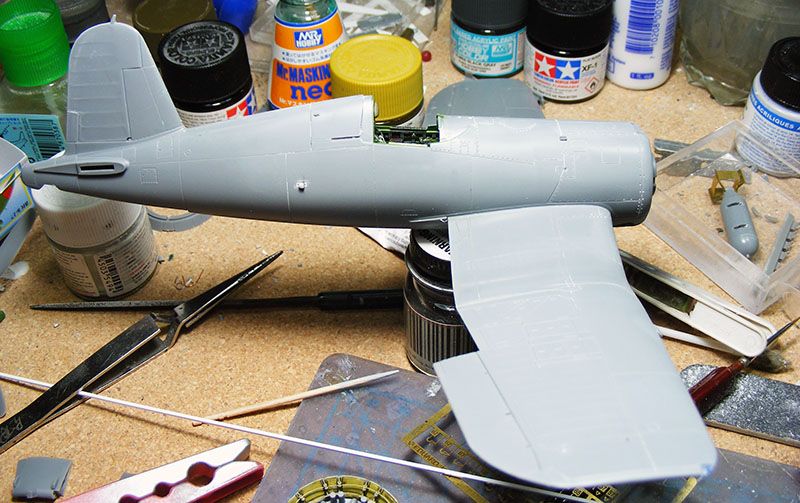
The mod specific to the Mk. II have been completed, the wing tips have been clipped and tip lights added.
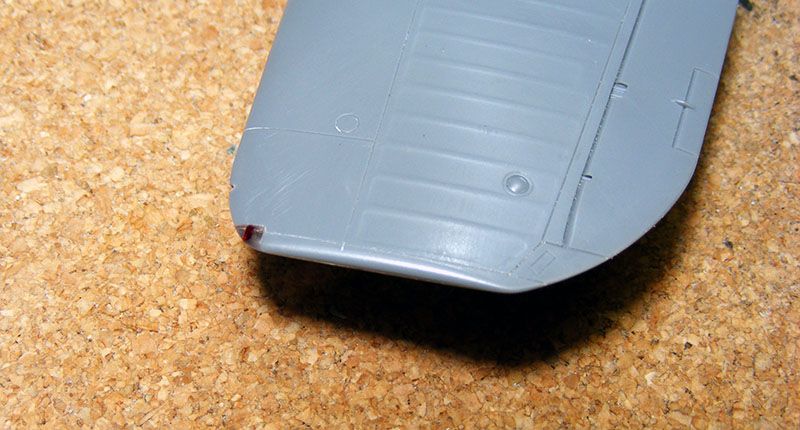
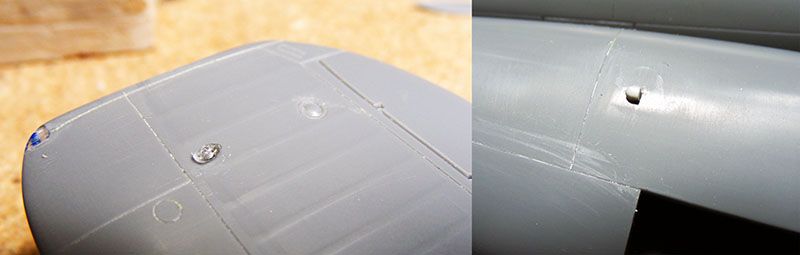
Plus there are a couple of tiny air intakes added to either side of the fuselage, a third need to be mounted at the bottom of the fuselage, there is also a identification light that needed to be added to the upper port side wing near the tip. Its just sitting there at the moment but will be glued in place once painting is complete.
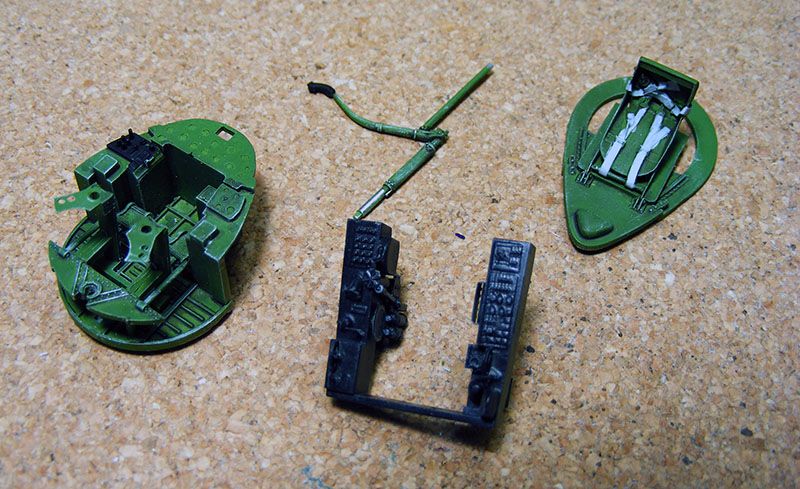
The interior has been painted and weathering and detailing started, since these photos were taken I have done quite a bit more and it's almost together. It doesnt look too bad but I may leave the canopy closed for this build.
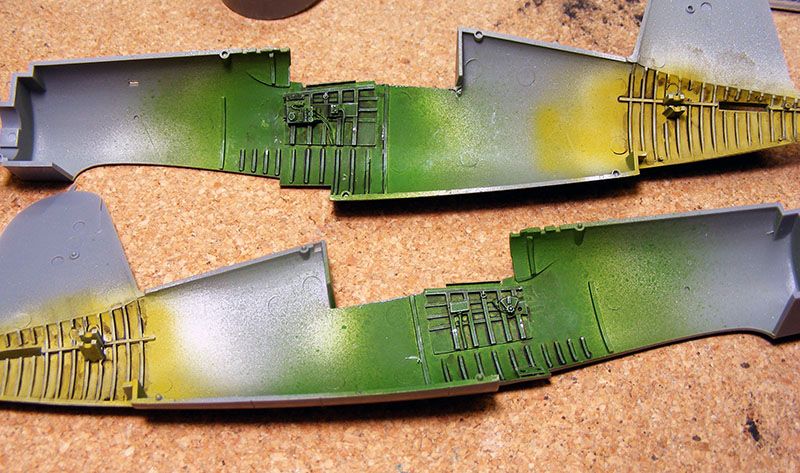
The wings are altogether and wheel wells painted, just some detailing to do there.
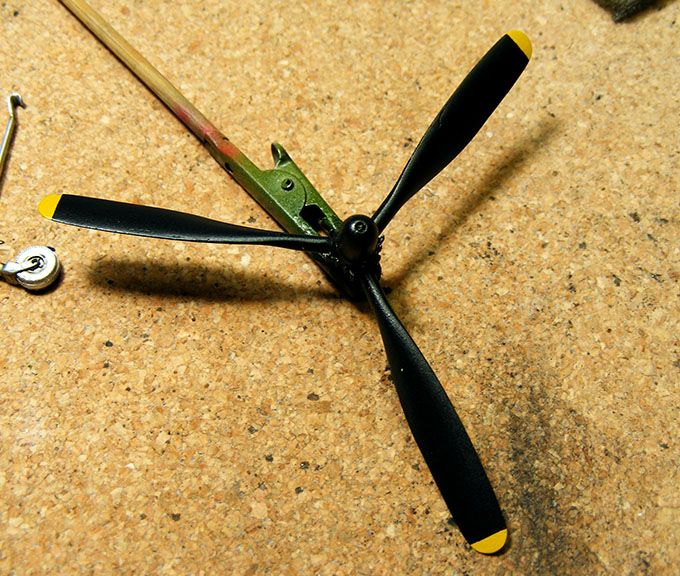
The prop is pretty well done as well, just some decals to do.
I gave up doing anything more to the cockpit, looks quite nice as it is, so closed up the fuselage. Once that was dry enough the wings then went on. The wing/fuselage join is not 100% perfect like the Thunderbolt like at least it didnt require any filler!
The rest of the AM bits arrived during this time, the new Quickboost U/C covers which I thought maybe an overkill, are actually really nicely detailed. Much better that the original ones and quite a bit thinner!
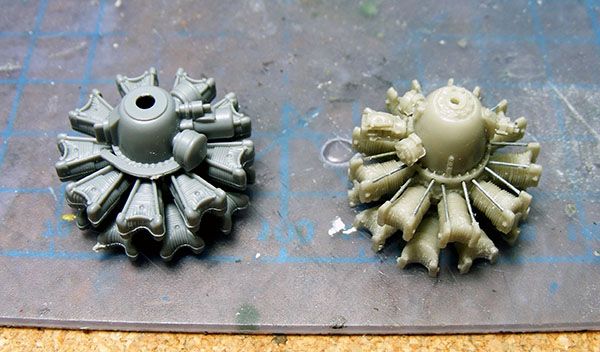
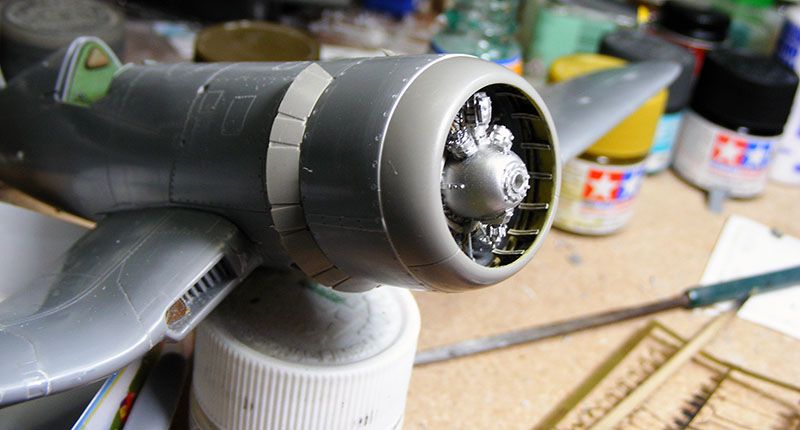
The engine was the other new AM part, a Quickboost item, even out of the packet it looks much better!
http://i1356.photobucket.com/albums/q722/trickyrich62/Vought%20Corsair%20F4U%20STGB/DSCF3083_zpsx9z5yada.jpgFirst off the resin plug and backing/mounting plate was removed, the engine sits further forward than the kit one. Plus I had to add pushrods and glue on the extra bits.
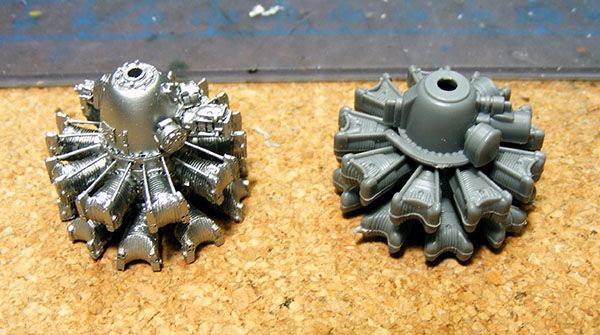
Next a nice coat of Aluminium..gee nice and shiny!!
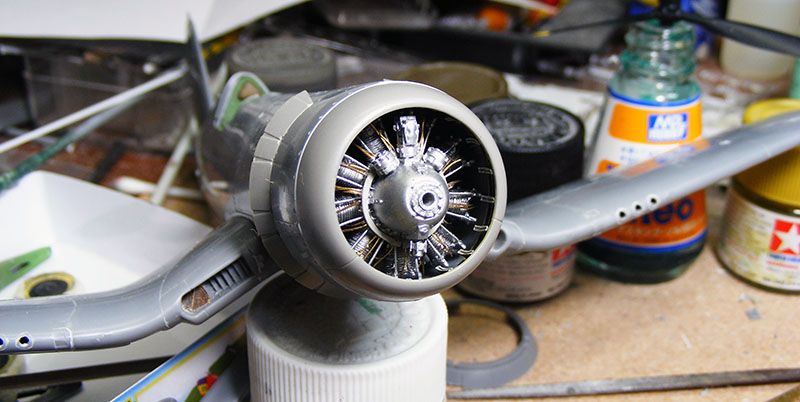
Have also added spark plug wiring
looks a bit naff, but all together it look ok. I still have to finish painting and detailing but that should be nice and quick.
The end result should look rather nice, way better than the original!
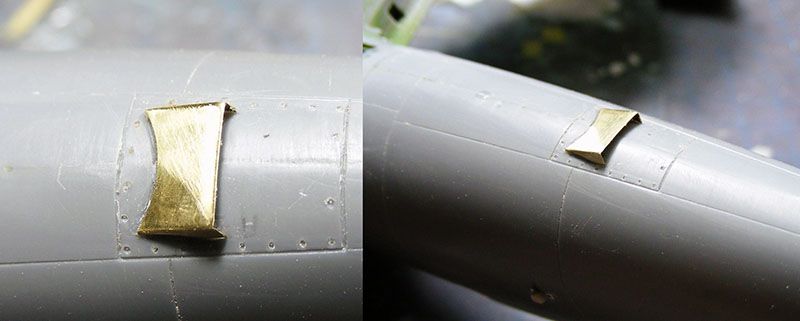
Again one of the details that is very vague with the FAA Corsairs is the additional fresh air and exhaust scoops. As seen in the last update I have added the fresh air intakes to the fuselage. Next was the exhaust outlet, I though at first it was a small outlet. But thanks to a build by another member it turns out this is quite a bit bigger scoop/outlet. None of the photos show this detail very well at all, but after seeing this scoop and relooking at the photos it makes sense. So some quick work with some brass and we have a new exhaust outlet, actually think it looks pretty good. A wee bit of artistic license was required, as I could not find a photo of it
. It has been filled and cleaned up since the photo.
Well the rest of the model has been cleaned up, all the panel lines have been re-done as required, plus the wing tank fillers caps have been moved. There well wells may change colour as well, either Sky (ANA620) or Interior Green or stay the same! Details of the exact colour they should be are a bit of the scarce side!!! Depending of the the local Rivet Counters say may change things!!!
I hope to have the initial aluminium base coat done before I head back to work. With luck Ill have her done by end of next break which will be nice
as I sooo need to get back to a build that inspires me!!


