Would you guys like a build thread for a profile? It should give you a bit of an idea of what all is involved in the creation of a profile like this. The relevant comments for each stage will be UNDER each image.
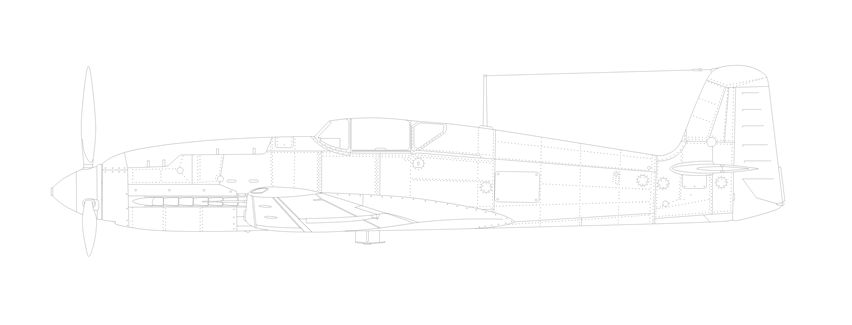
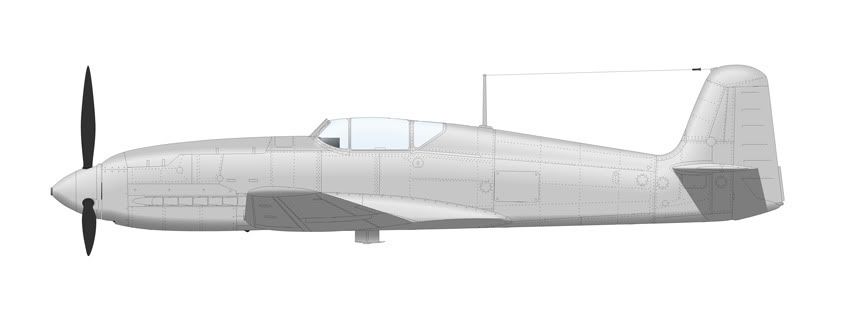
So, this is how I first got the line art for the profile from Talos. It all came like this, packaged as a single layer image. That does complicate things, but it's enough for a start. This is at 12.5% size. Talos is awesome enough to give me line art at a size that lets me incorporate all that fantastic detail that makes it come alive.
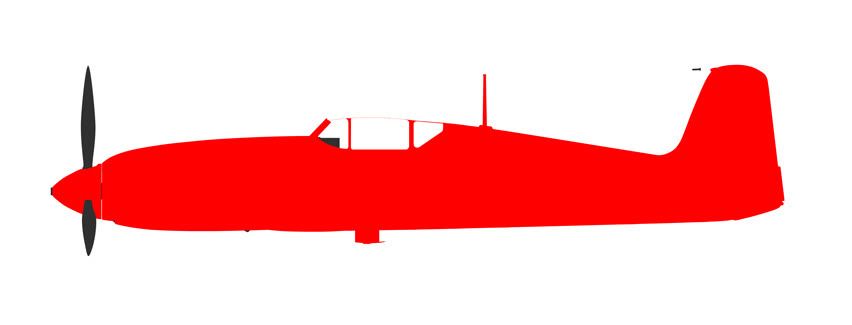
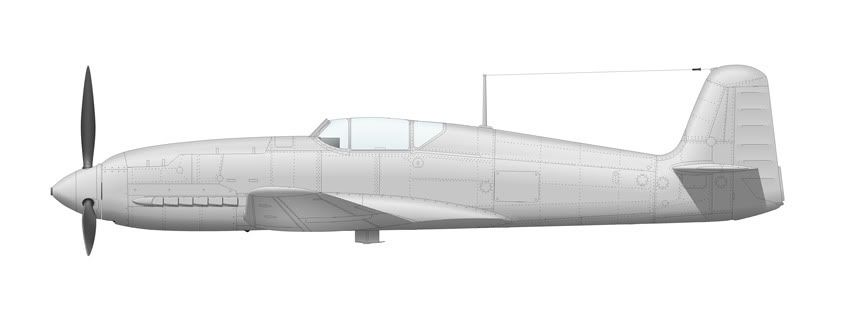
Here's the initial establishment of fill layers. The dark bits are separate from the red layers since they're essentially just unpainted details that won't change from profile to profile.
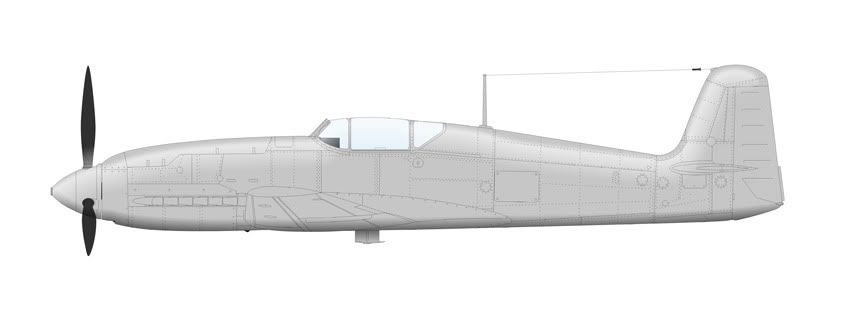
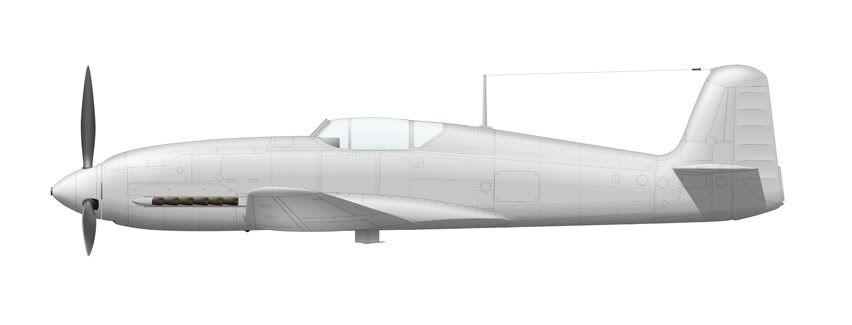
This is the initial lighting attempt. None of this will generally make it into the final profile, but it gives an idea of how the lighting will need to be done.
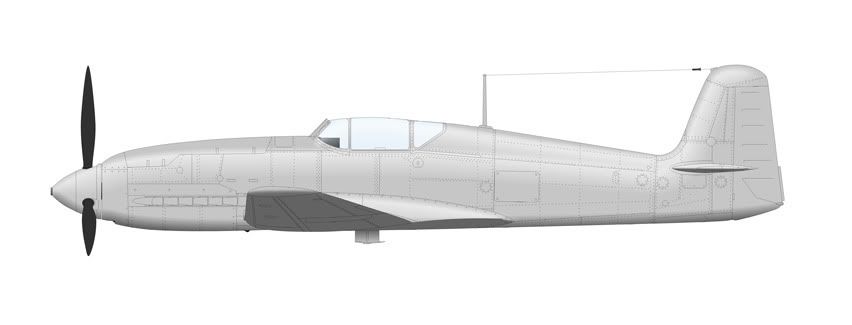
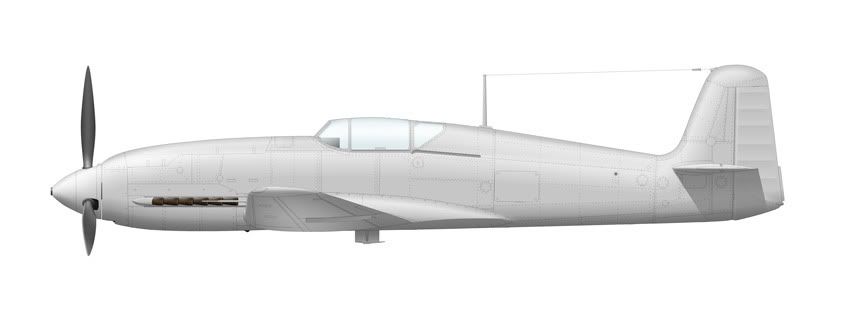
This is the first version to separate the lighting and shading to the wings and horizontal stabilizer. For me this is the first time it really starts looking 3D.
At this stage I introduce the hard shading under the horizontal stabilizer and play with the opacity of the shading a bit.

It may not look like much, but this was actually a major overhaul of the lighting and shading. In addition to the exhaust shading, I added more lighting and shading layers to give a much more elliptical look than before. Most of these layers will remain in one form or another in the final profile.
I added the lighting and shading to the propellor blades, underside of the wing, and the rudder fabric ribbing.
Further refinements of the propellor and exhaust lighting are the minor fixes here, but more importantly I added the shine layer of lighting that starts to give it some life and a greater sense of realism, at least to my eye.

A number of small improvements were introduced at this stage. The biggest lighting and shading changes have already been made, but there's still a ton of work to do. The canopy and canopy rails are lit and shaded with detail, and the flight controls (ailerons, elevator, and rudder) are shaded that they're better defined.
We're nearly there on the lighting and shading. Pitot tube is added, the fairing on the underside of the wing is shaded, the radiator is detailed, and the lighting and shading under the elevator is refined.

More lighting and detail work is added. The most visible additions are the cowling clips and the wingtip light.
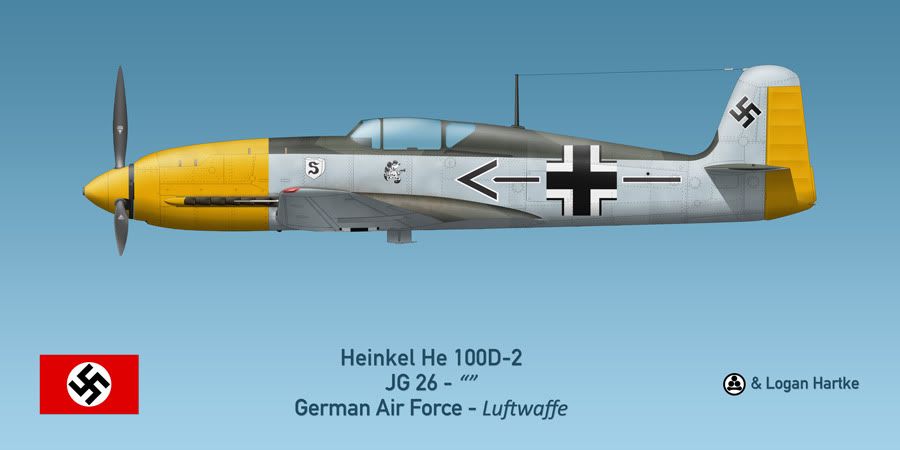
So, here it is on the familiar template that I use. It's an initial, crude attempt at a paint scheme and markings. There is little weathering and I still don't even have all the lines I need. At this point, Talos is getting me the line art in separate, sectioned layers so I can determine what parts I want to show and what I just wanted to let the lighting and shading show off. More on that later.
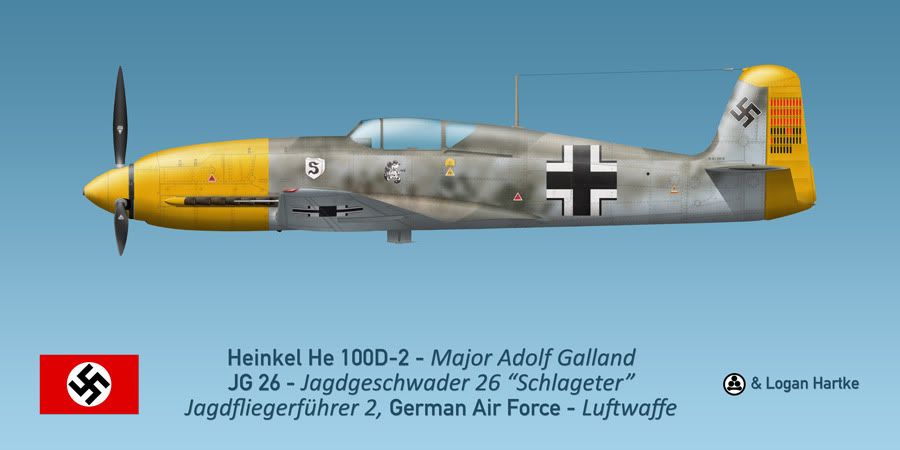
At this stage the paint scheme is basically done. This is the point where many profilers would be satisfied and call it finished. Looks pretty close, certainly not bad.
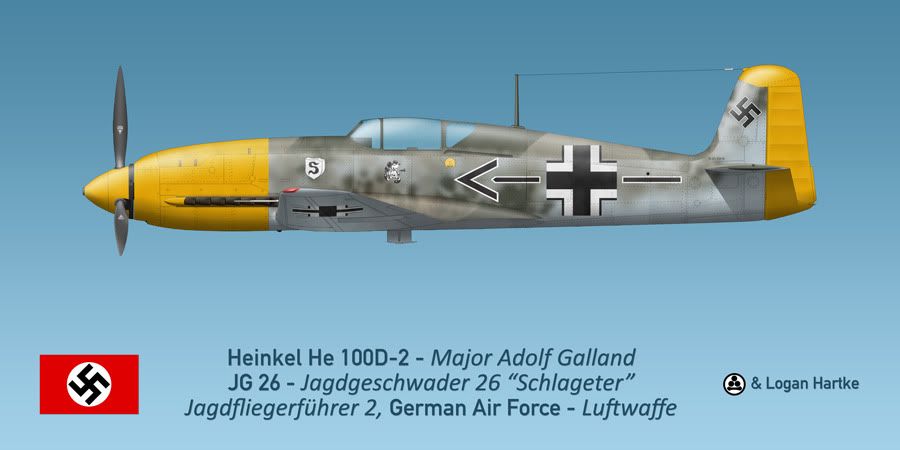
Initial weathering, grime, and detail markings have been added. It starts to make a difference in how realistic it looks.
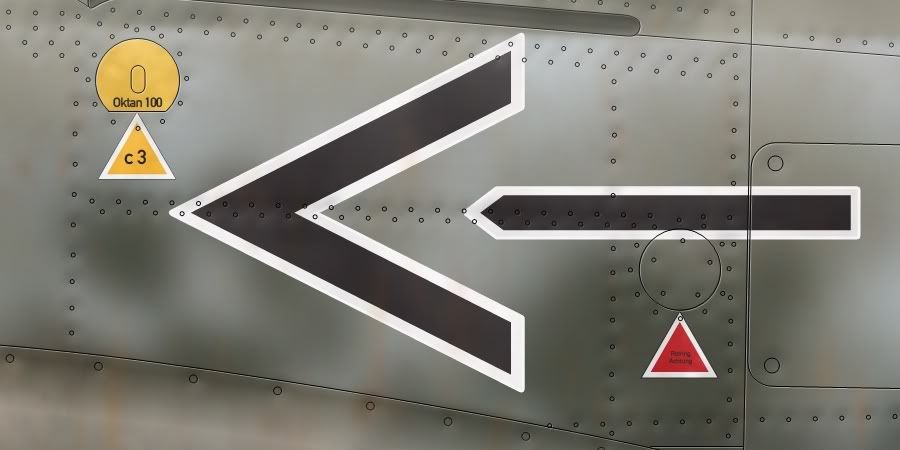
That's where this detail shot comes in.

Nothing's changed! Actually, there have been a TON of changes, you just can't see them at this scale. This is where the rivets were lit and shaded. They make a big difference at 100%.
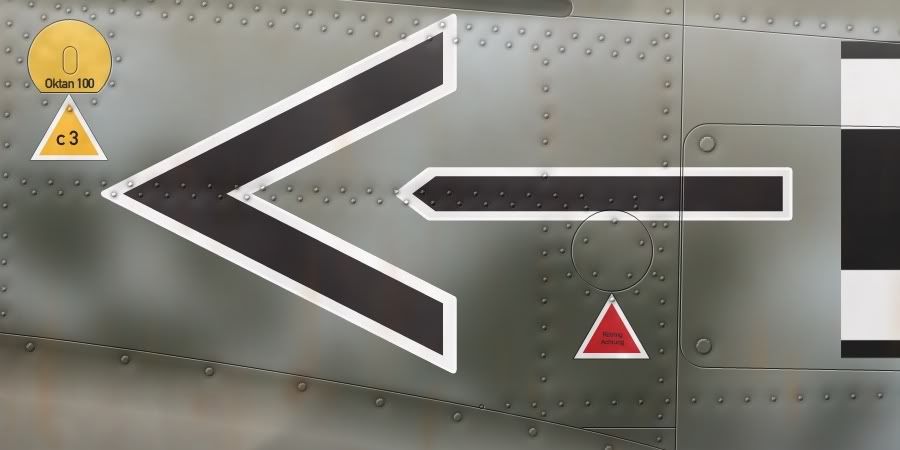
Here's where this detail shot was made. Rivets are coming along nicely.
Major improvements to the propellors and propellor hub, radial aerial lit, and I accidentally turned off a marking layer that I won't catch for another few days.
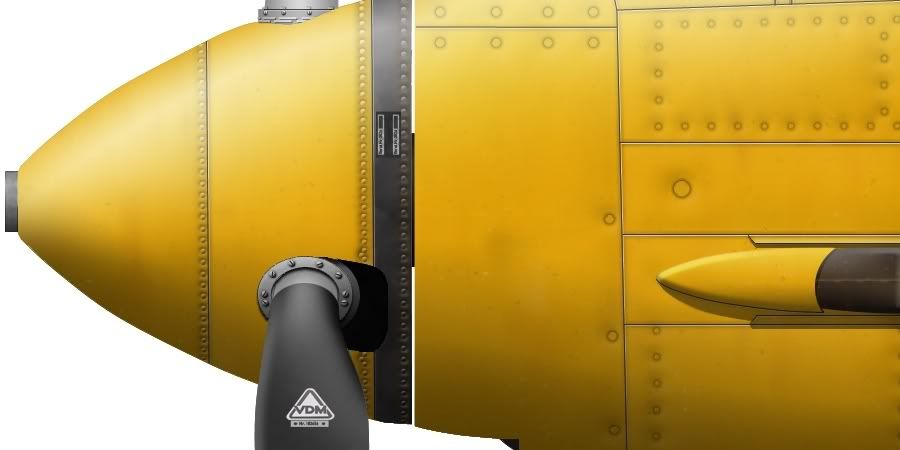
You can see the propellor detail in this shot.
Lots of changes here. Rivets receive more lighting and shading, the aircraft skin is dented in various locations, the canopy lighting is totally redone, and the gunsight is added. You'll see that below.
This is when I got the gunsight from Talos. Here you can see it evolve.
I remember the markings I turned off, but more importantly I did the paint chipping. At 100% this actually adds quite a lot to the look of the aircraft. Want another detail shot for proof?
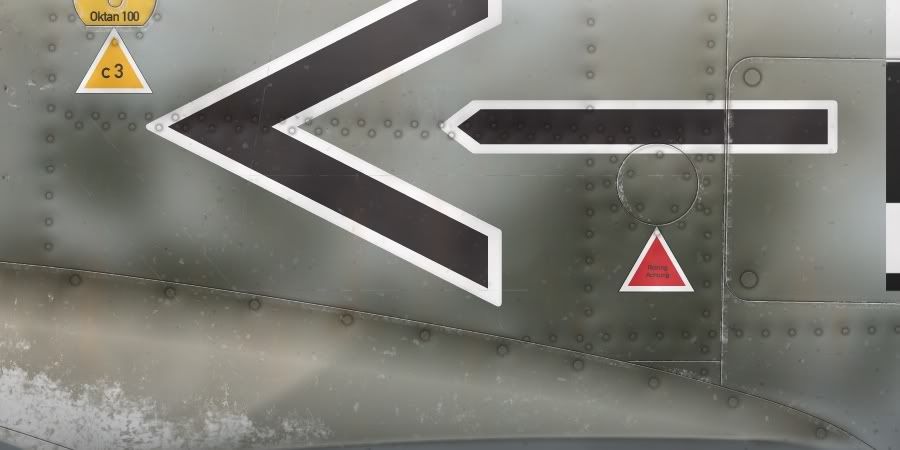
This is what this stage looks like up close.
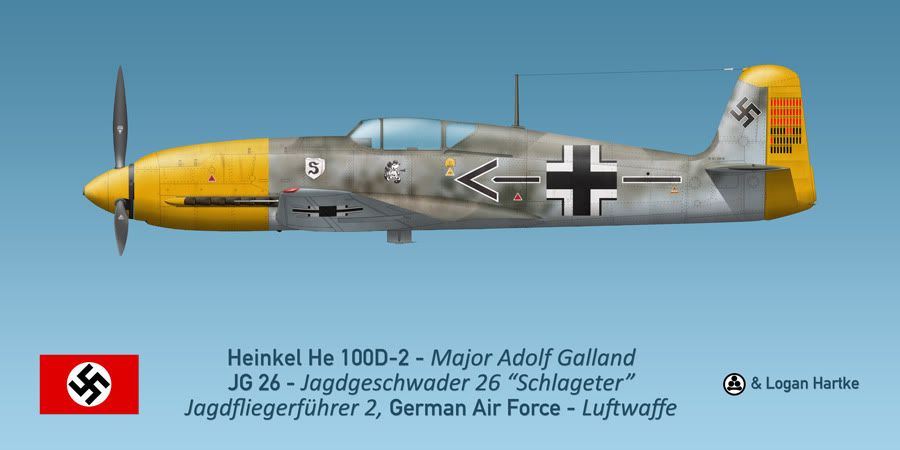
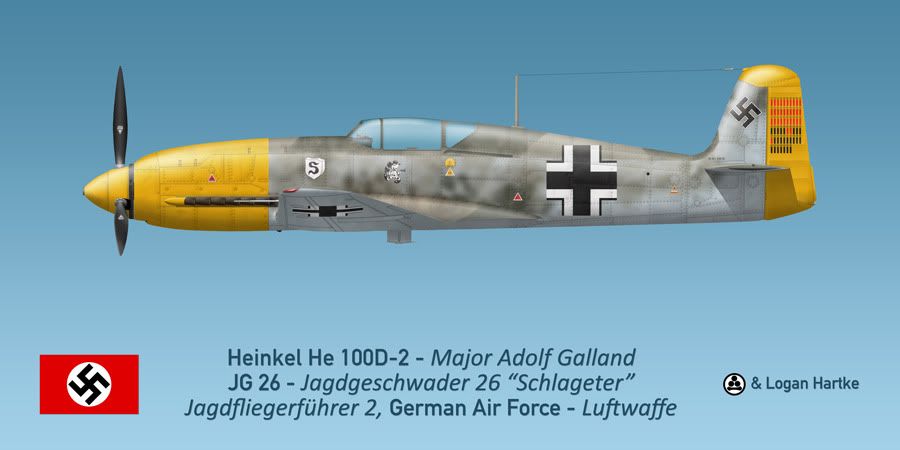
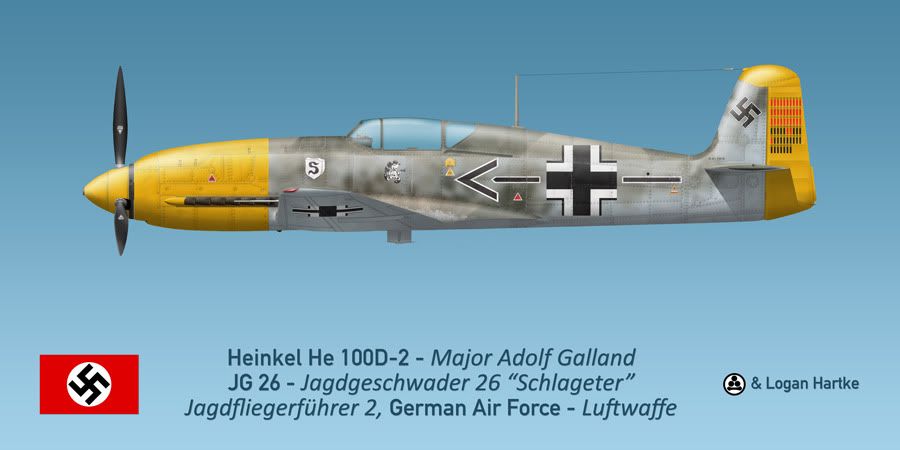
The last details added in at this stage. Galland's telescopic sight, built from line art newly delivered from Talos, is put in the windshield. Armor plating is added behind the pilot's seat. More weathering is added around the panel lines. The step is put in the wing root, and--last but not least--Talos provides the finishing touch with redone victory markings for the rudder.
Ironically, the better the line art, the less of it you actually see. In the end, Talos' line art is mostly discarded, having acted as the scaffolding and the framework for the building I'm constructing around it.
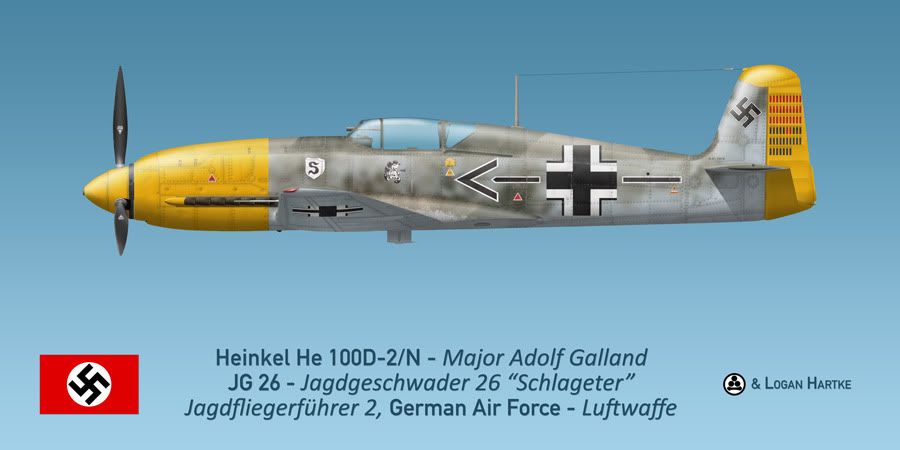
And after a month and a half of hard work after getting the initial line art from Talos, the first profile is done. Finished profile reposted in the reply below.
Cheers,
Logan


