Okay, nose on:
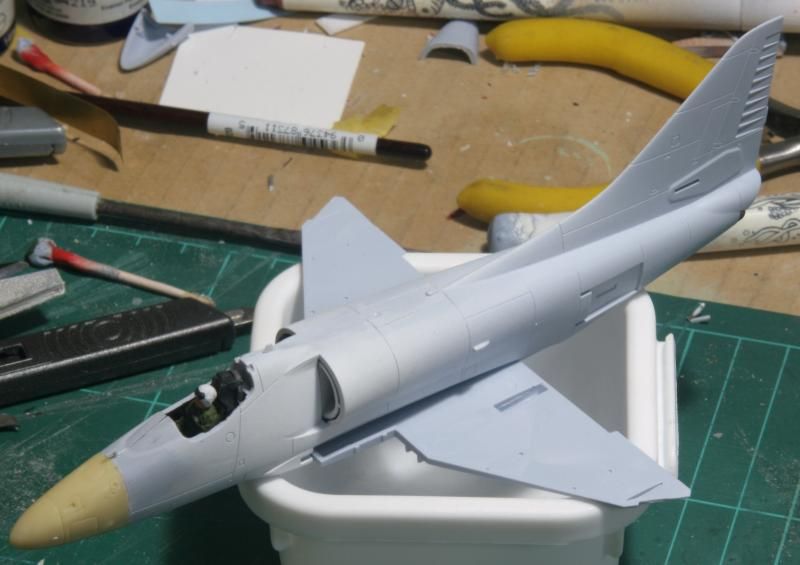
That was surprisingly troublesome.
Firstly, when you cut the original nose off, you lose the front edge of the nosegear bay, which means there's very little to positively set the width of the fuselage, i.e. it can very easily crush in.
Secondly, I couldn't get the Freightdog nose to fit on straight. I carved off various bits of plastic and resin until I eventually sussed the problem. The nose gear well/cockpit floor project slightly beyond the panel line where you vut the original nose off. To accomodate this, the Freightdog nose has a recess in it's rear face, but unfortunately, the walls of this recess are way too thick and irregular, so they force the nose off-centre. The eventual solution was to carve the recess deeper and wider with a Dremmel until the walls were the same thickness as the kit fuselage. Even then it needed a bit of sanding, which was helped no end by the presence of the moulded-in hockey-stick aerial just in front of the windscreen.
The crack in the cockpit coaming keeps springing open no matter what I glue it with, so I'm going to wait unti the wing is glued in (which fixes the fuselage spacing) and then fill it. I also had to fill the panel line right at the tip of the A-4C nose which defines the smaller dielectric area seen on most of them. The line is perfectly correct, but I wanted the earlier, larger radome, because I'm going for the fibreglass-nose-on-white-fuse look of the Buccaneer S.1. I filled it with superglue (cheers Jon) and it sanded smooth very nicely.


